Ever walked into a room and felt like it was missing that pop? Not sure what to put up to make your wall different and not so blah? Typographic String Art is a fantastic way to add color, texture and pizzazz to an otherwise boring area. A perfect DIY home decor for the modern interior design. Grab the supplies and start your own piece!
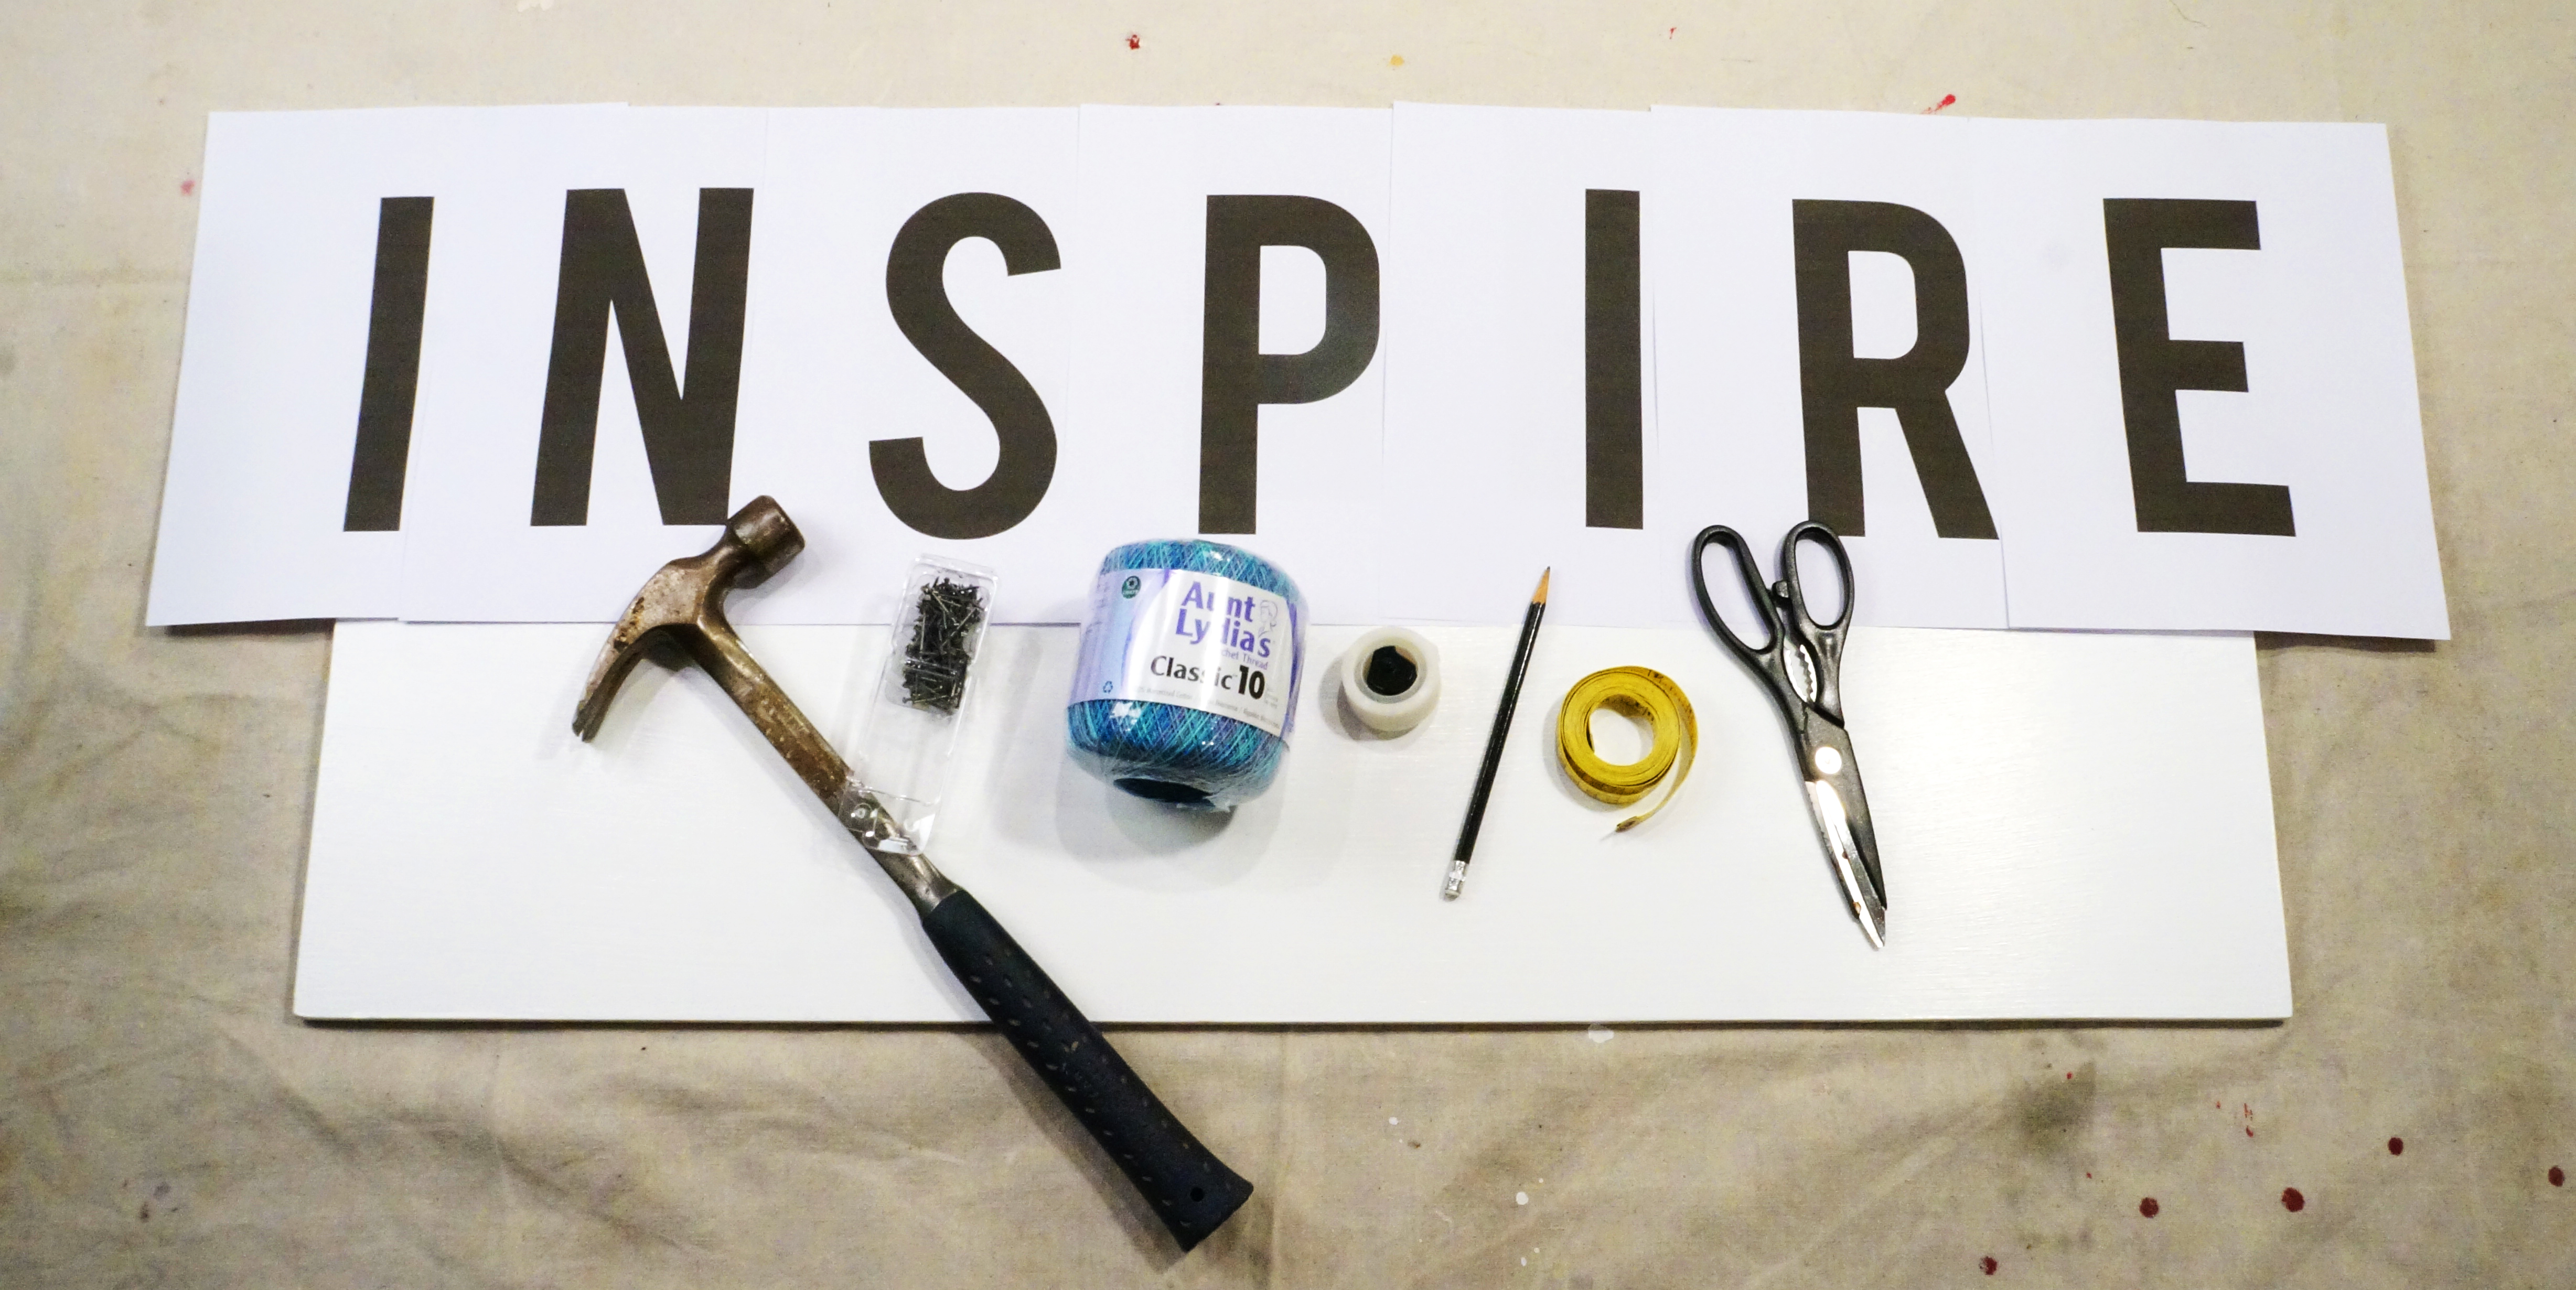
Materials Needed: A long piece of sturdy wood, printed letters, hammer, small nails with a flat head, medium thick string, tape, pencil, measuring tape, and scissors.
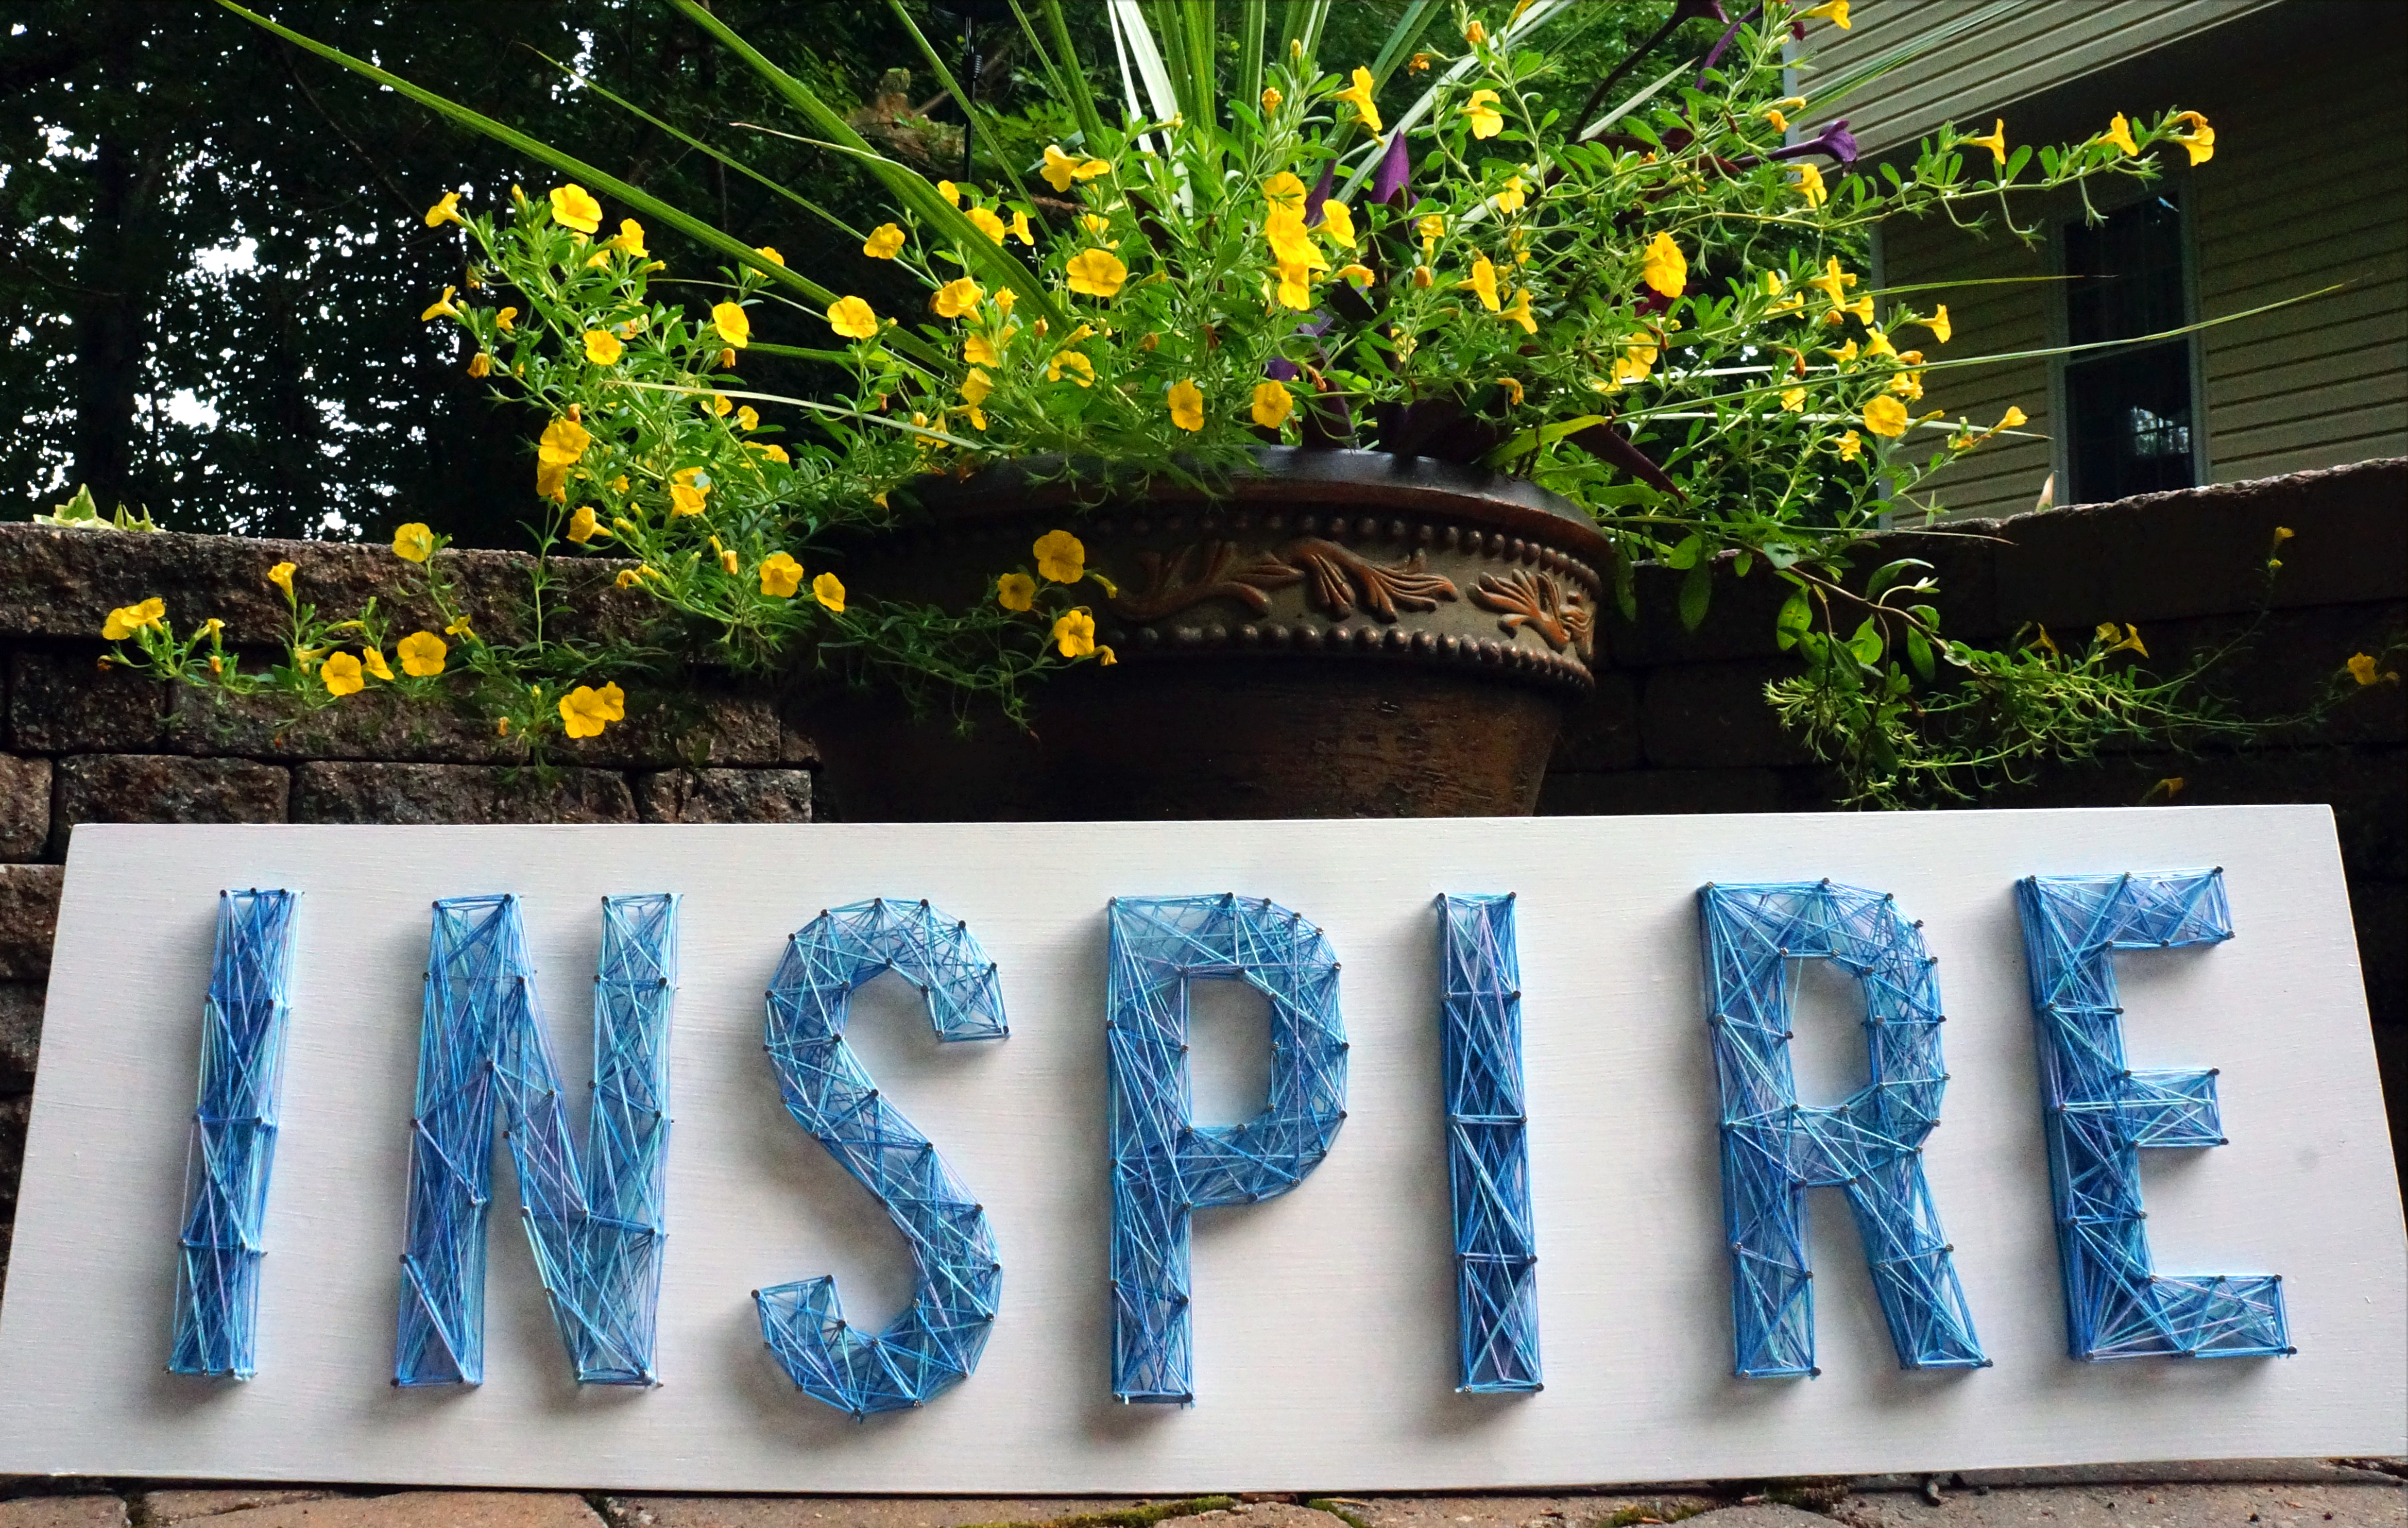
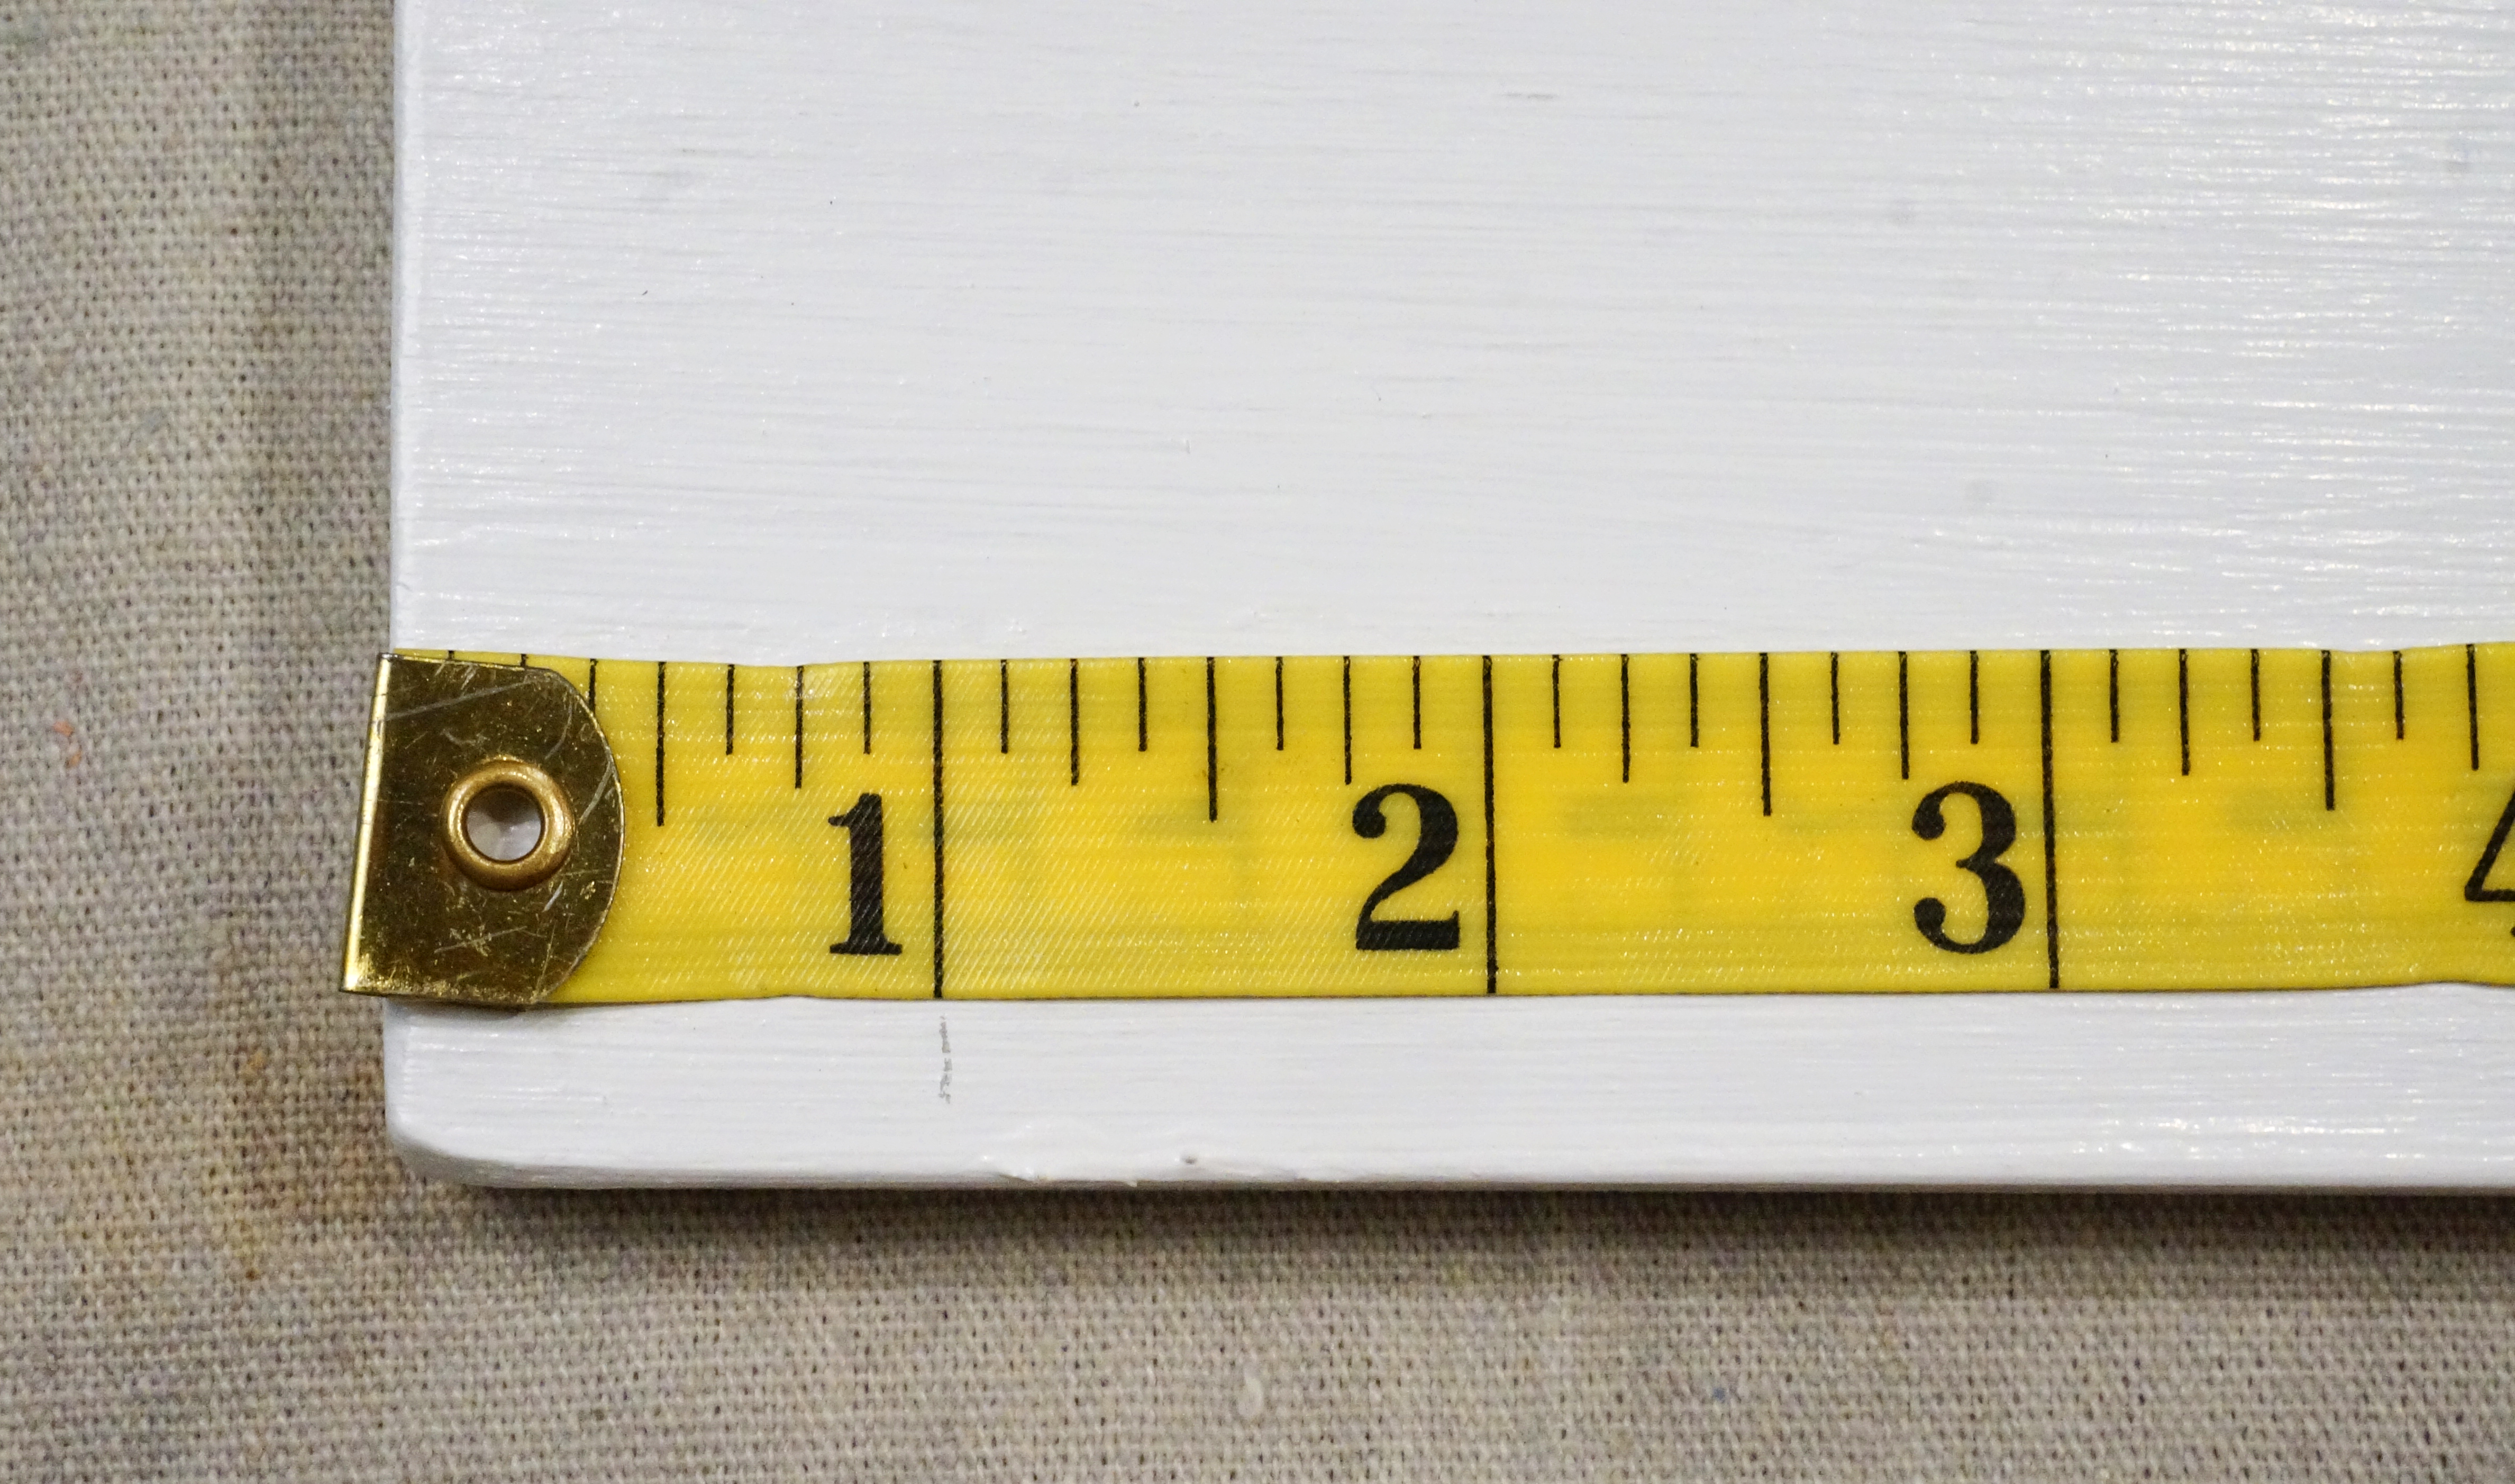
I used a 7” by 36″ piece of plywood that I painted white. I thought the white would contrast well with the different shades of blue and purple but if you’re going for a more rustic look, I think raw wood would be beautiful.
1. First pick the word you would like to use. I chose INSPIRE because that is what my blog is about, but any word will work. Try and pick a font with not very many curves or swirls, as that would make it more difficult when wrapping the string. Fonts like Impact or Helvetica Neue work great.
2. Measure your boards width, subtract 2 inches and divide that number by the number of letters you have. This will make sure your letters are spaced evenly and help you lay them out later. The 2 inches leave an inch for either side of your word. For example:
My board is 36” – 2” = 34” / 7 letters = this comes out to about 4.8” per letter. So I also knew I didn’t need a super skinny font.
3. Measure your space for each letter with small pencil marks, making sure to include the 1 inch space left on both ends. Measure the height of your letters and subtract from the full height of the board. Divide the left over height in half and mark on both ends, this will make sure your letters are in the middle of the board vertically.
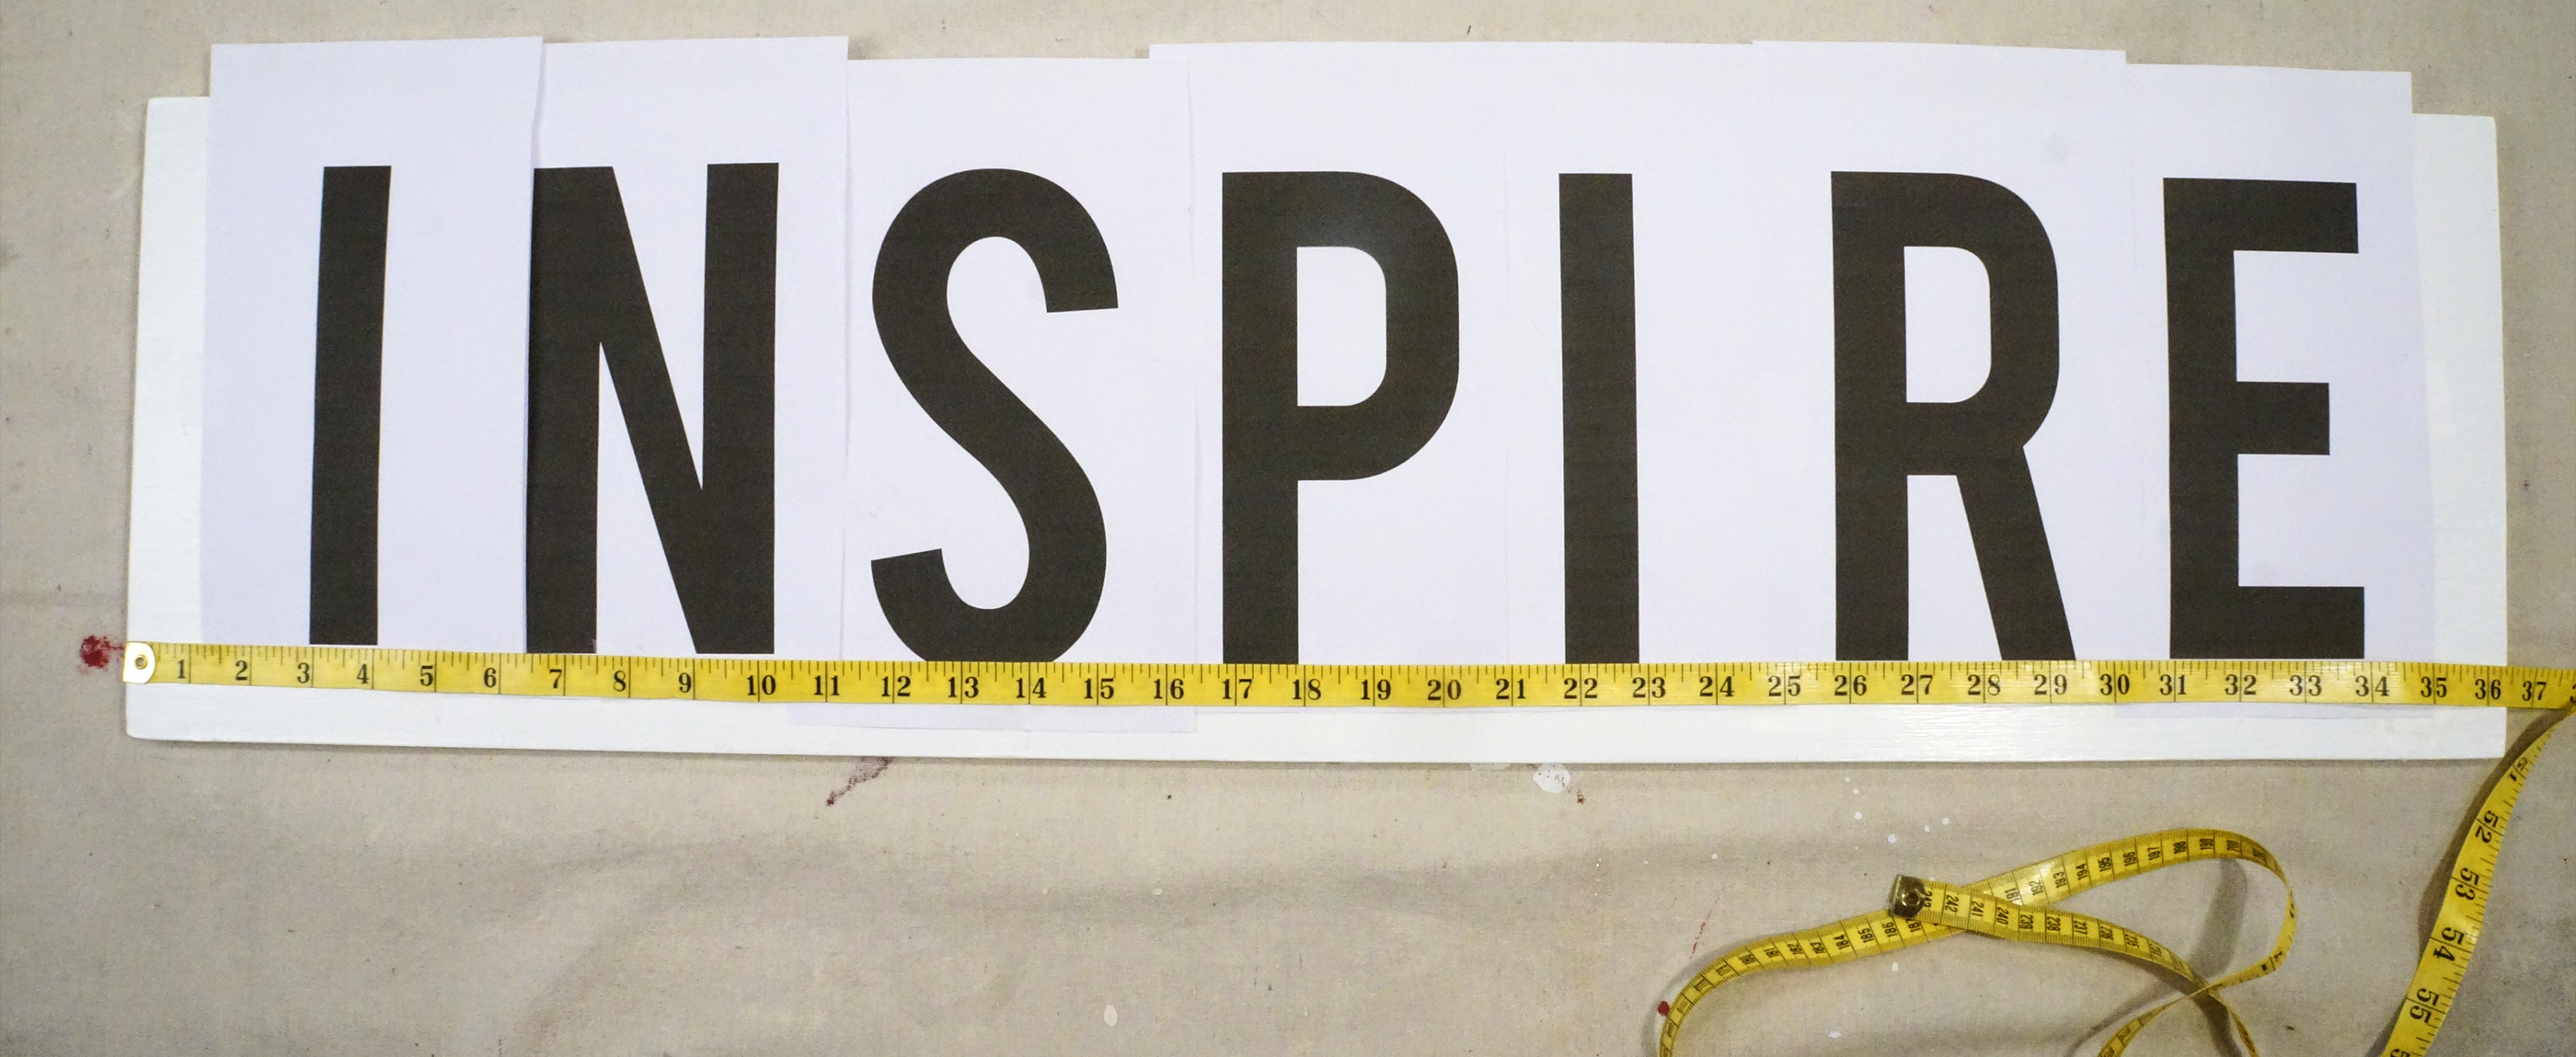
4. Lay out and tape down the measuring tape from one side to the other using the bottom height measurements. This will give you a base line to line up your letters on.
5. Using the bottom measurements and measuring tape, layout your letters and tape them down. Check that each letter is evenly between two hash marks, in this case within the 4.8” measurements allotted per letter.
6. After taping down all letters and checking that they look evenly spaced, and upright, remove the measuring tape, leaving the letters taped down.
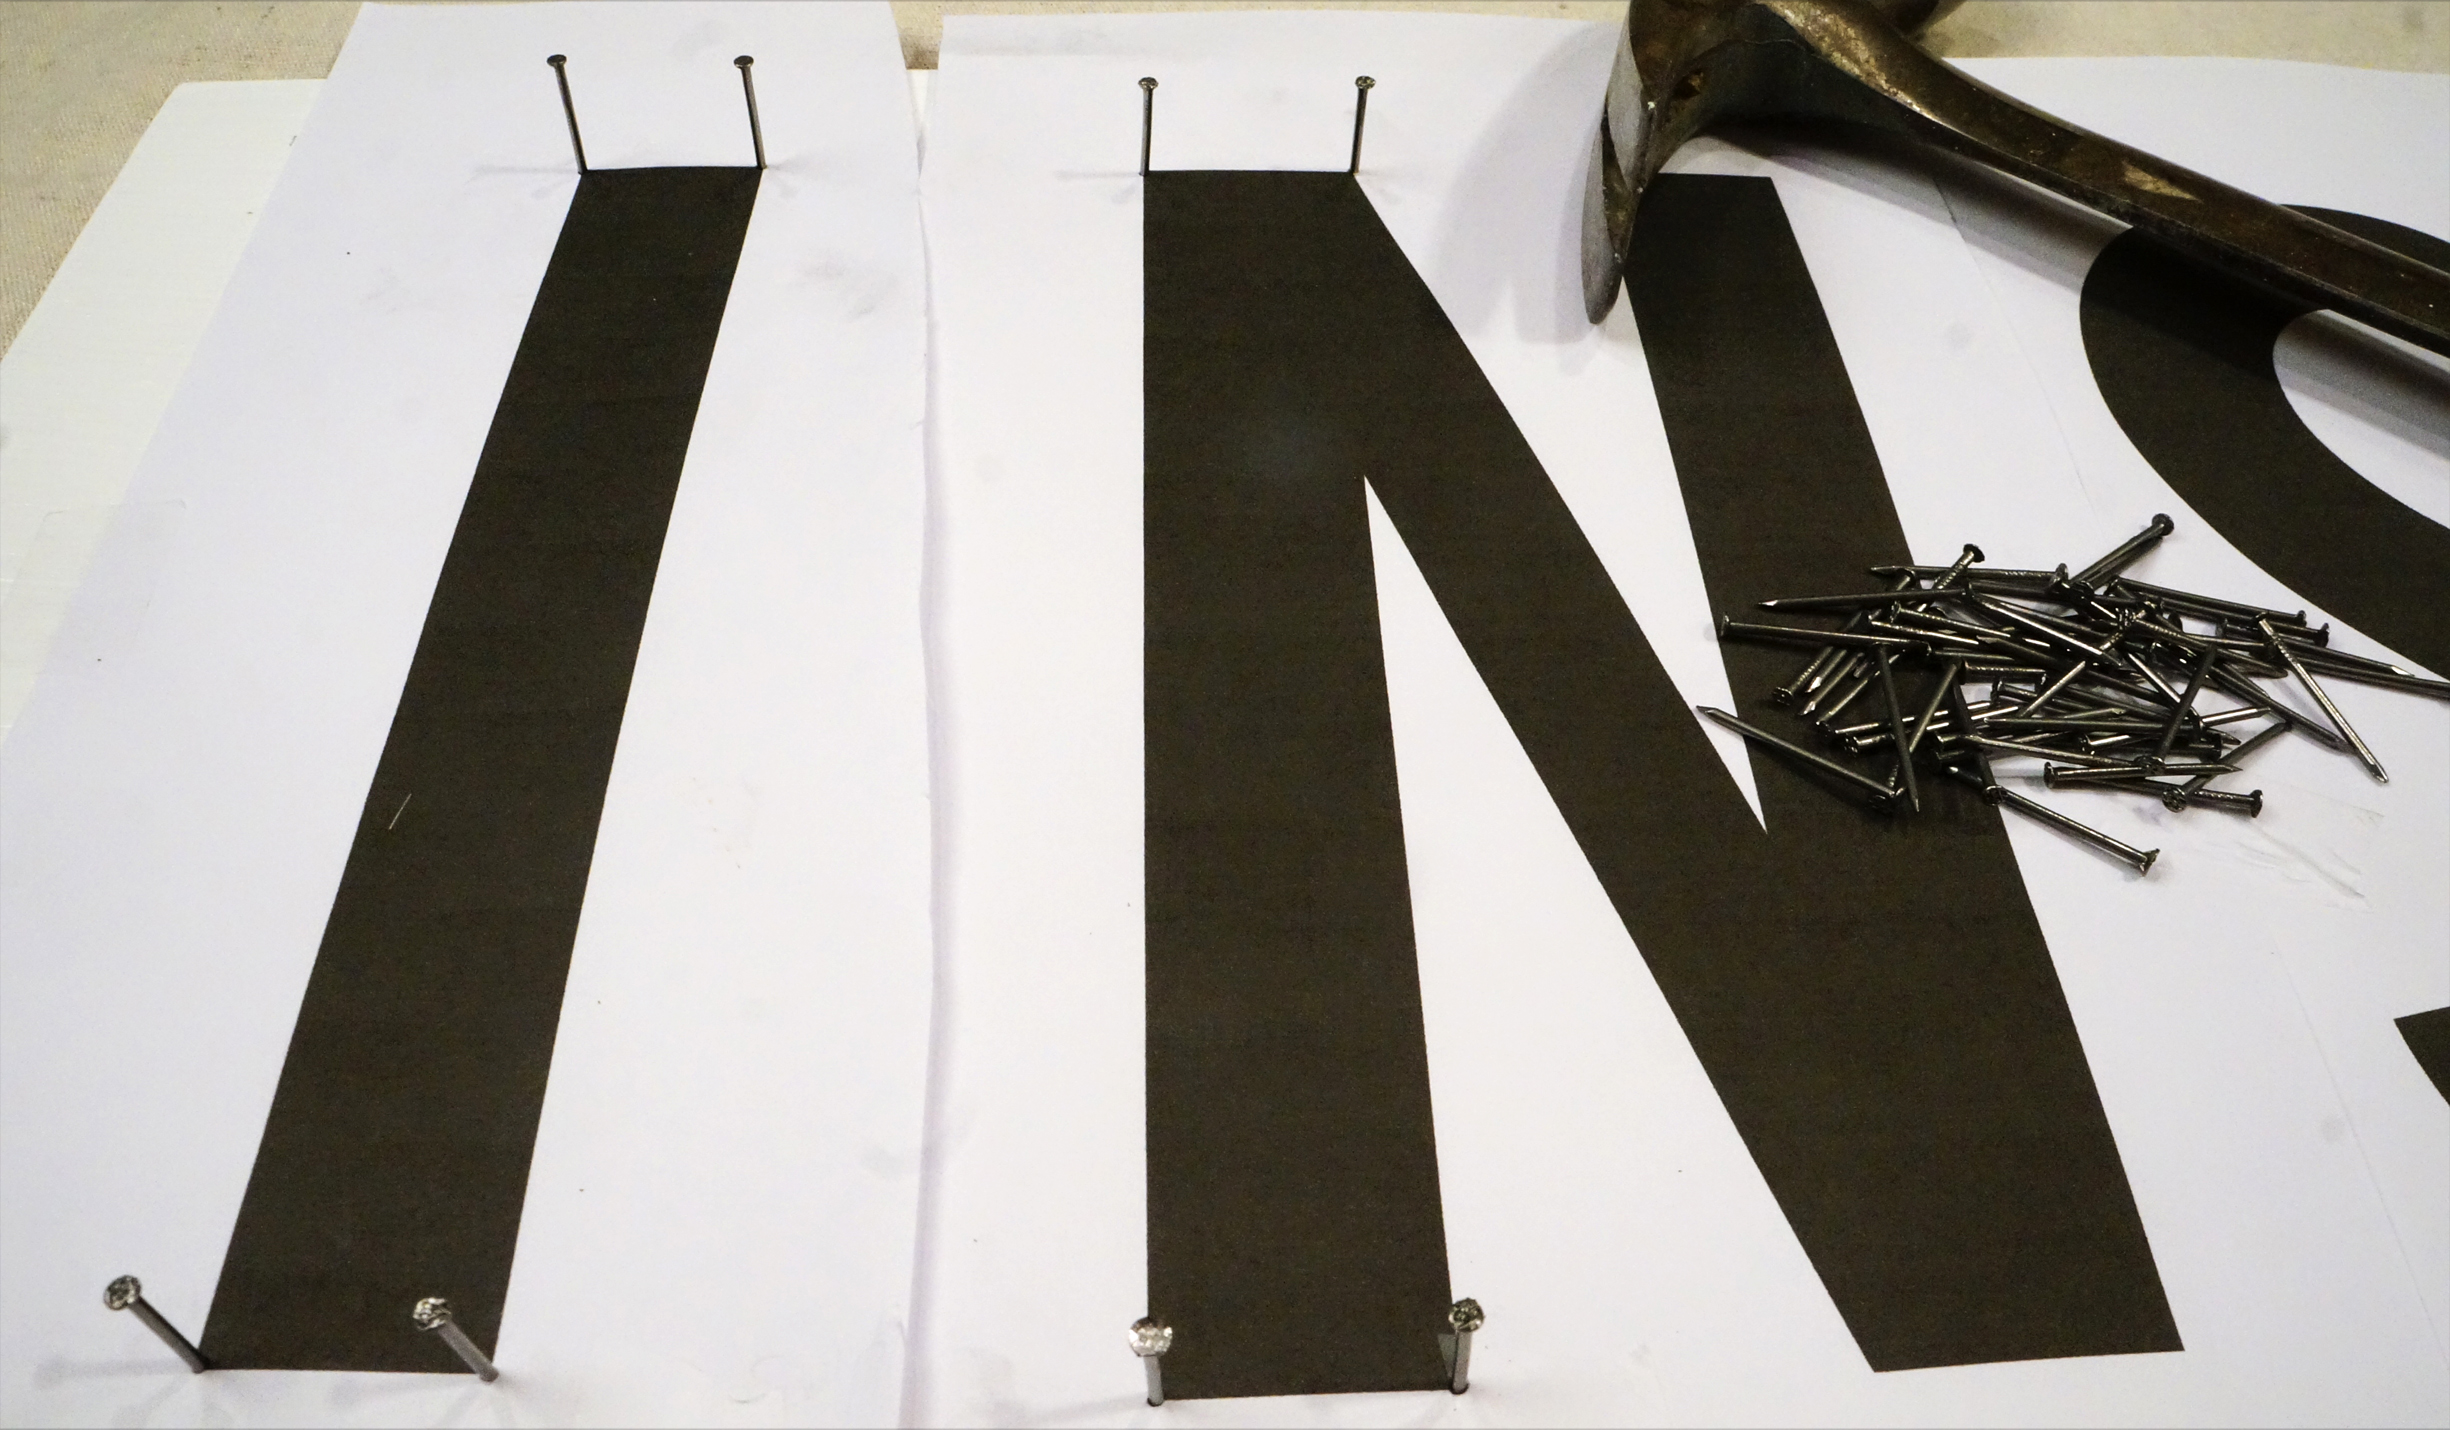
7. Now you get to take any weeks anger out on some nails! Begin by hammering in a nail into each corner of every letter.
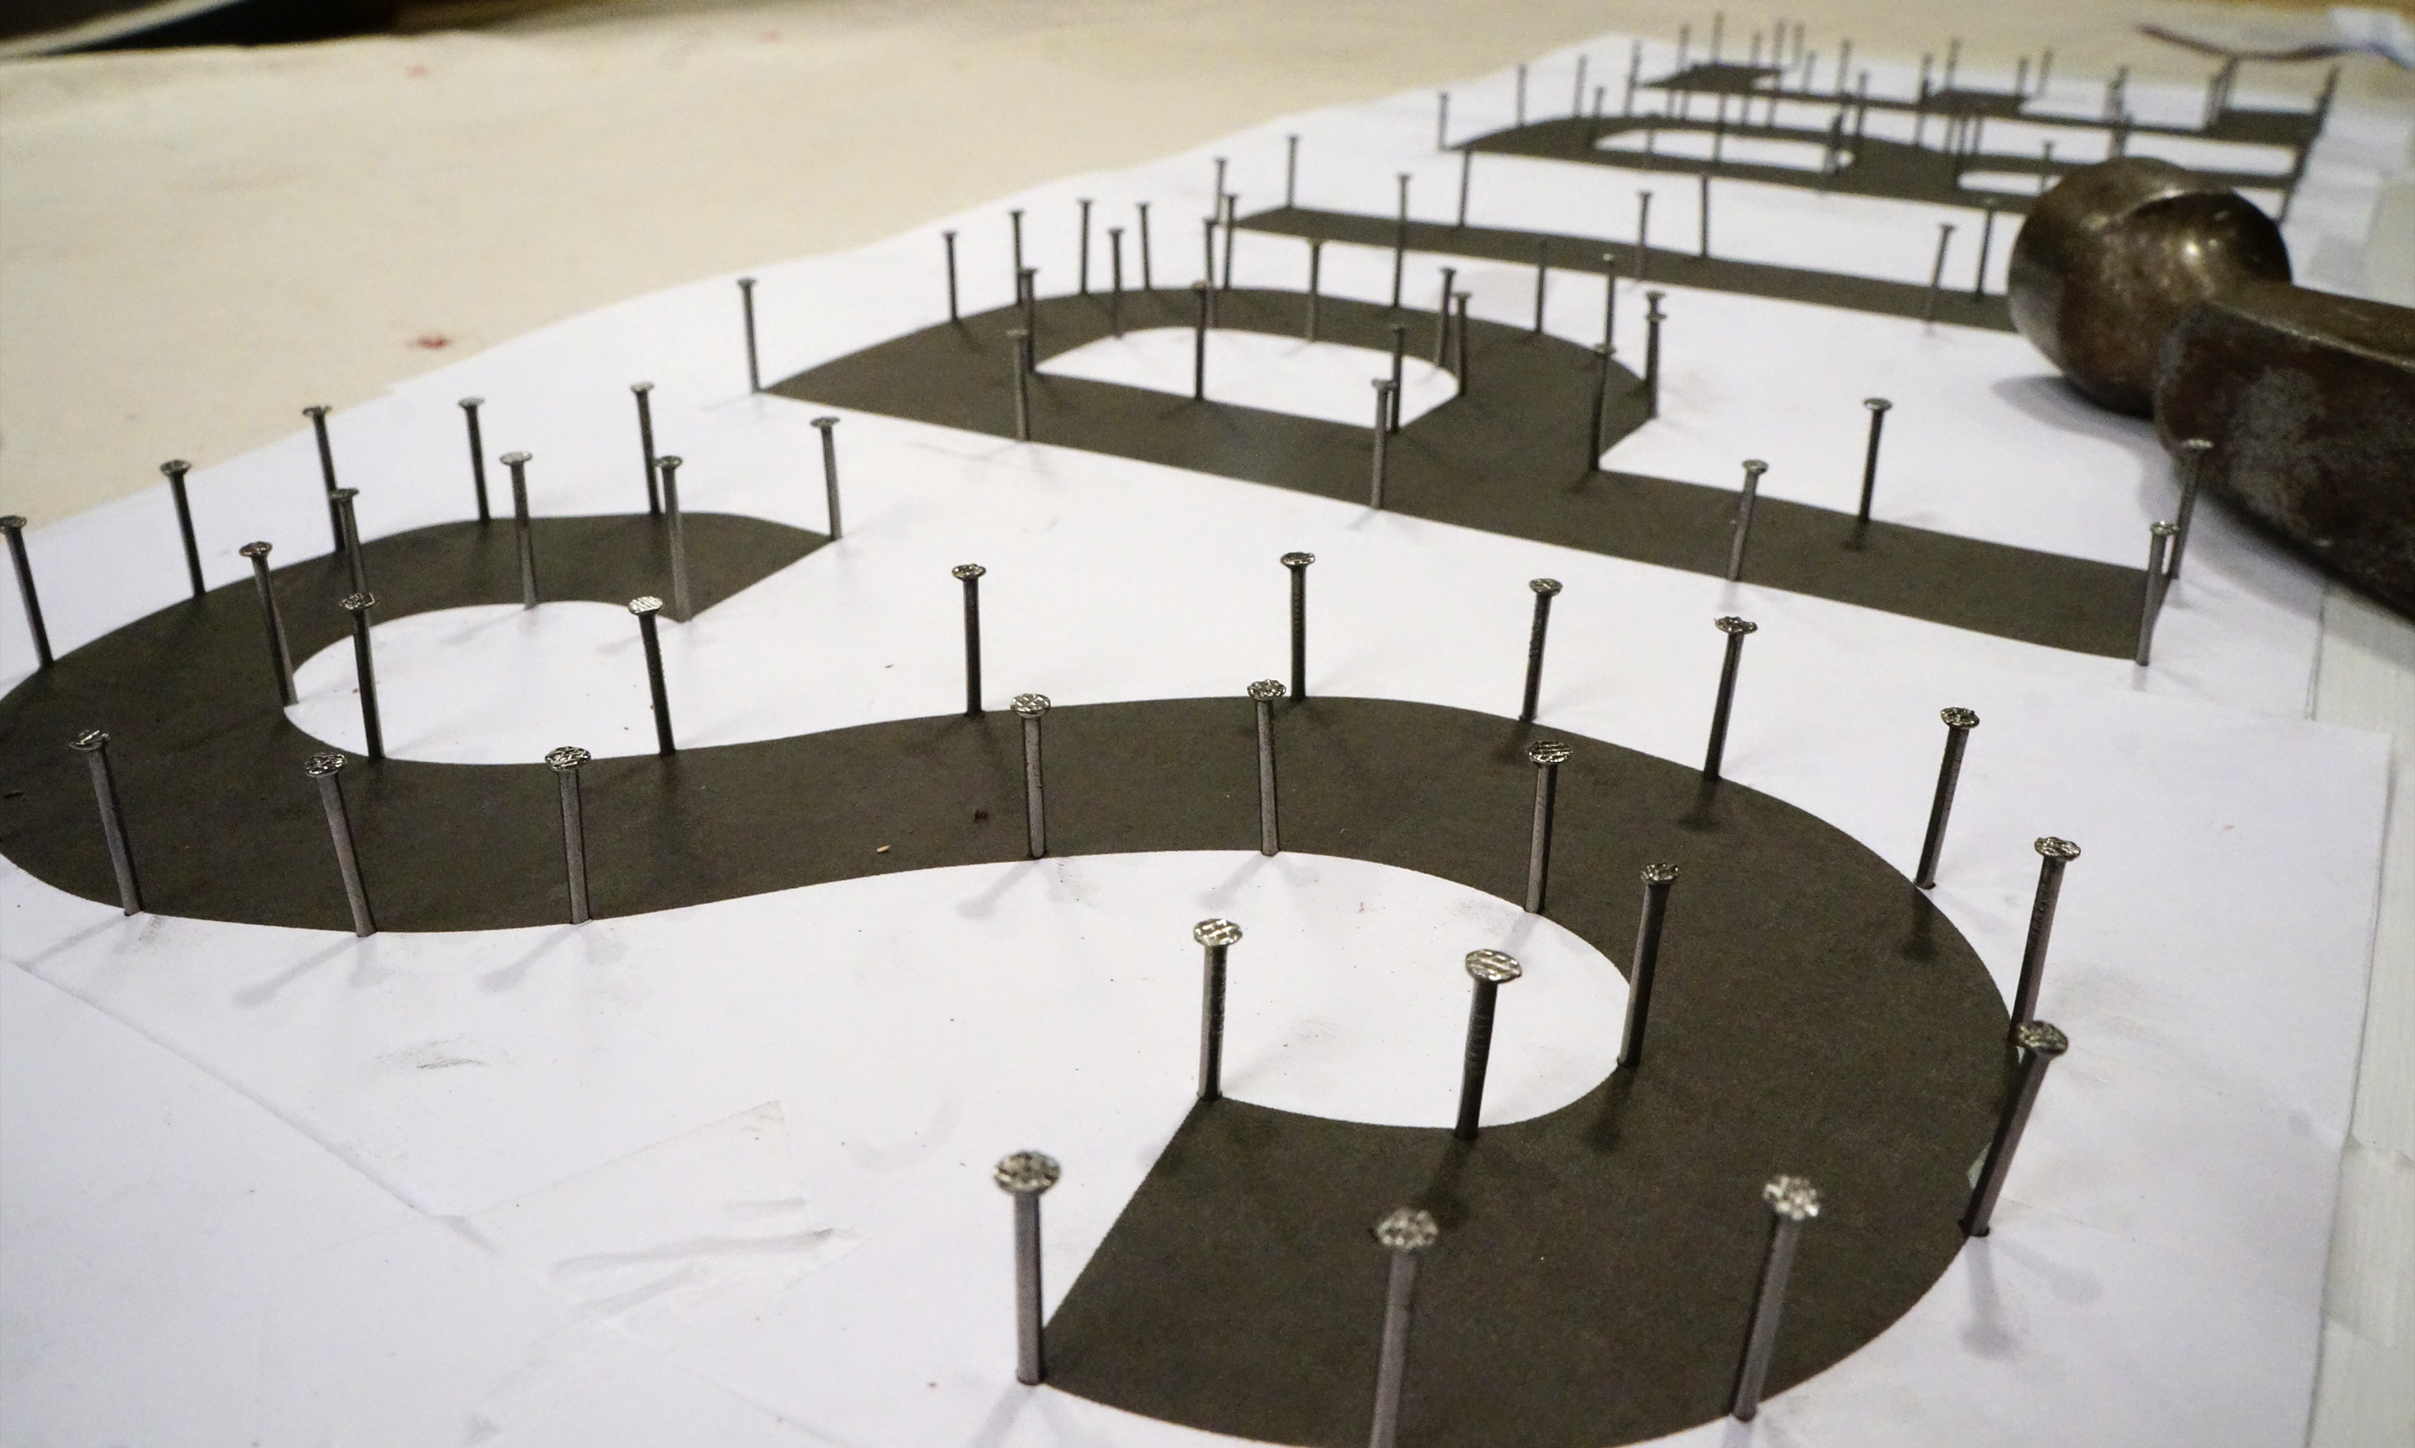
8. Hammer in nails along each letter edge and curve. Be sure not to put too many in yet because you need to remove the paper.
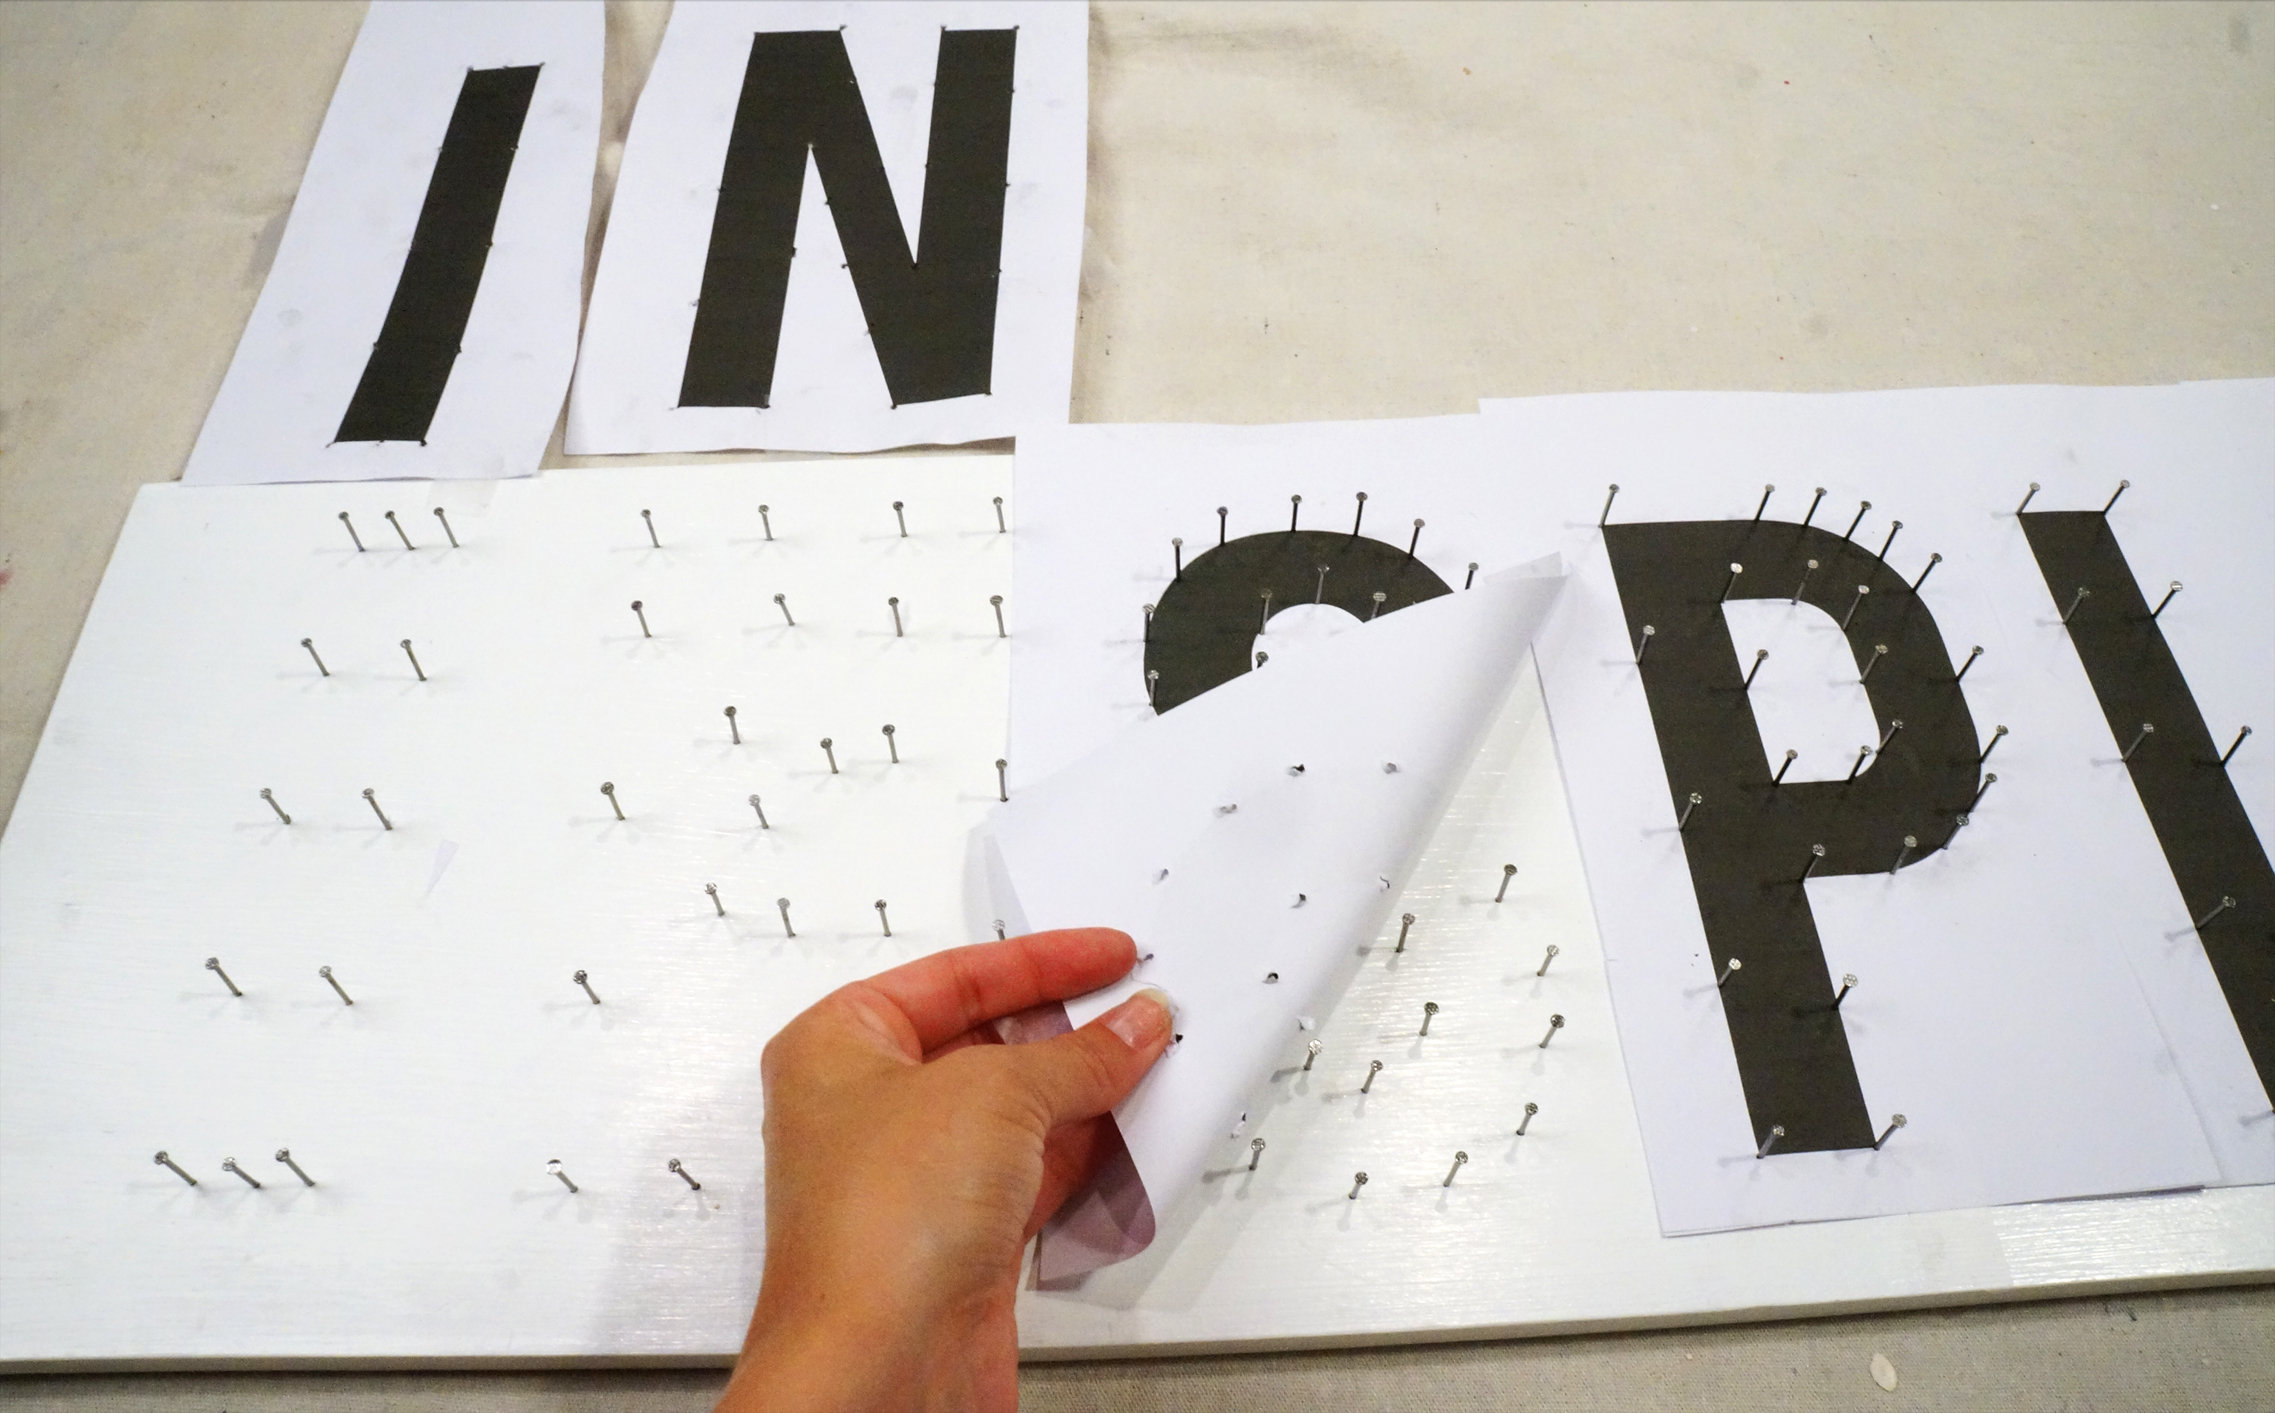
9. Just tug the bottom edges of your paper and it should pop right over your nails.
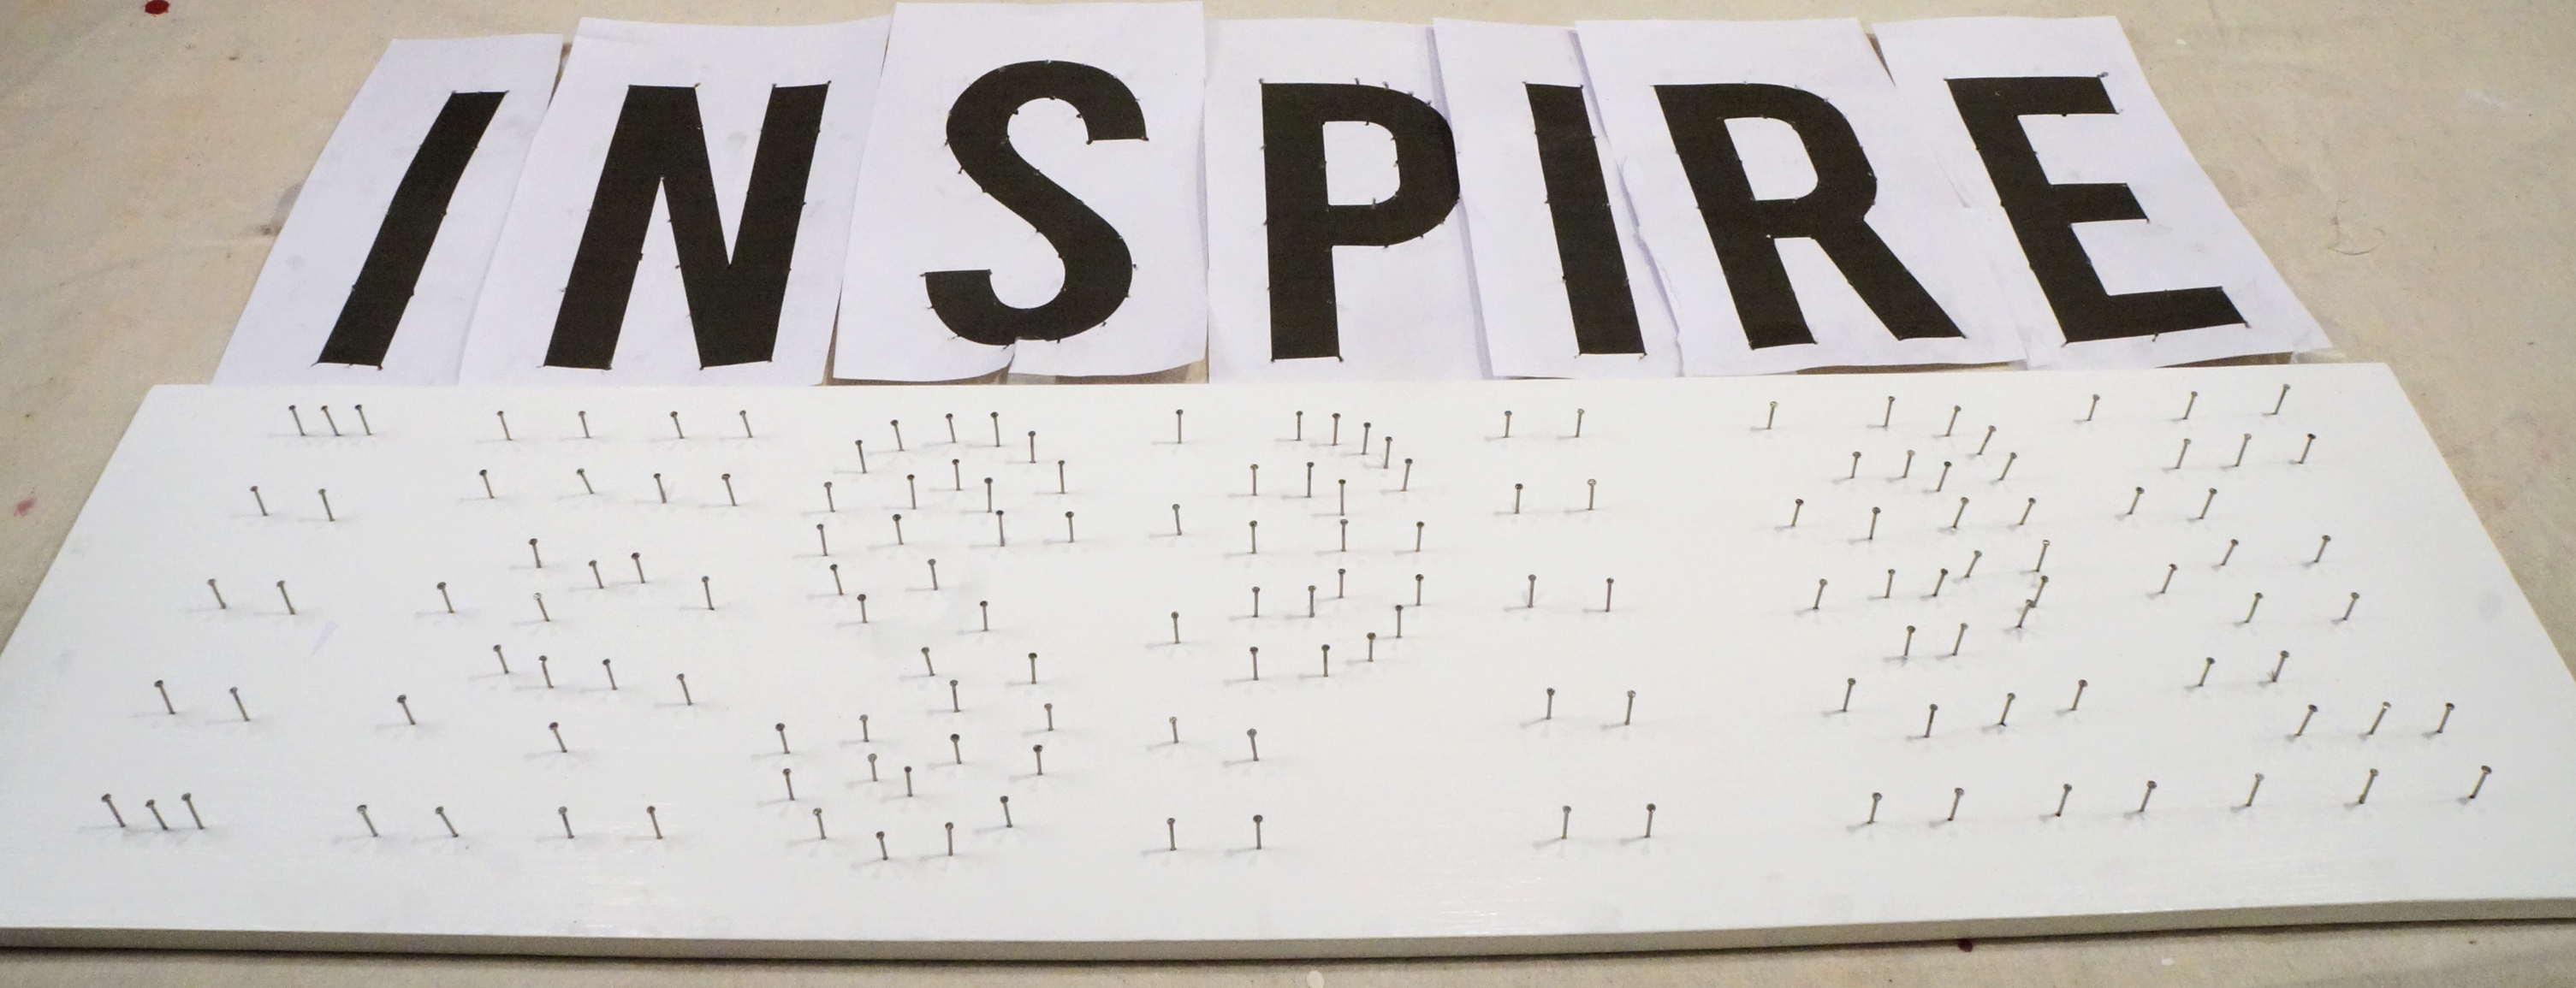
10. At this point your nails should look like your word. Don’t worry if its hard to read, the nails are not what you will be seeing.
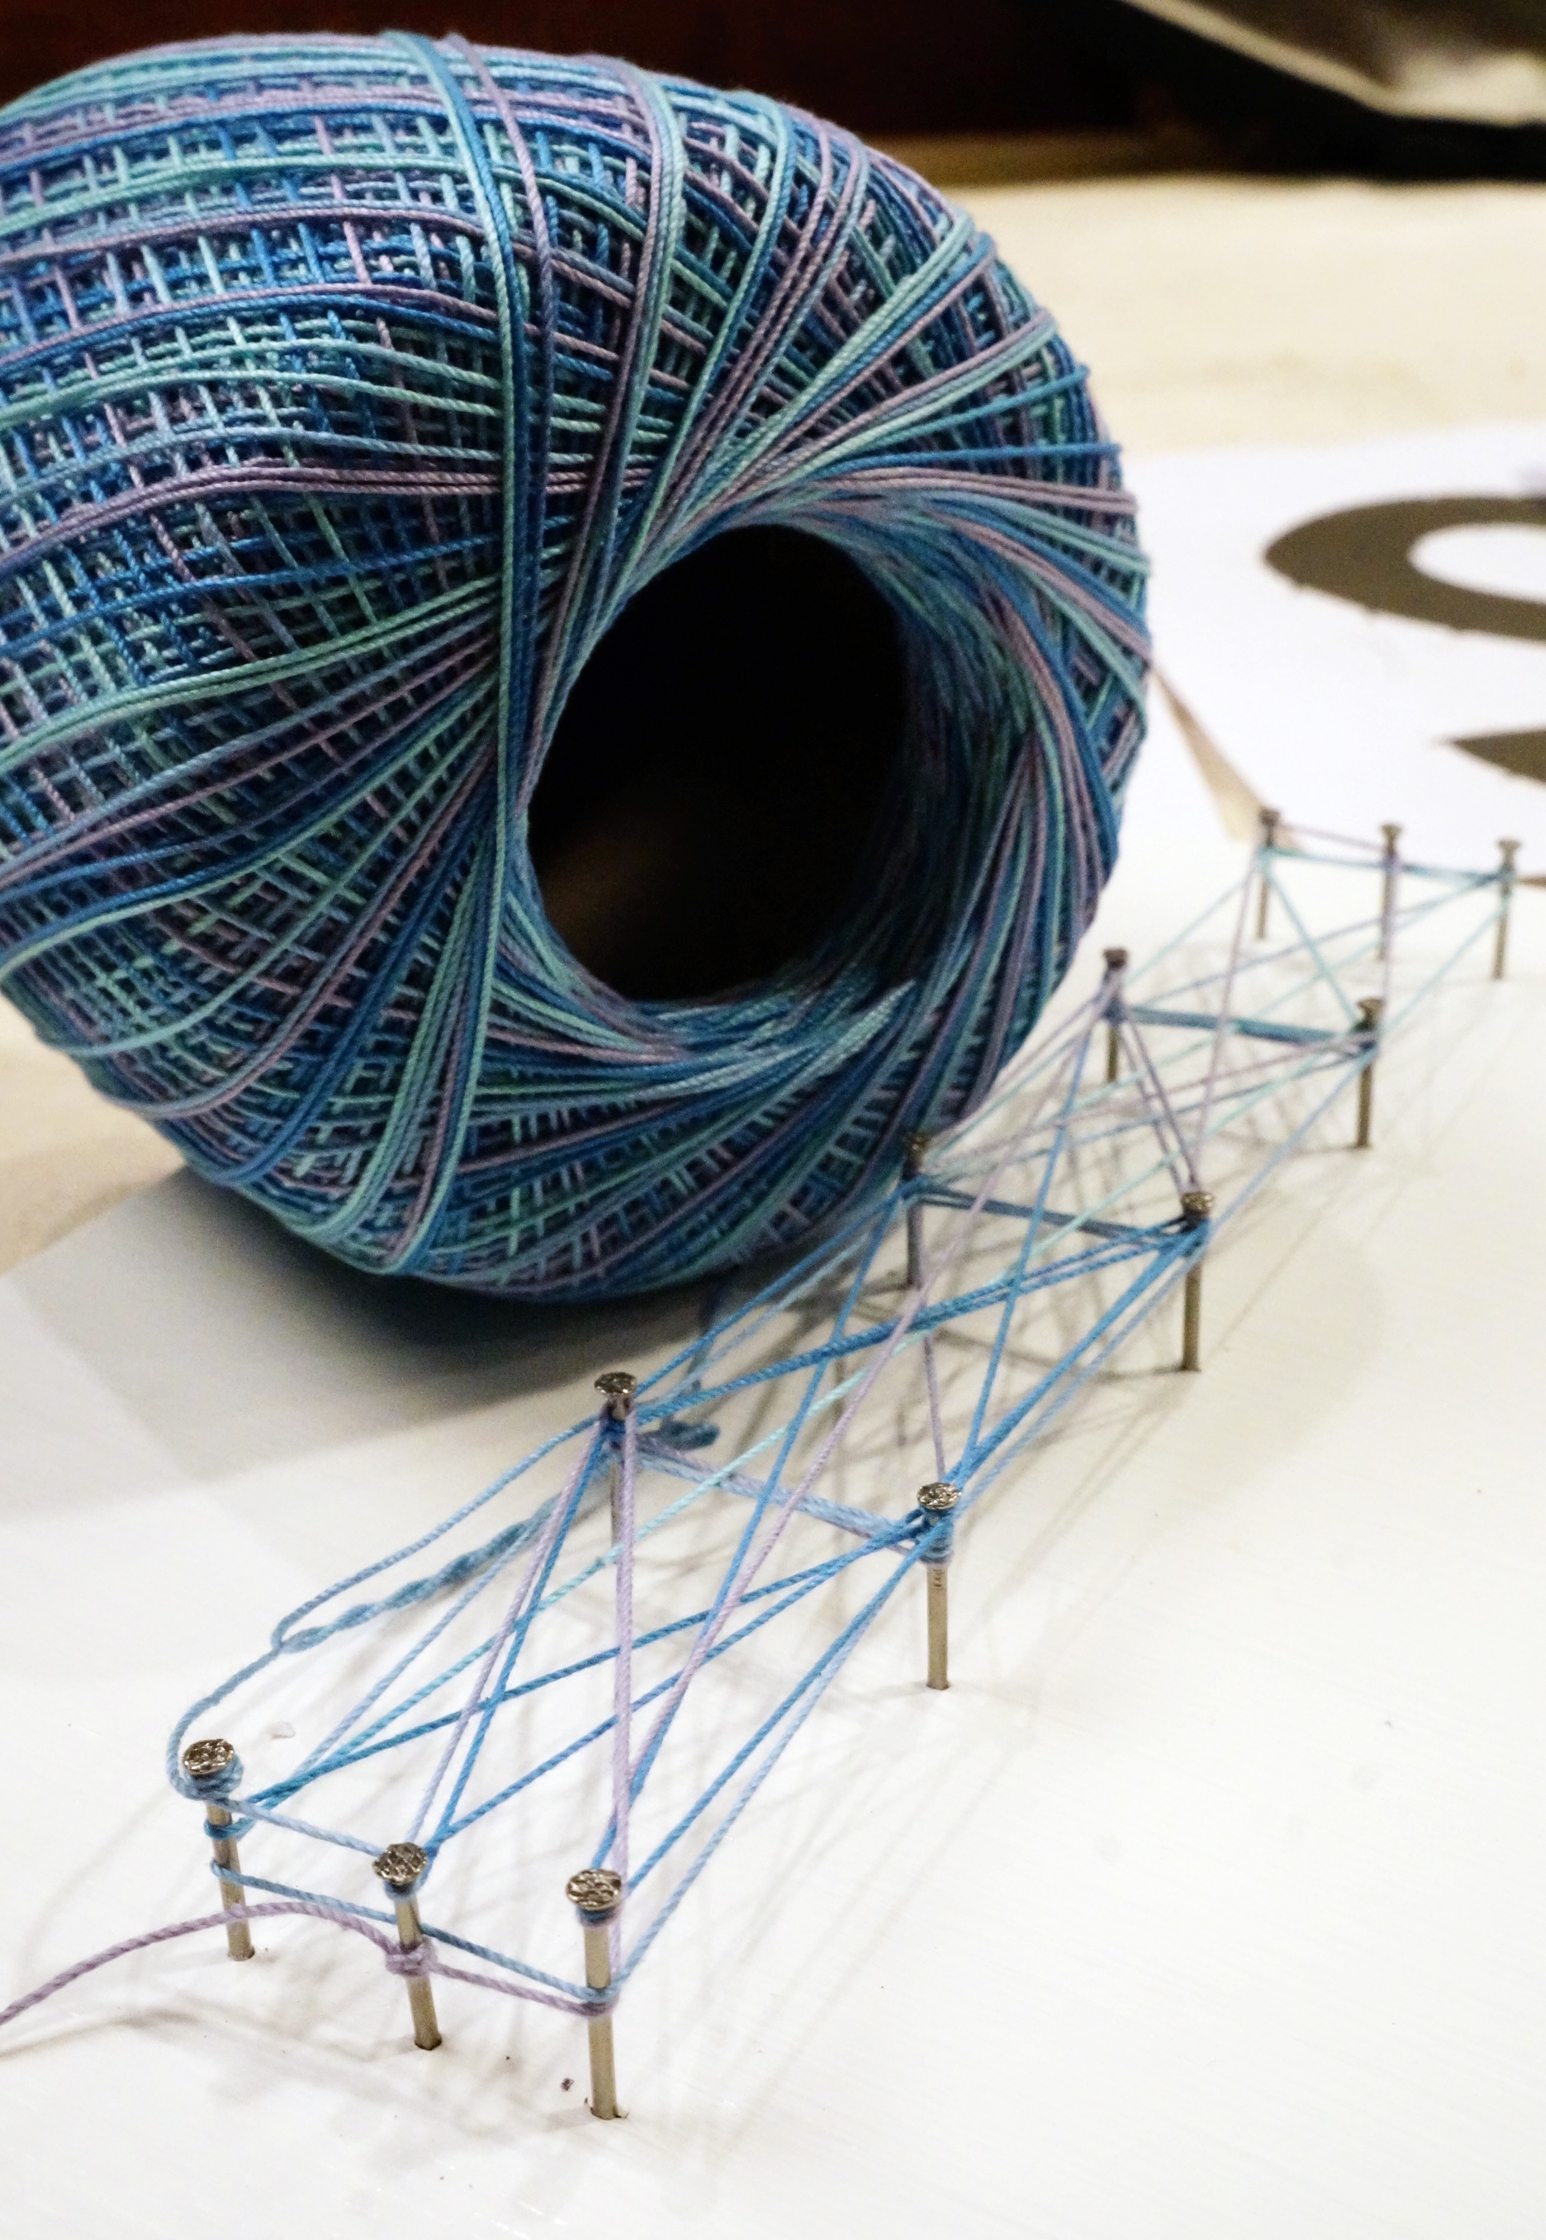
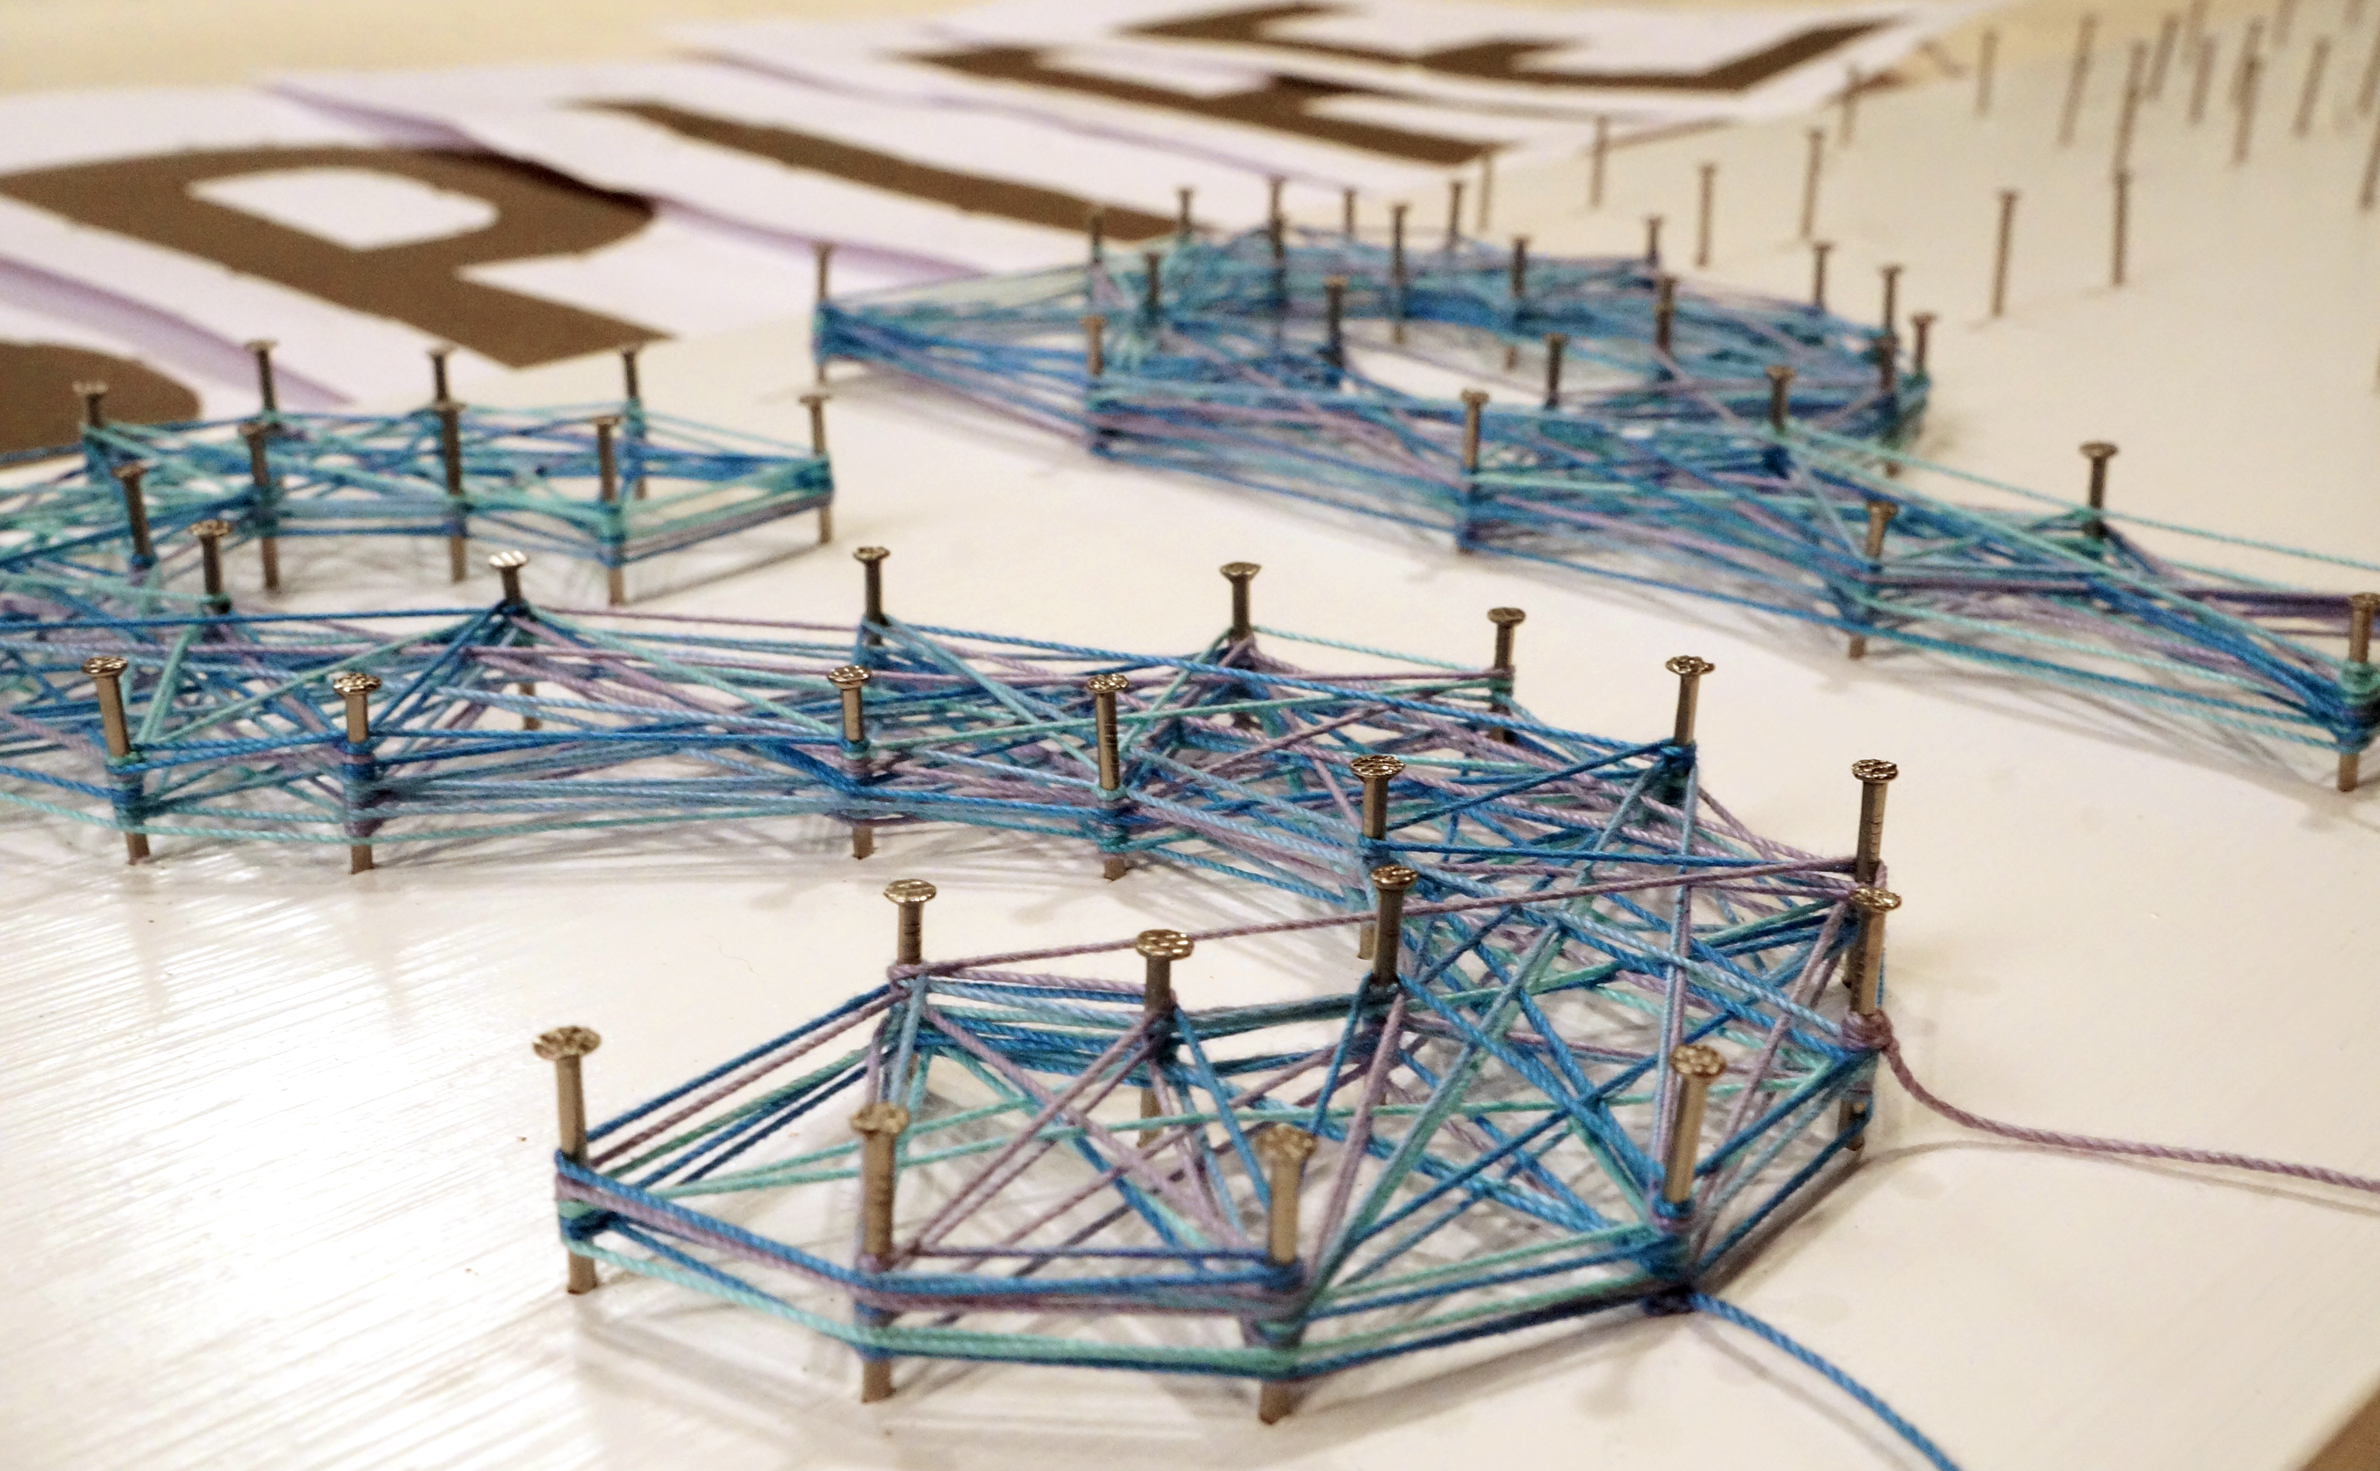
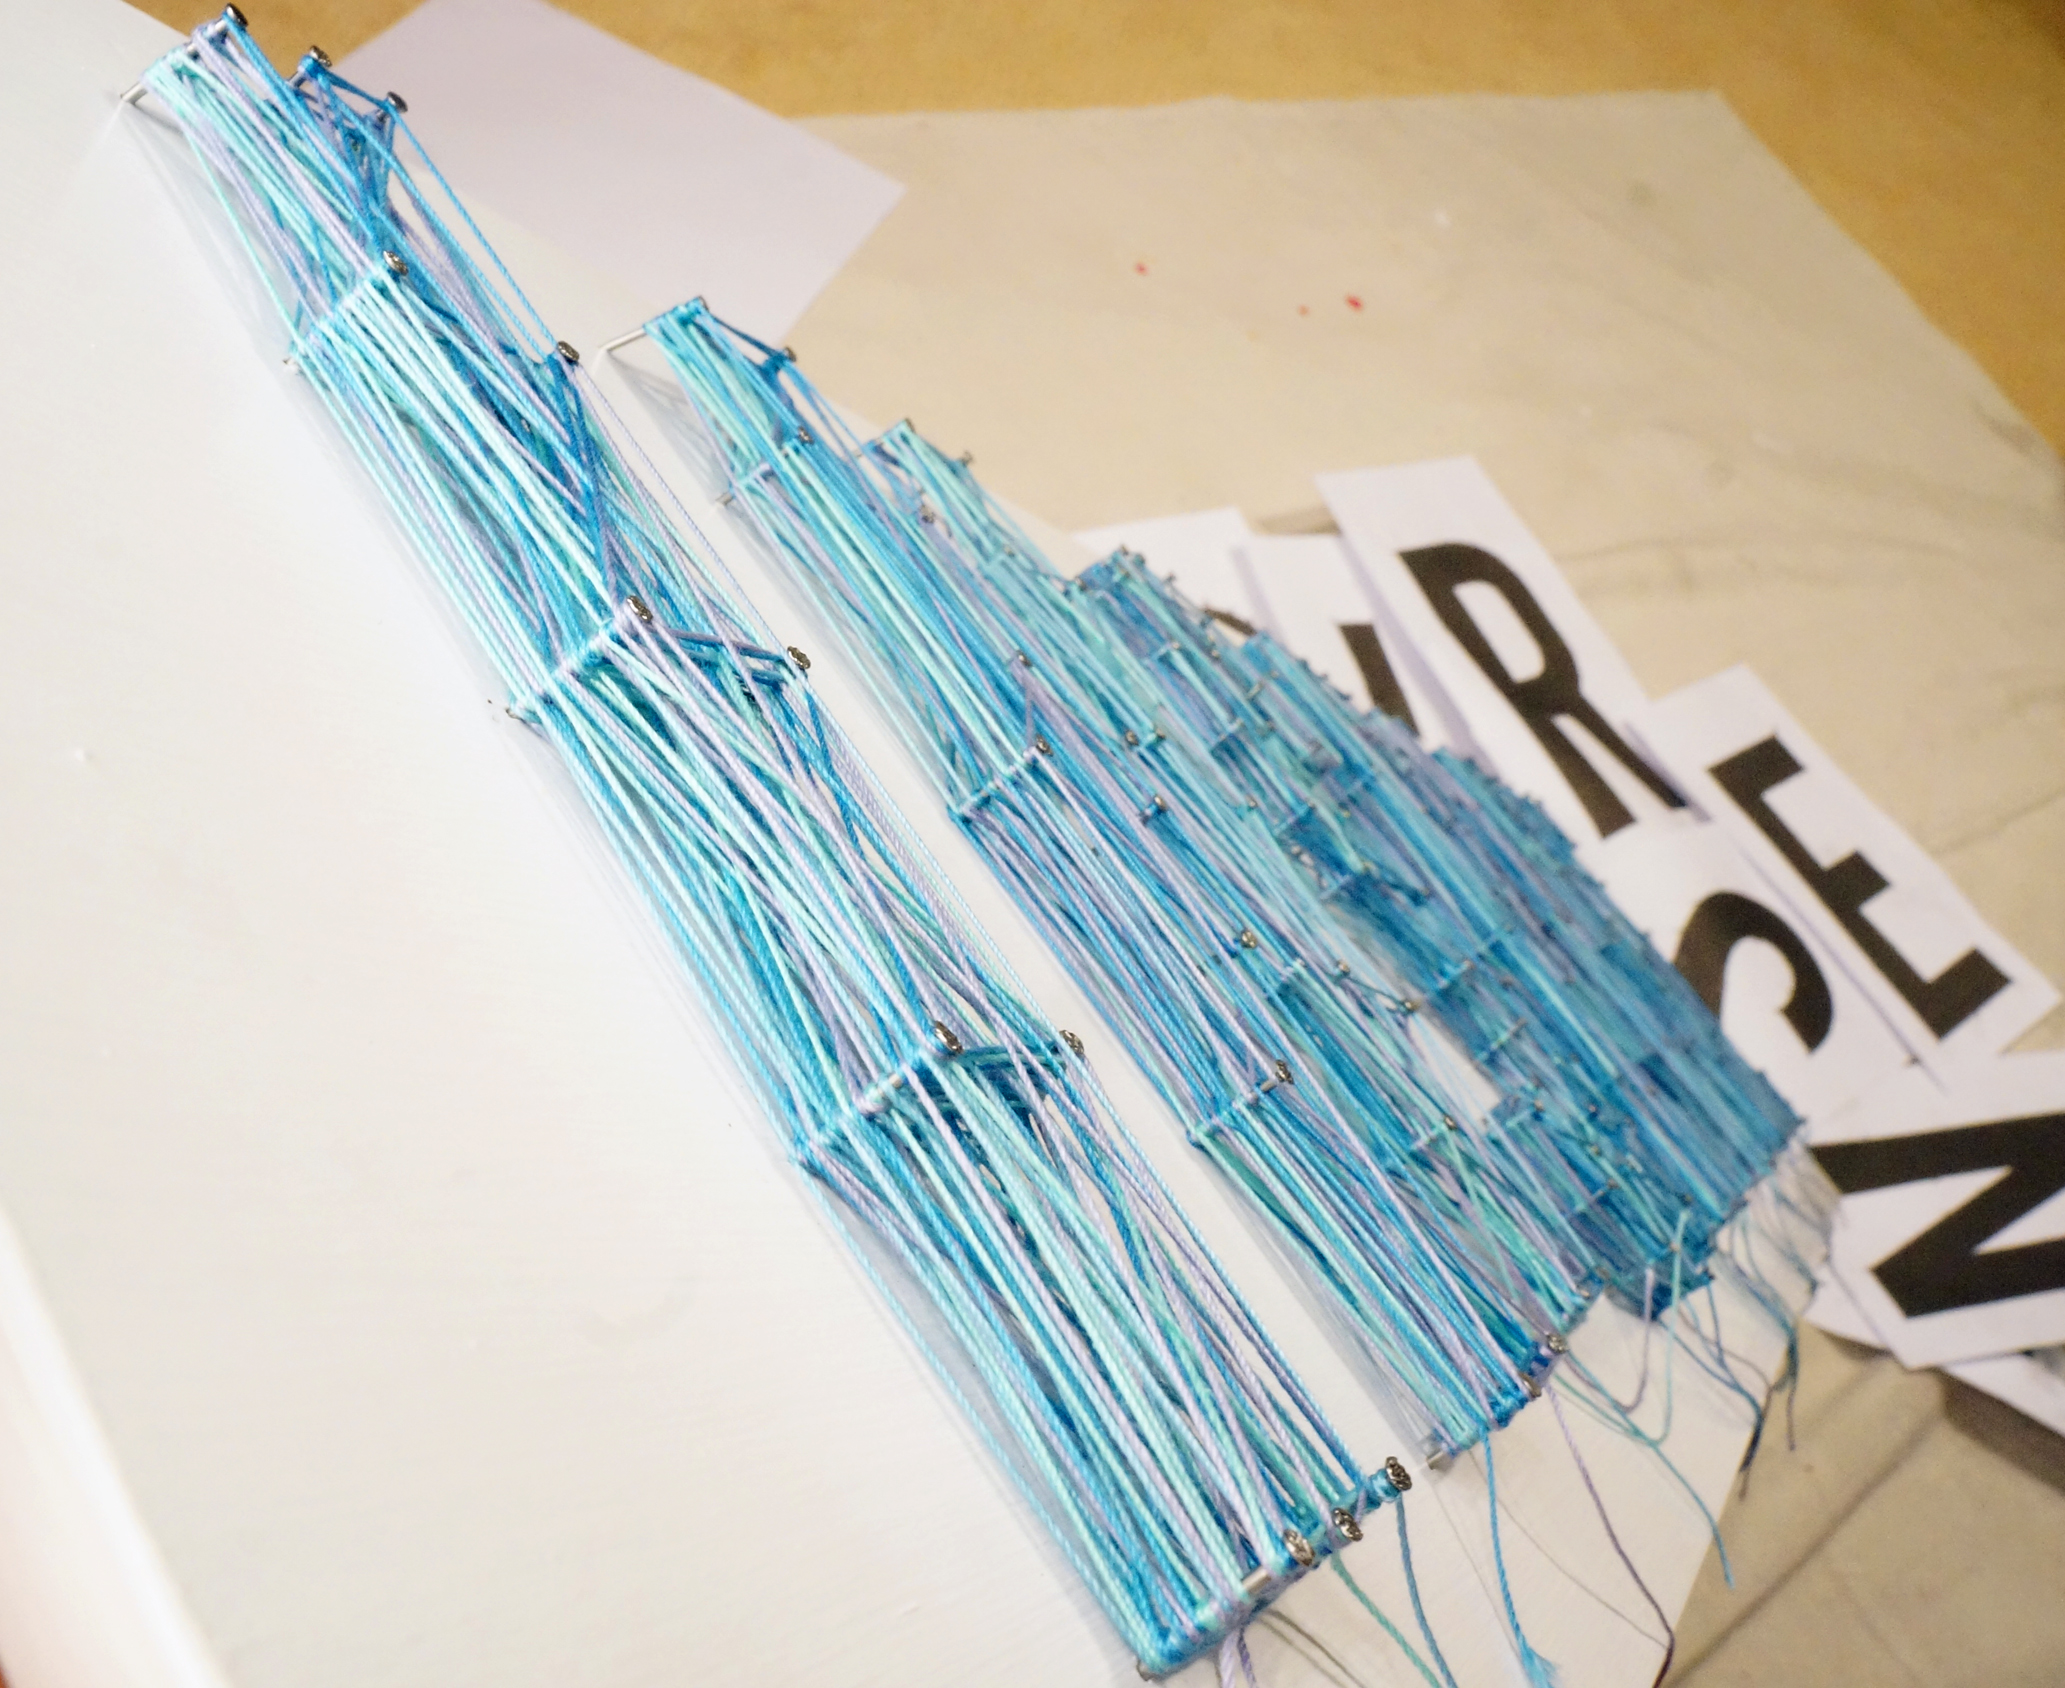
11. Now for the colorful part. Unravel your string about 2 feet, this helps when you start to wrap quickly. (Trust me, you’ll start to get all giddy about what its going to look like when its done that you’ll start wrapping string like a frantic spaz.) Tie the end of the string on the bottom left nail of your first letter and start wrapping around to every nail. There really is no system to this part; just make sure you follow the shape of your letters.
TIP: Watch your knuckles! It took me a couple photos to realize my blood was on the board due to a quick catch of the skin on a nail head.
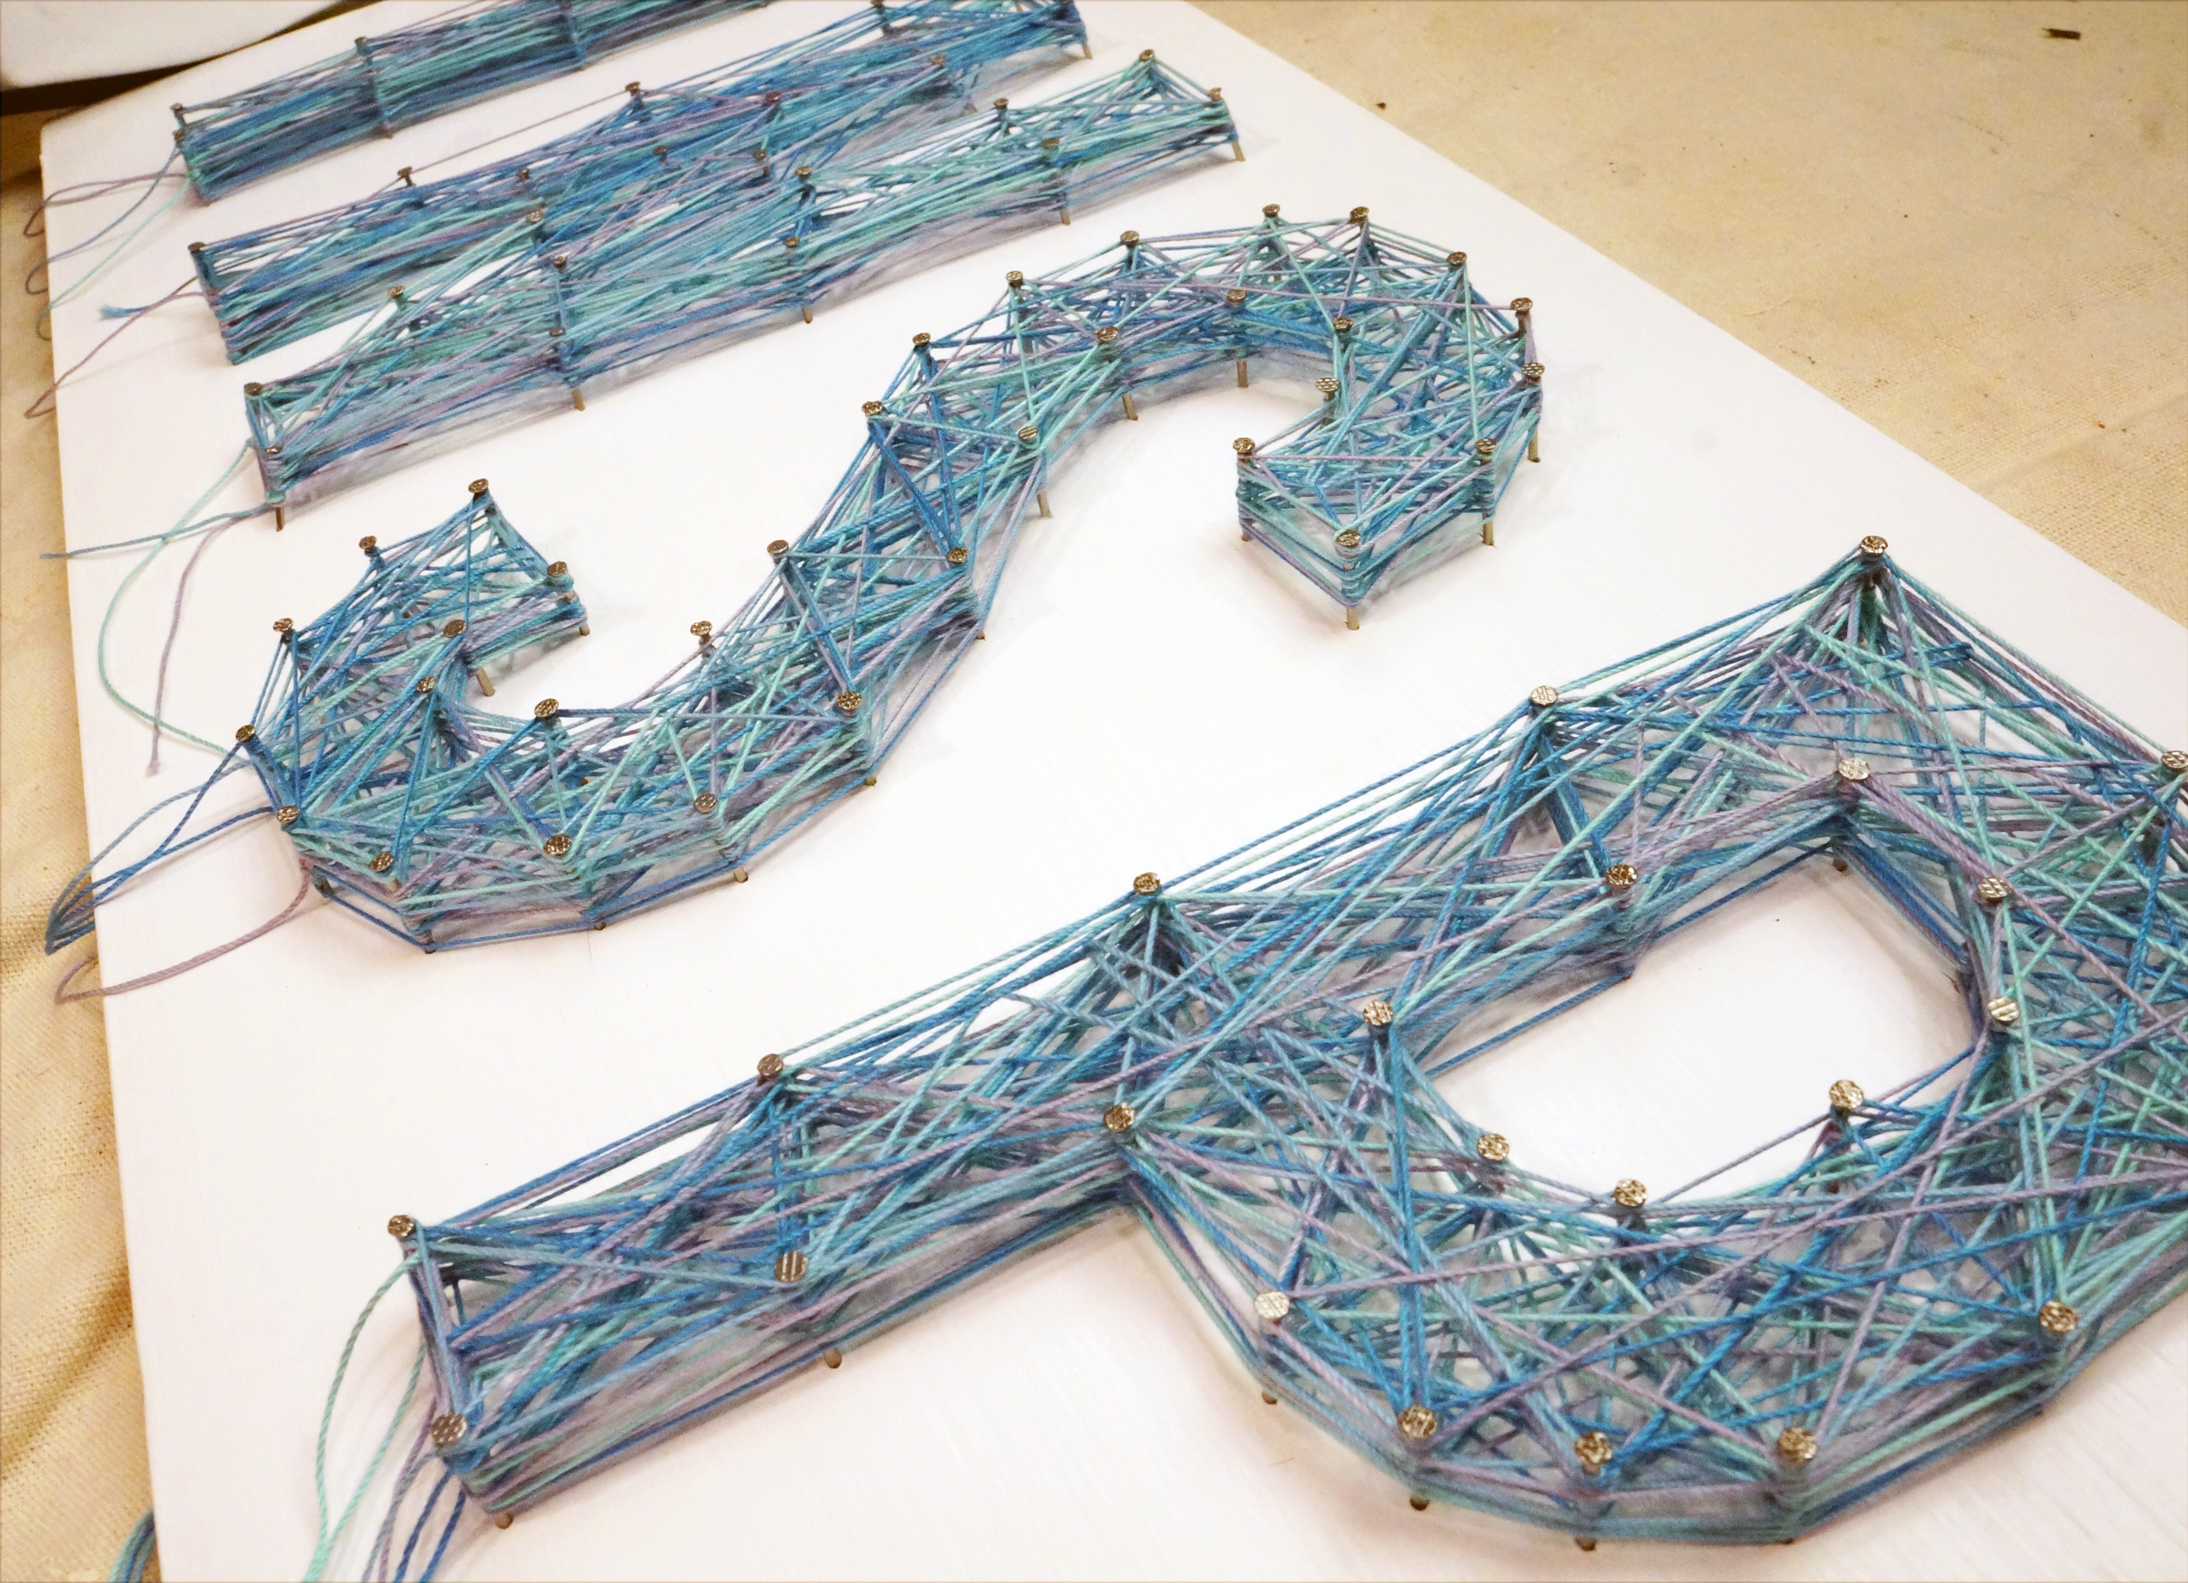
12. If your wrapping and you realize a rebellion string decided to get caught and go across a letter where it shouldn’t be, DO NOT CUT IT. If you can’t stretch it to wrap behind a nail into the letter form, just unravel your string to that point and start back from there. This will more than likely happen a couple times, no worries, the end result is worth the fixings.
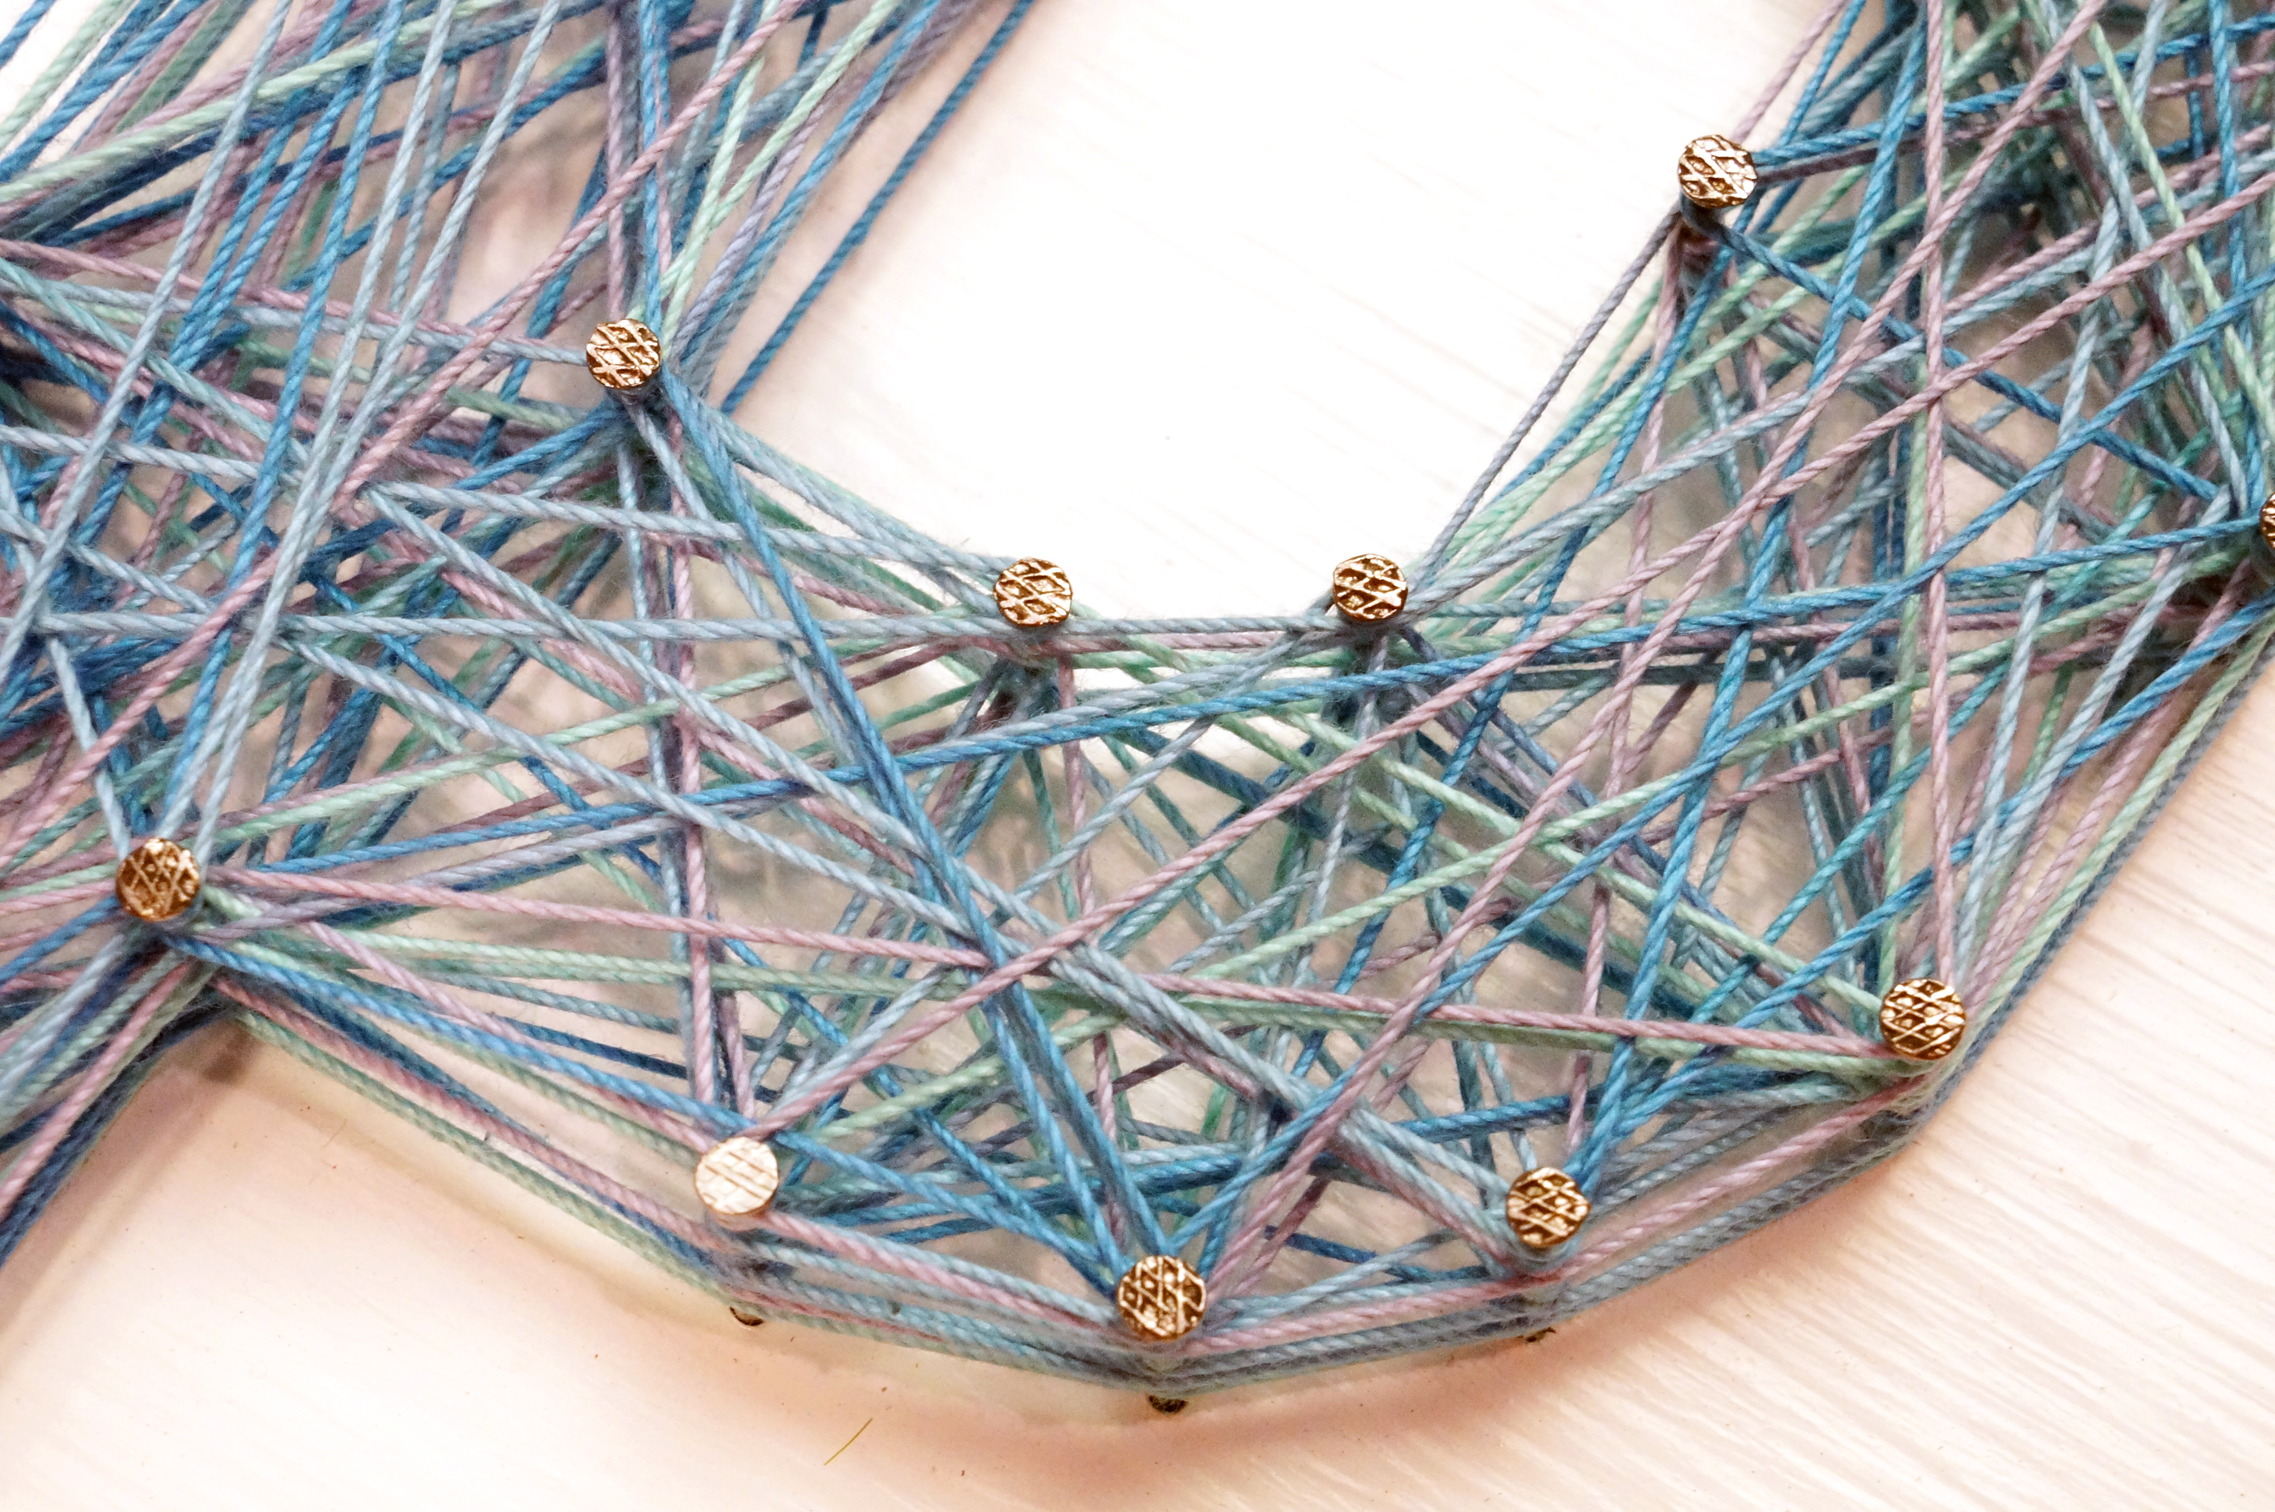
13. Continue to wrap the string and push down each layer of string to the bottom of the nail (so its touching the wood) and wrap until you have the desired amount of string and color fill.
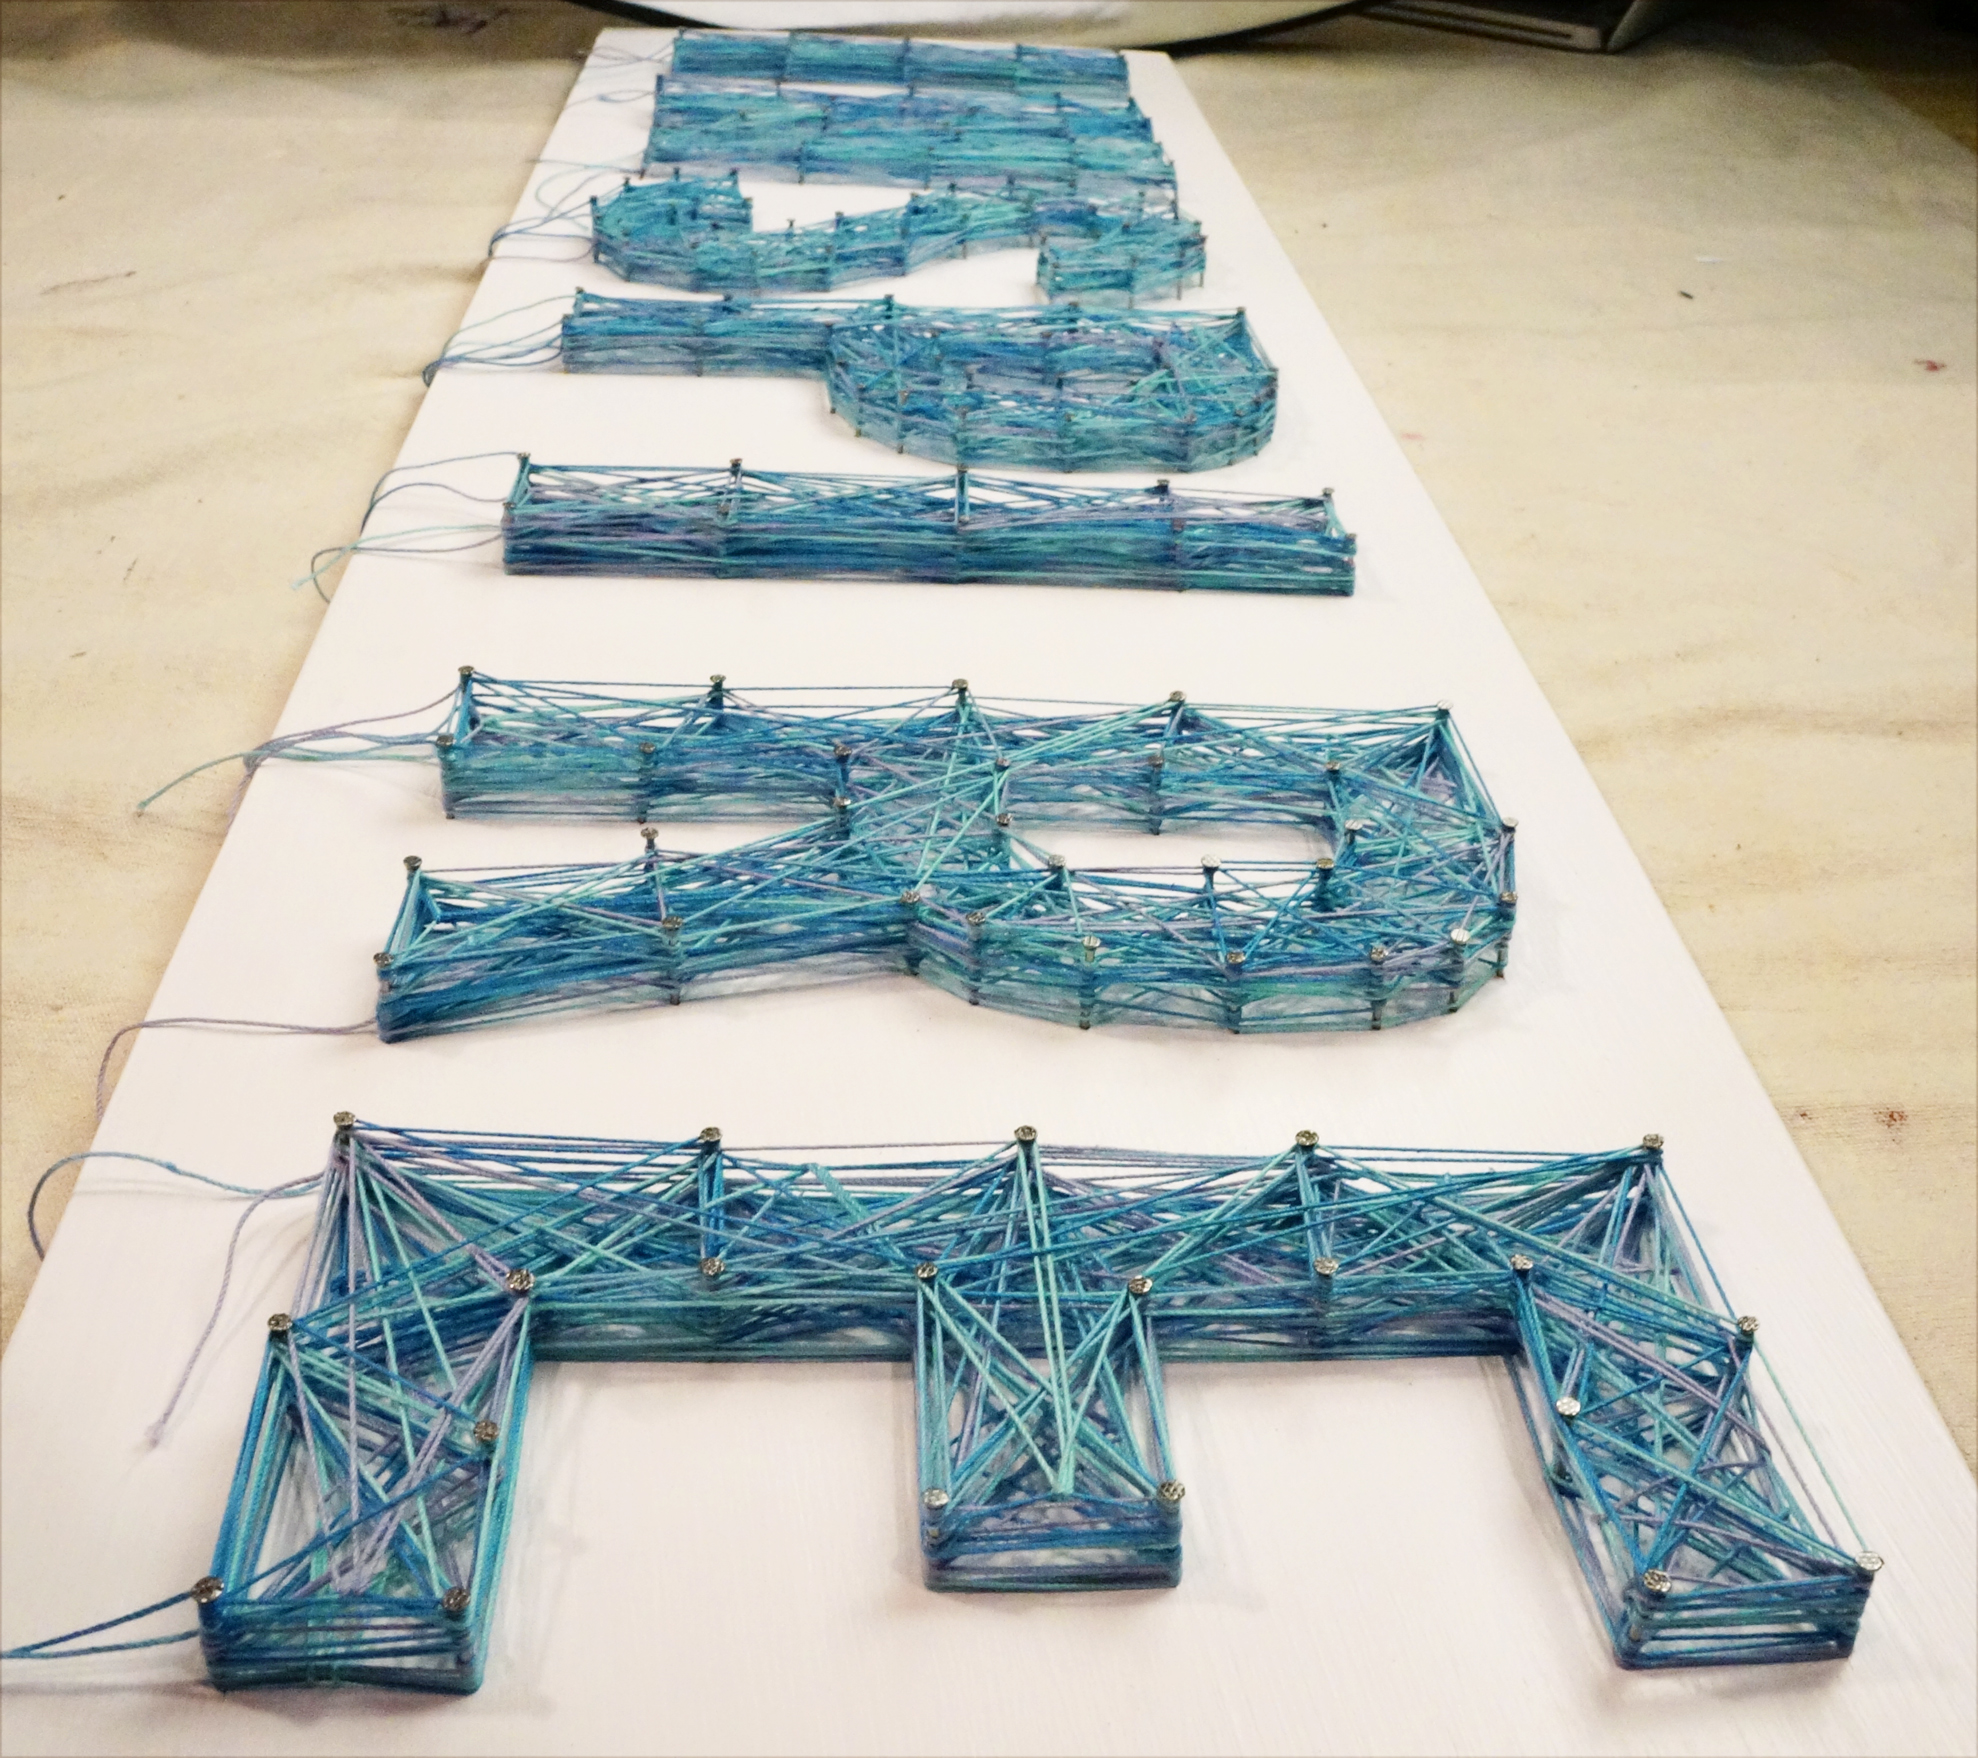
14. Hang that beauty on a wall and share your inspiration with the world! I’d love to see your end result if you want to tag me in an Instagram photo @onebroadsjourney!