THIS POST MAY CONTAIN AFFILIATE LINKS. PLEASE READ MY DISCLOSURE FOR MORE INFO.
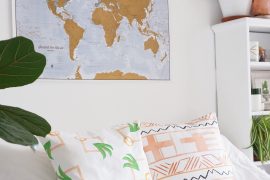
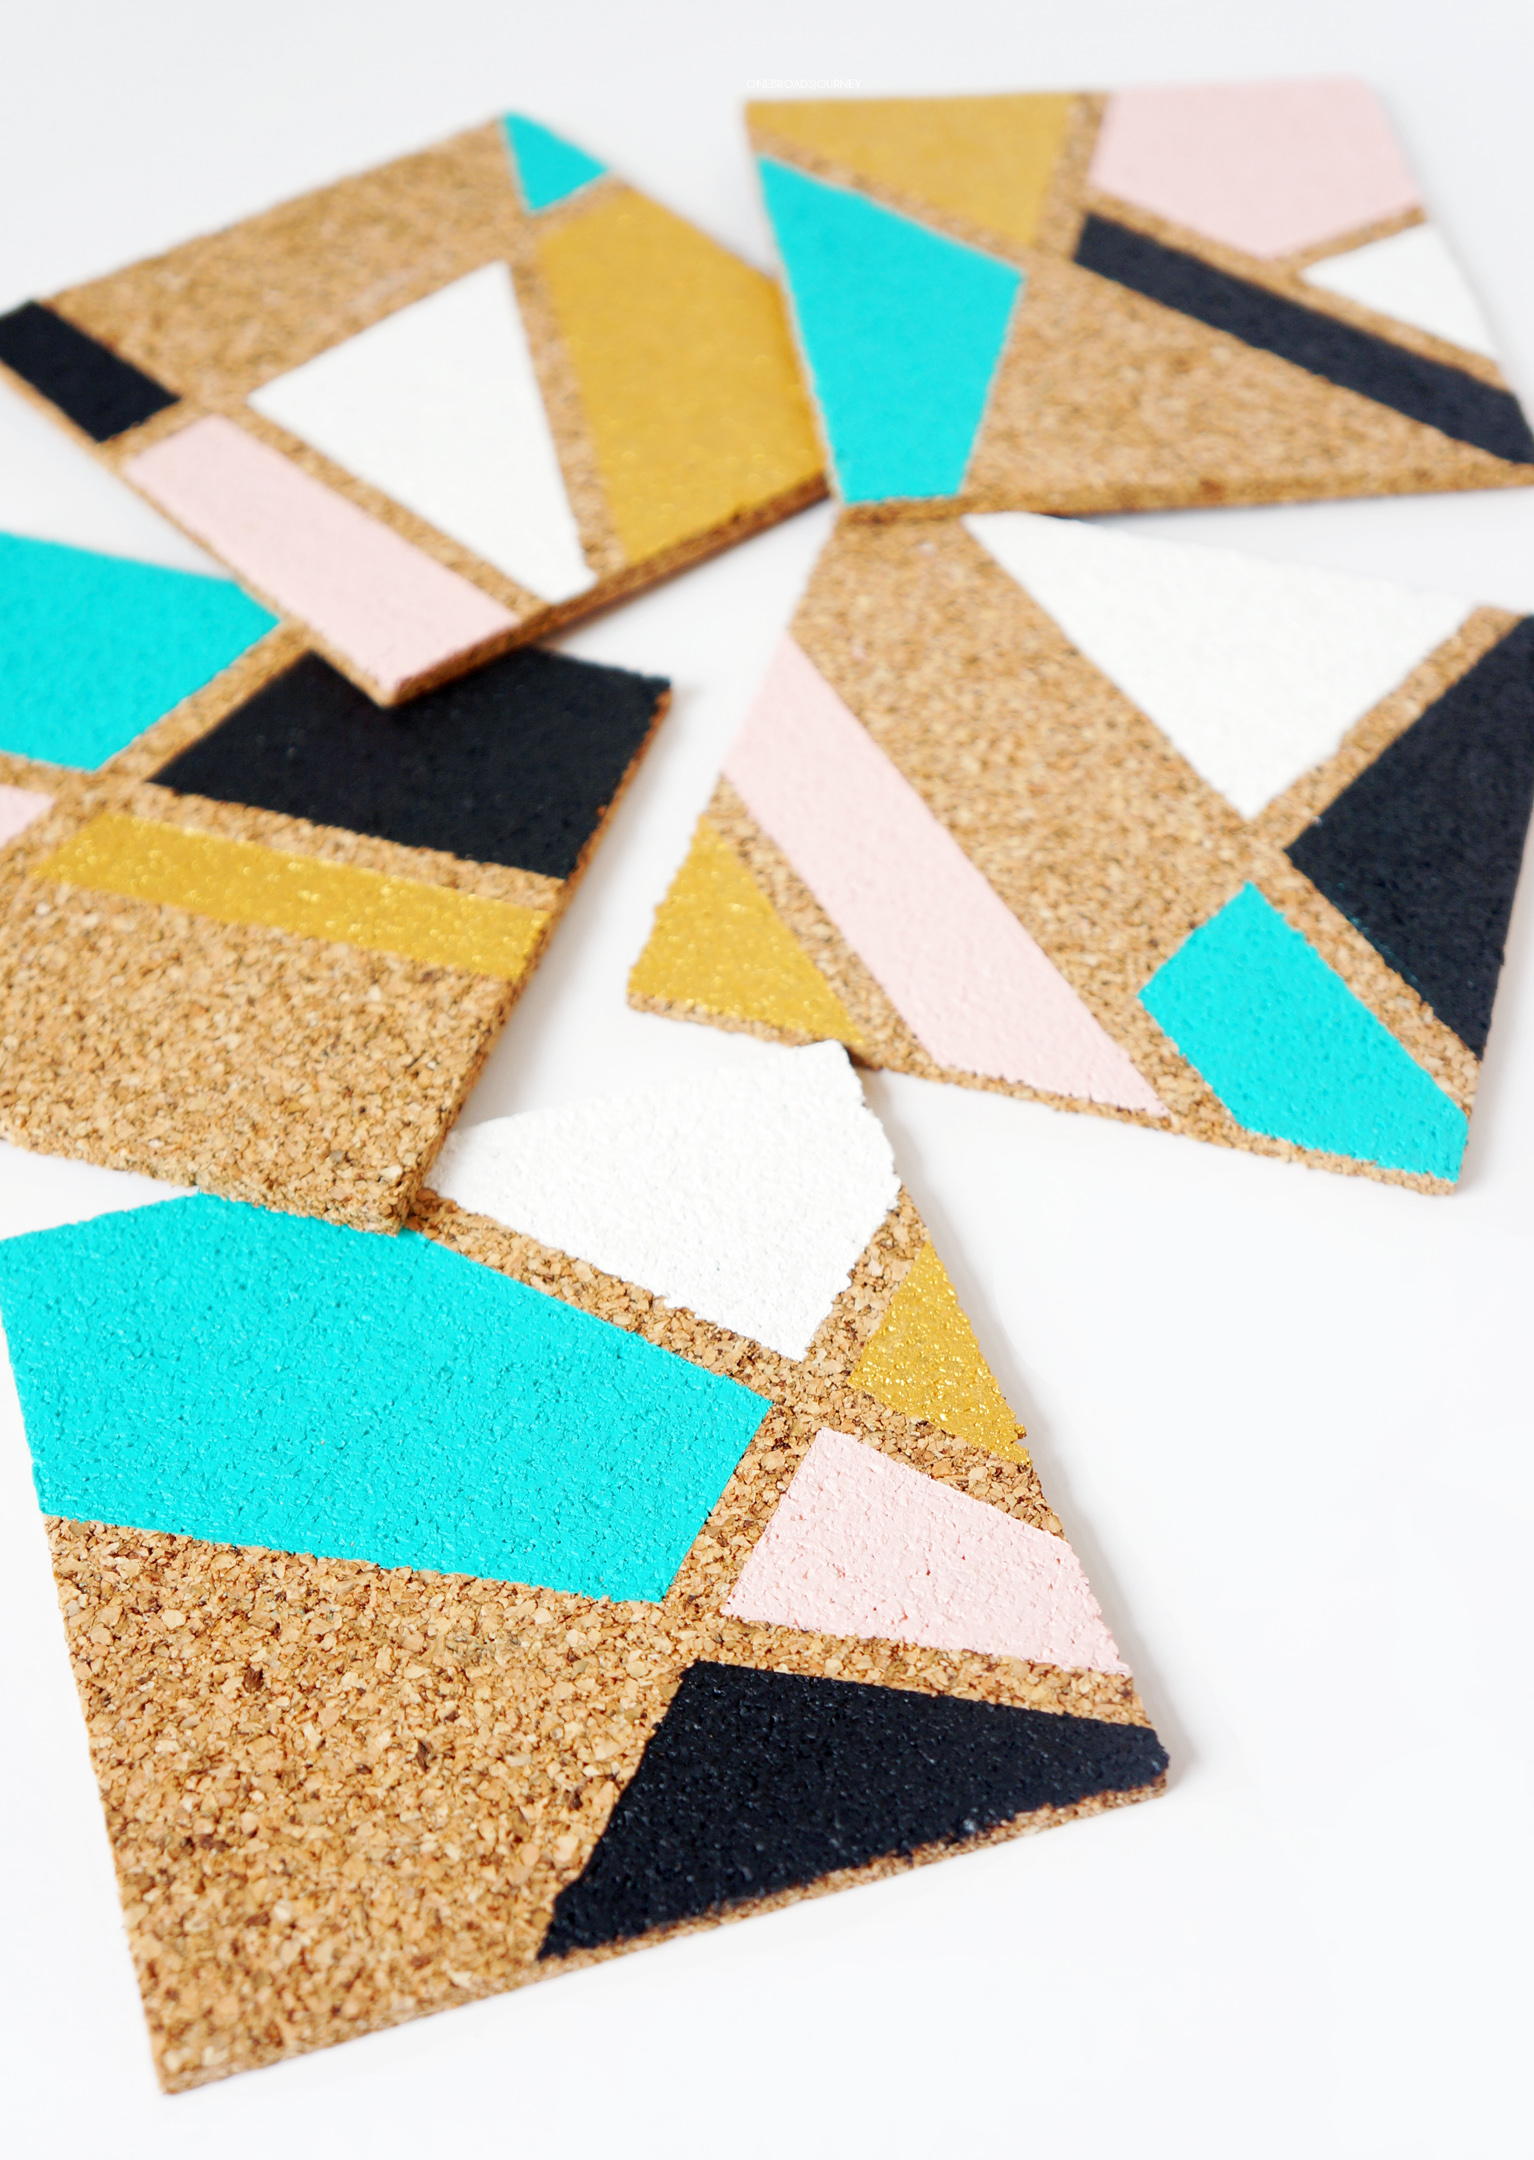
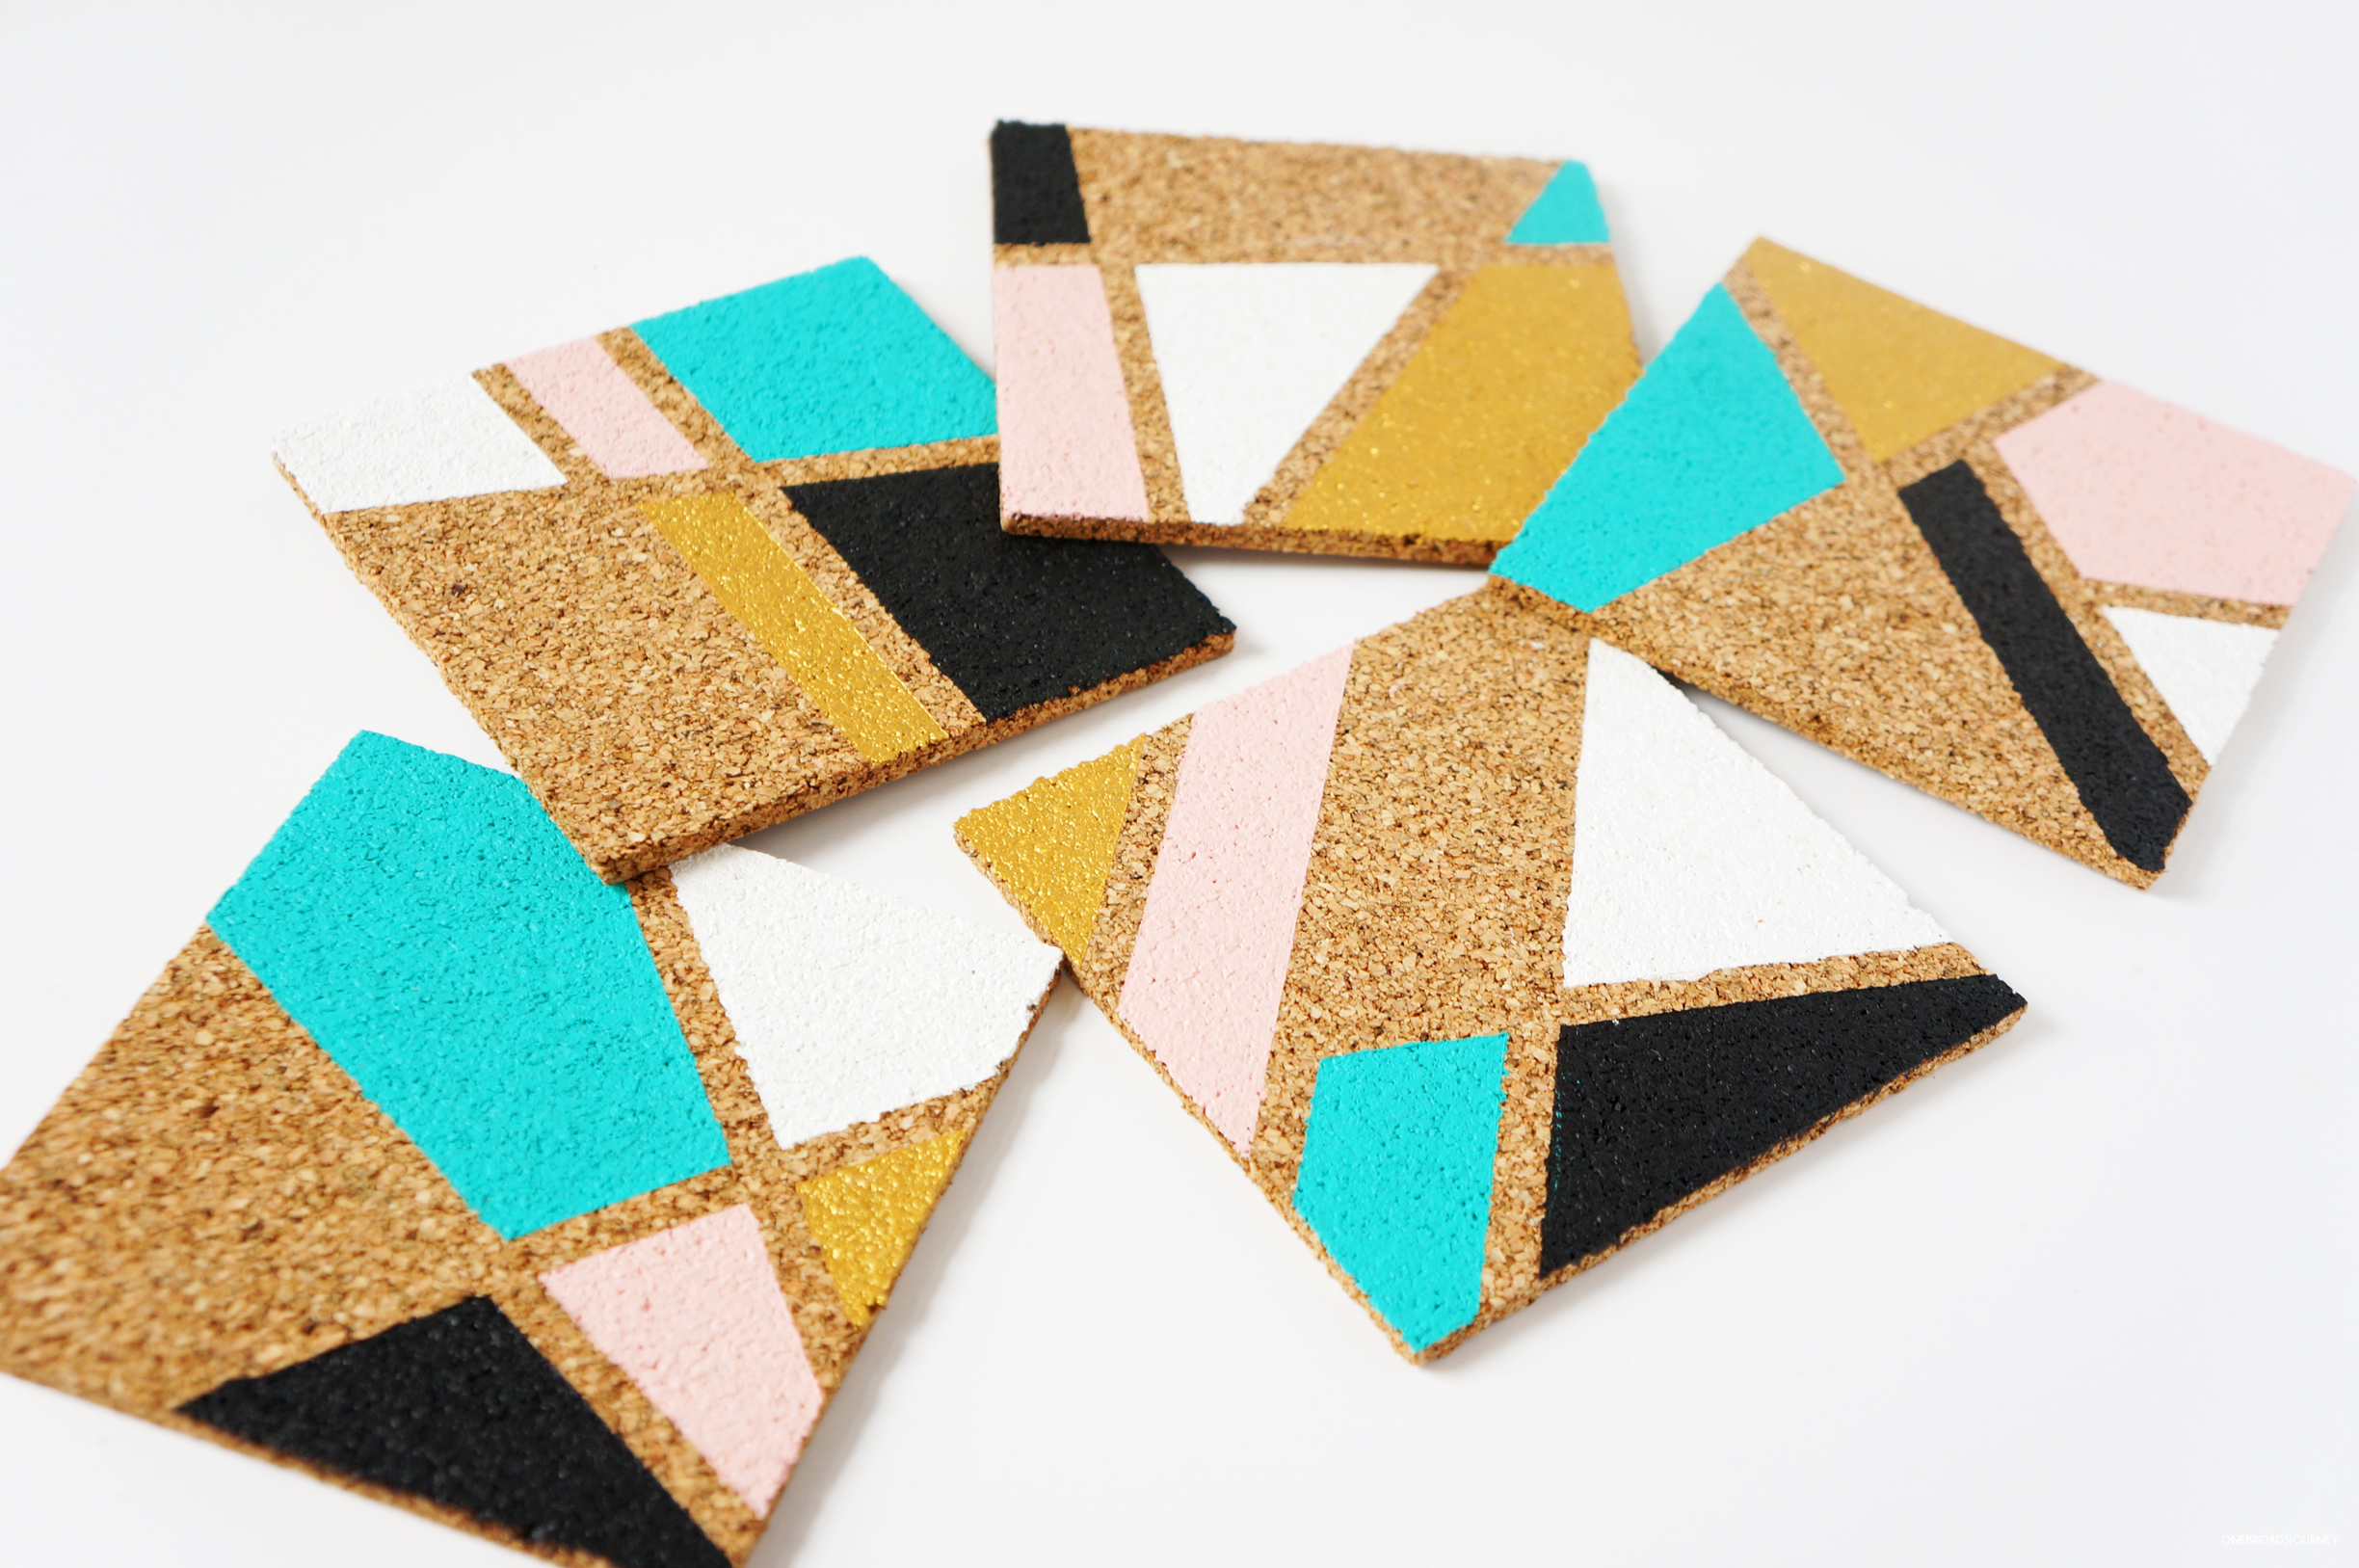
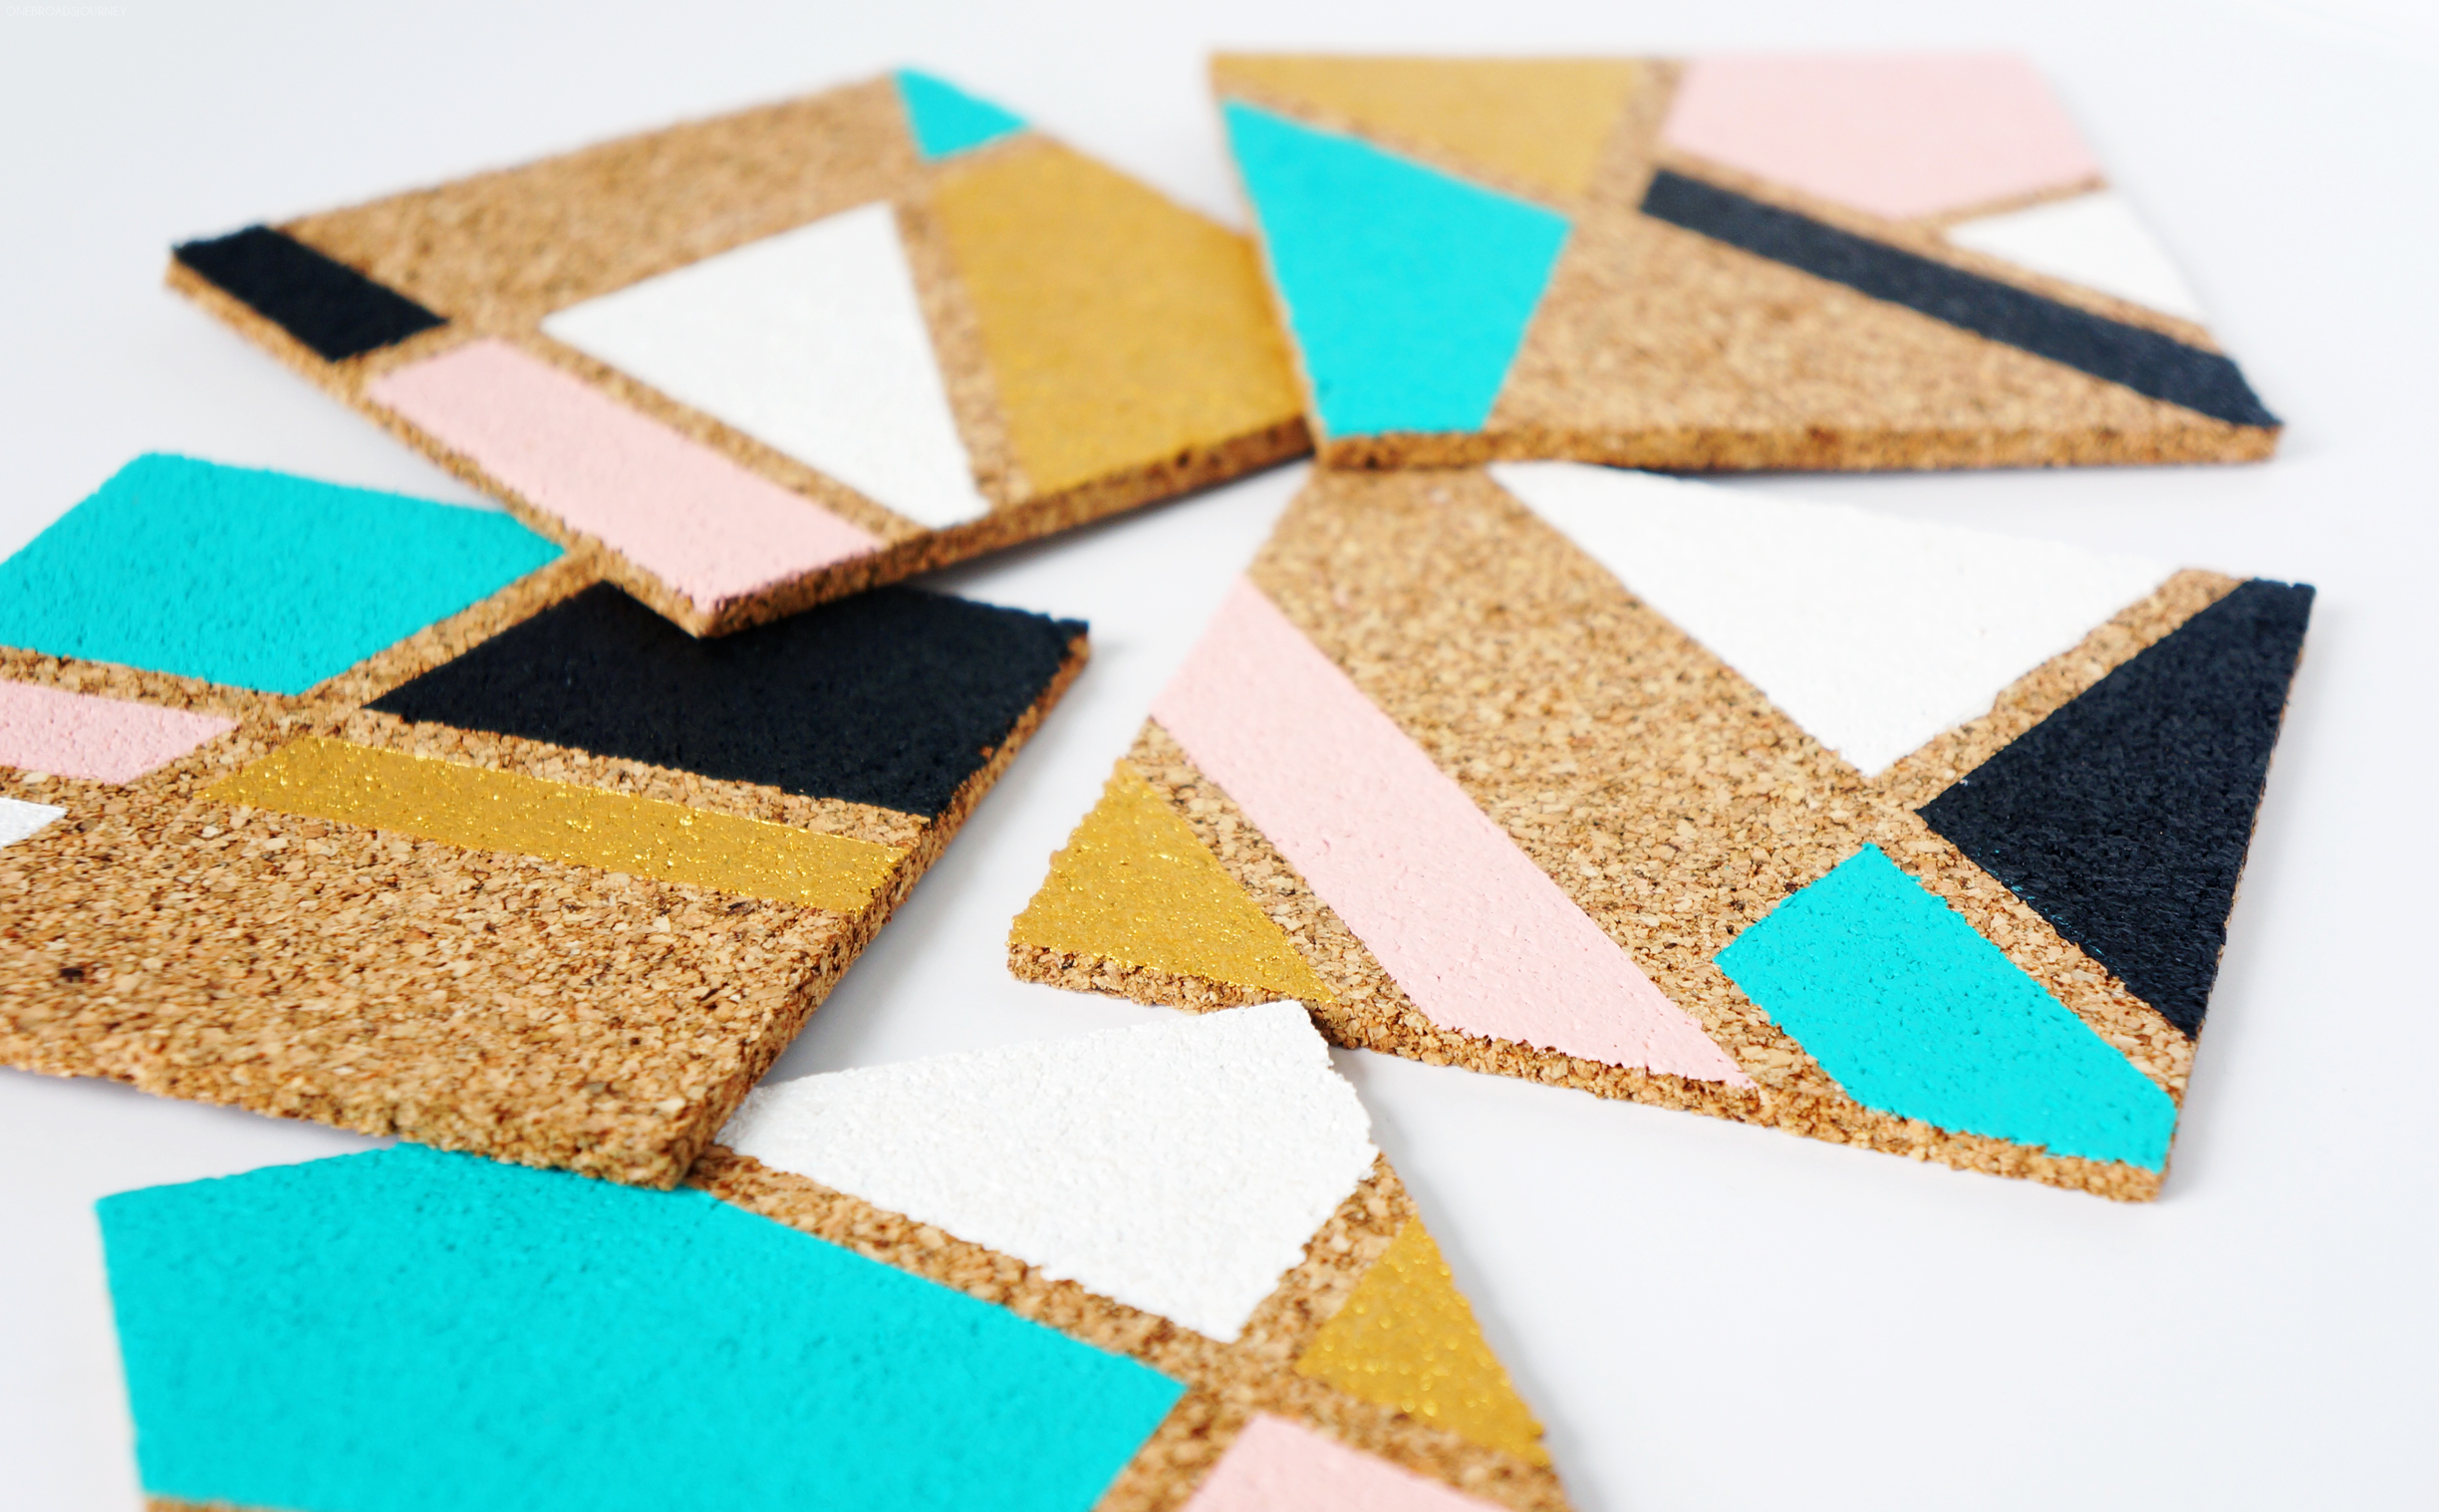
I’ve always been one of those people that loves coasters. How could you not? They’re cute, typically a representation of your style or somewhere you’ve been, and they save your beautiful (more than likely DIYed if you’re reading this) furniture! These DIY Geometric Cork Coasters were super easy to make and add a special hand made touch to your next gathering.
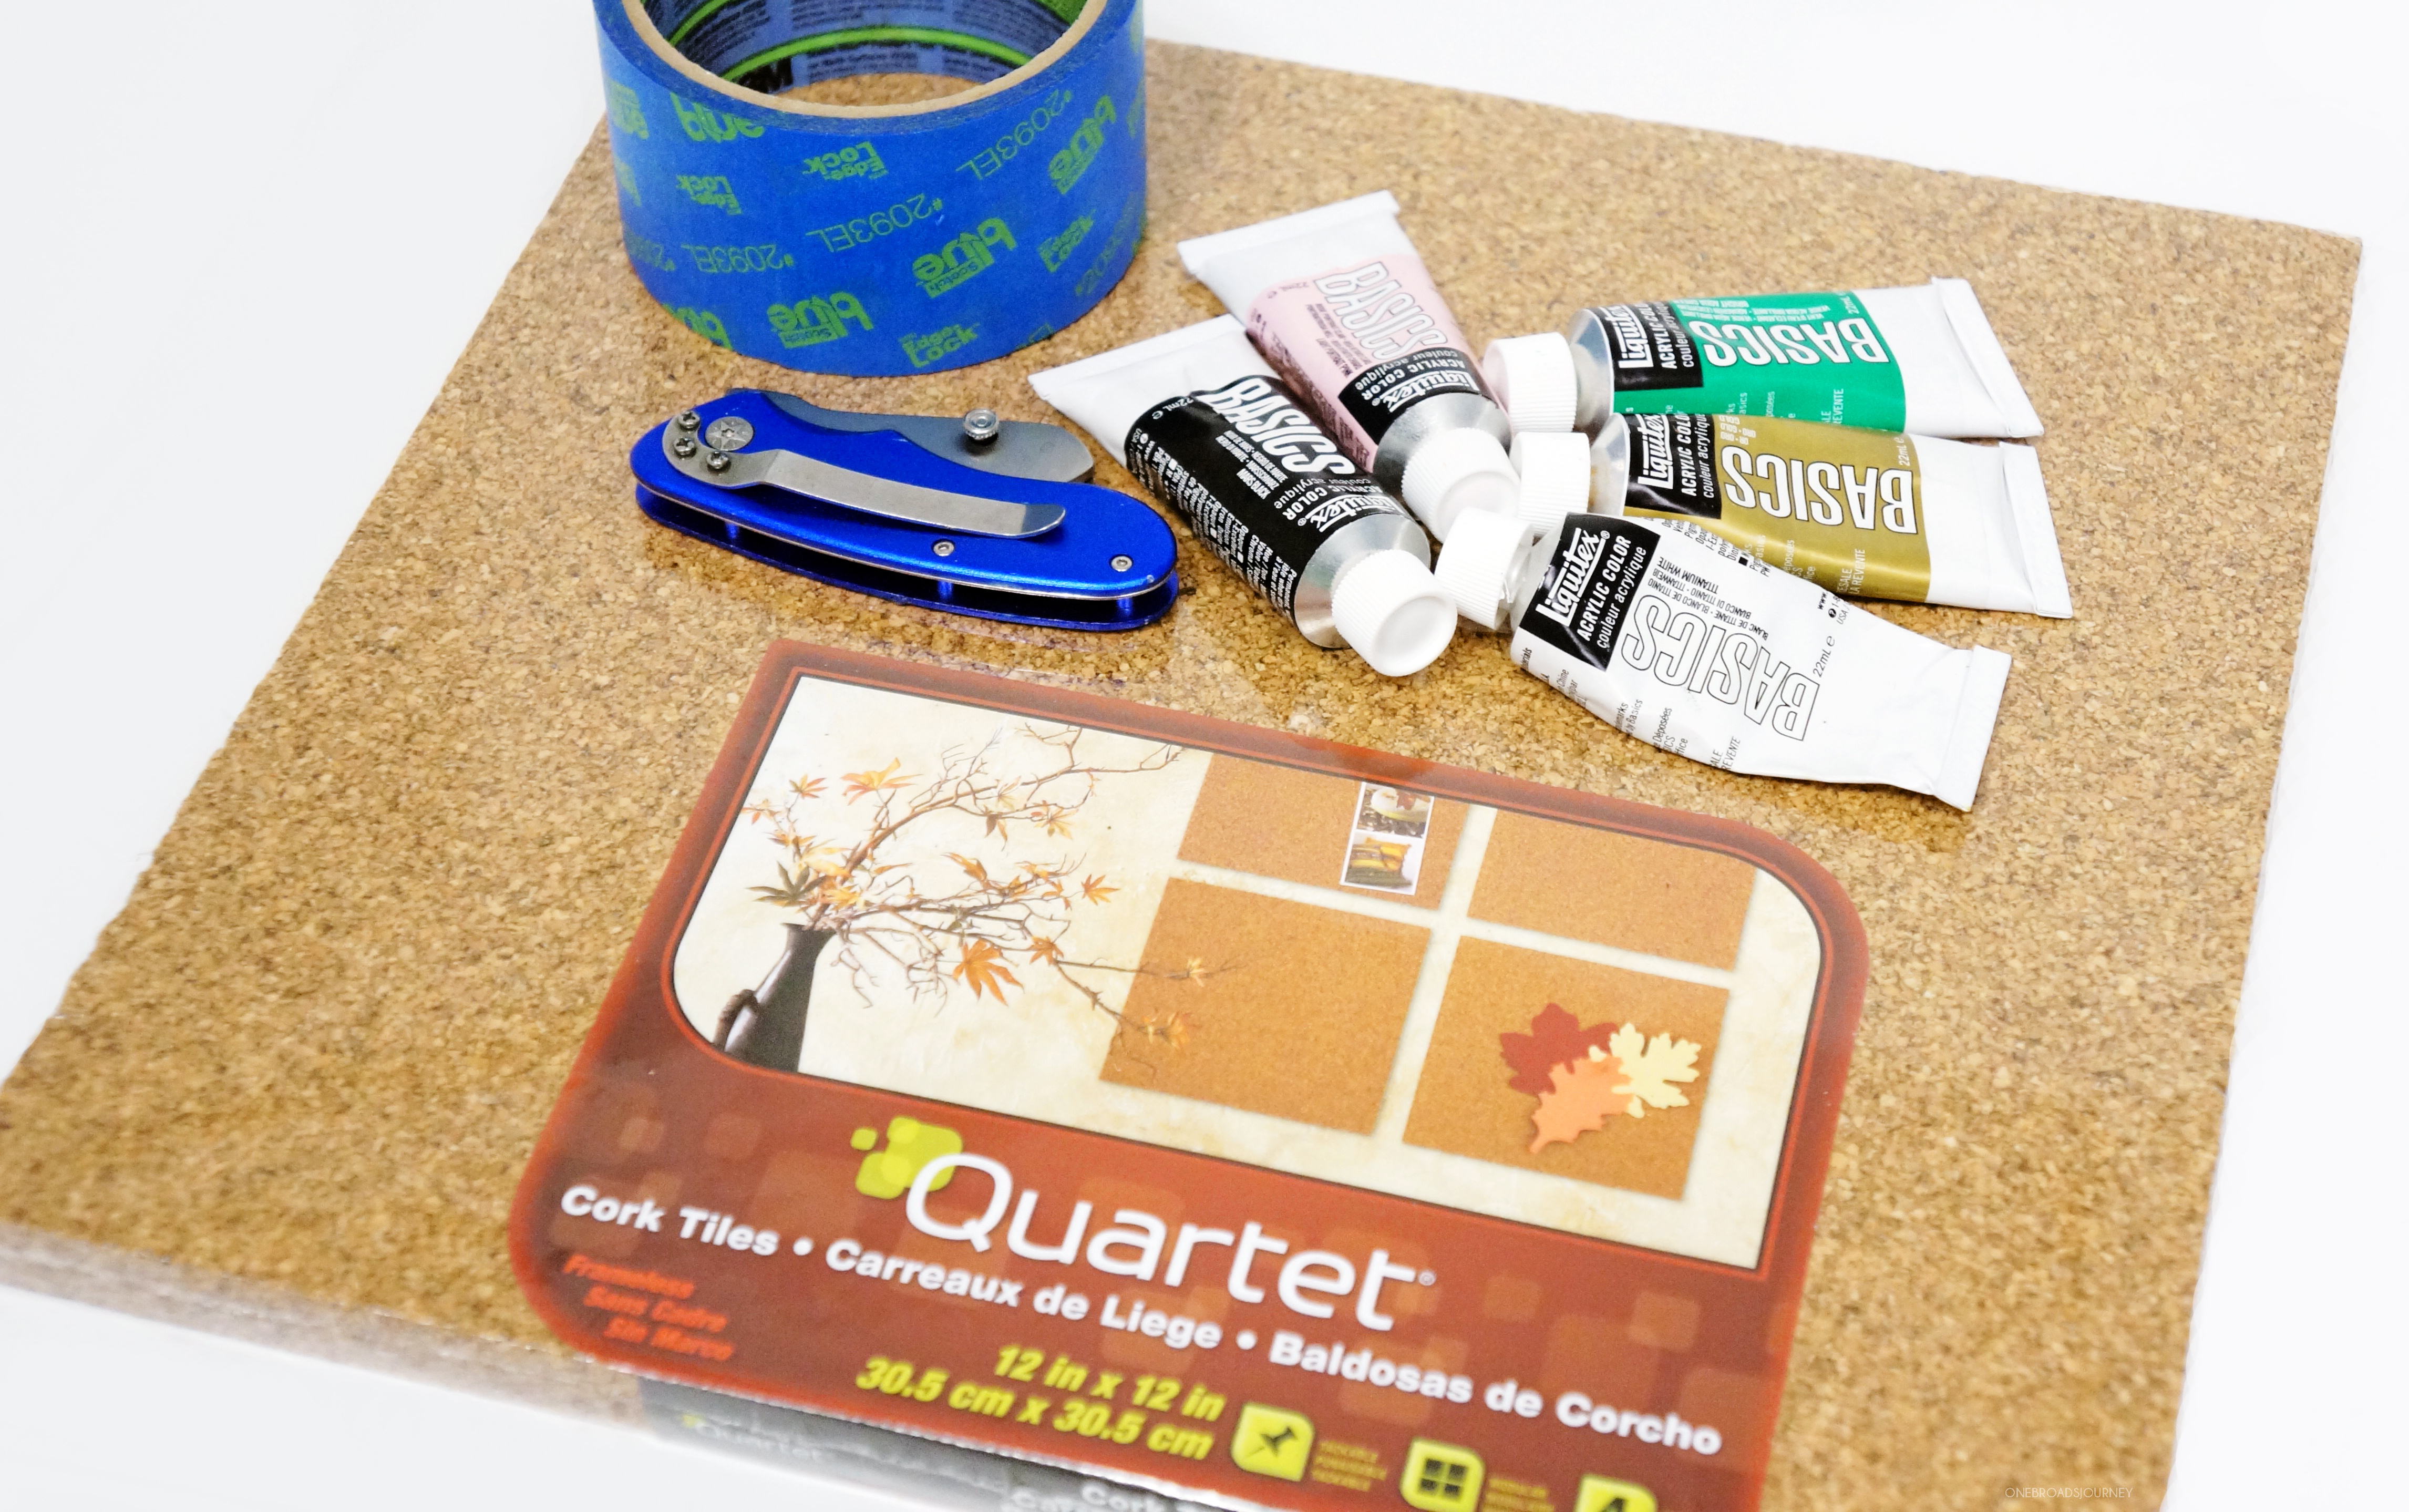
::MATERIALS::
Acrylic paint, Cork Tiles, painters tape, paint brush, xacto blade, friends to use coasters with
::INSTRUCTIONS::
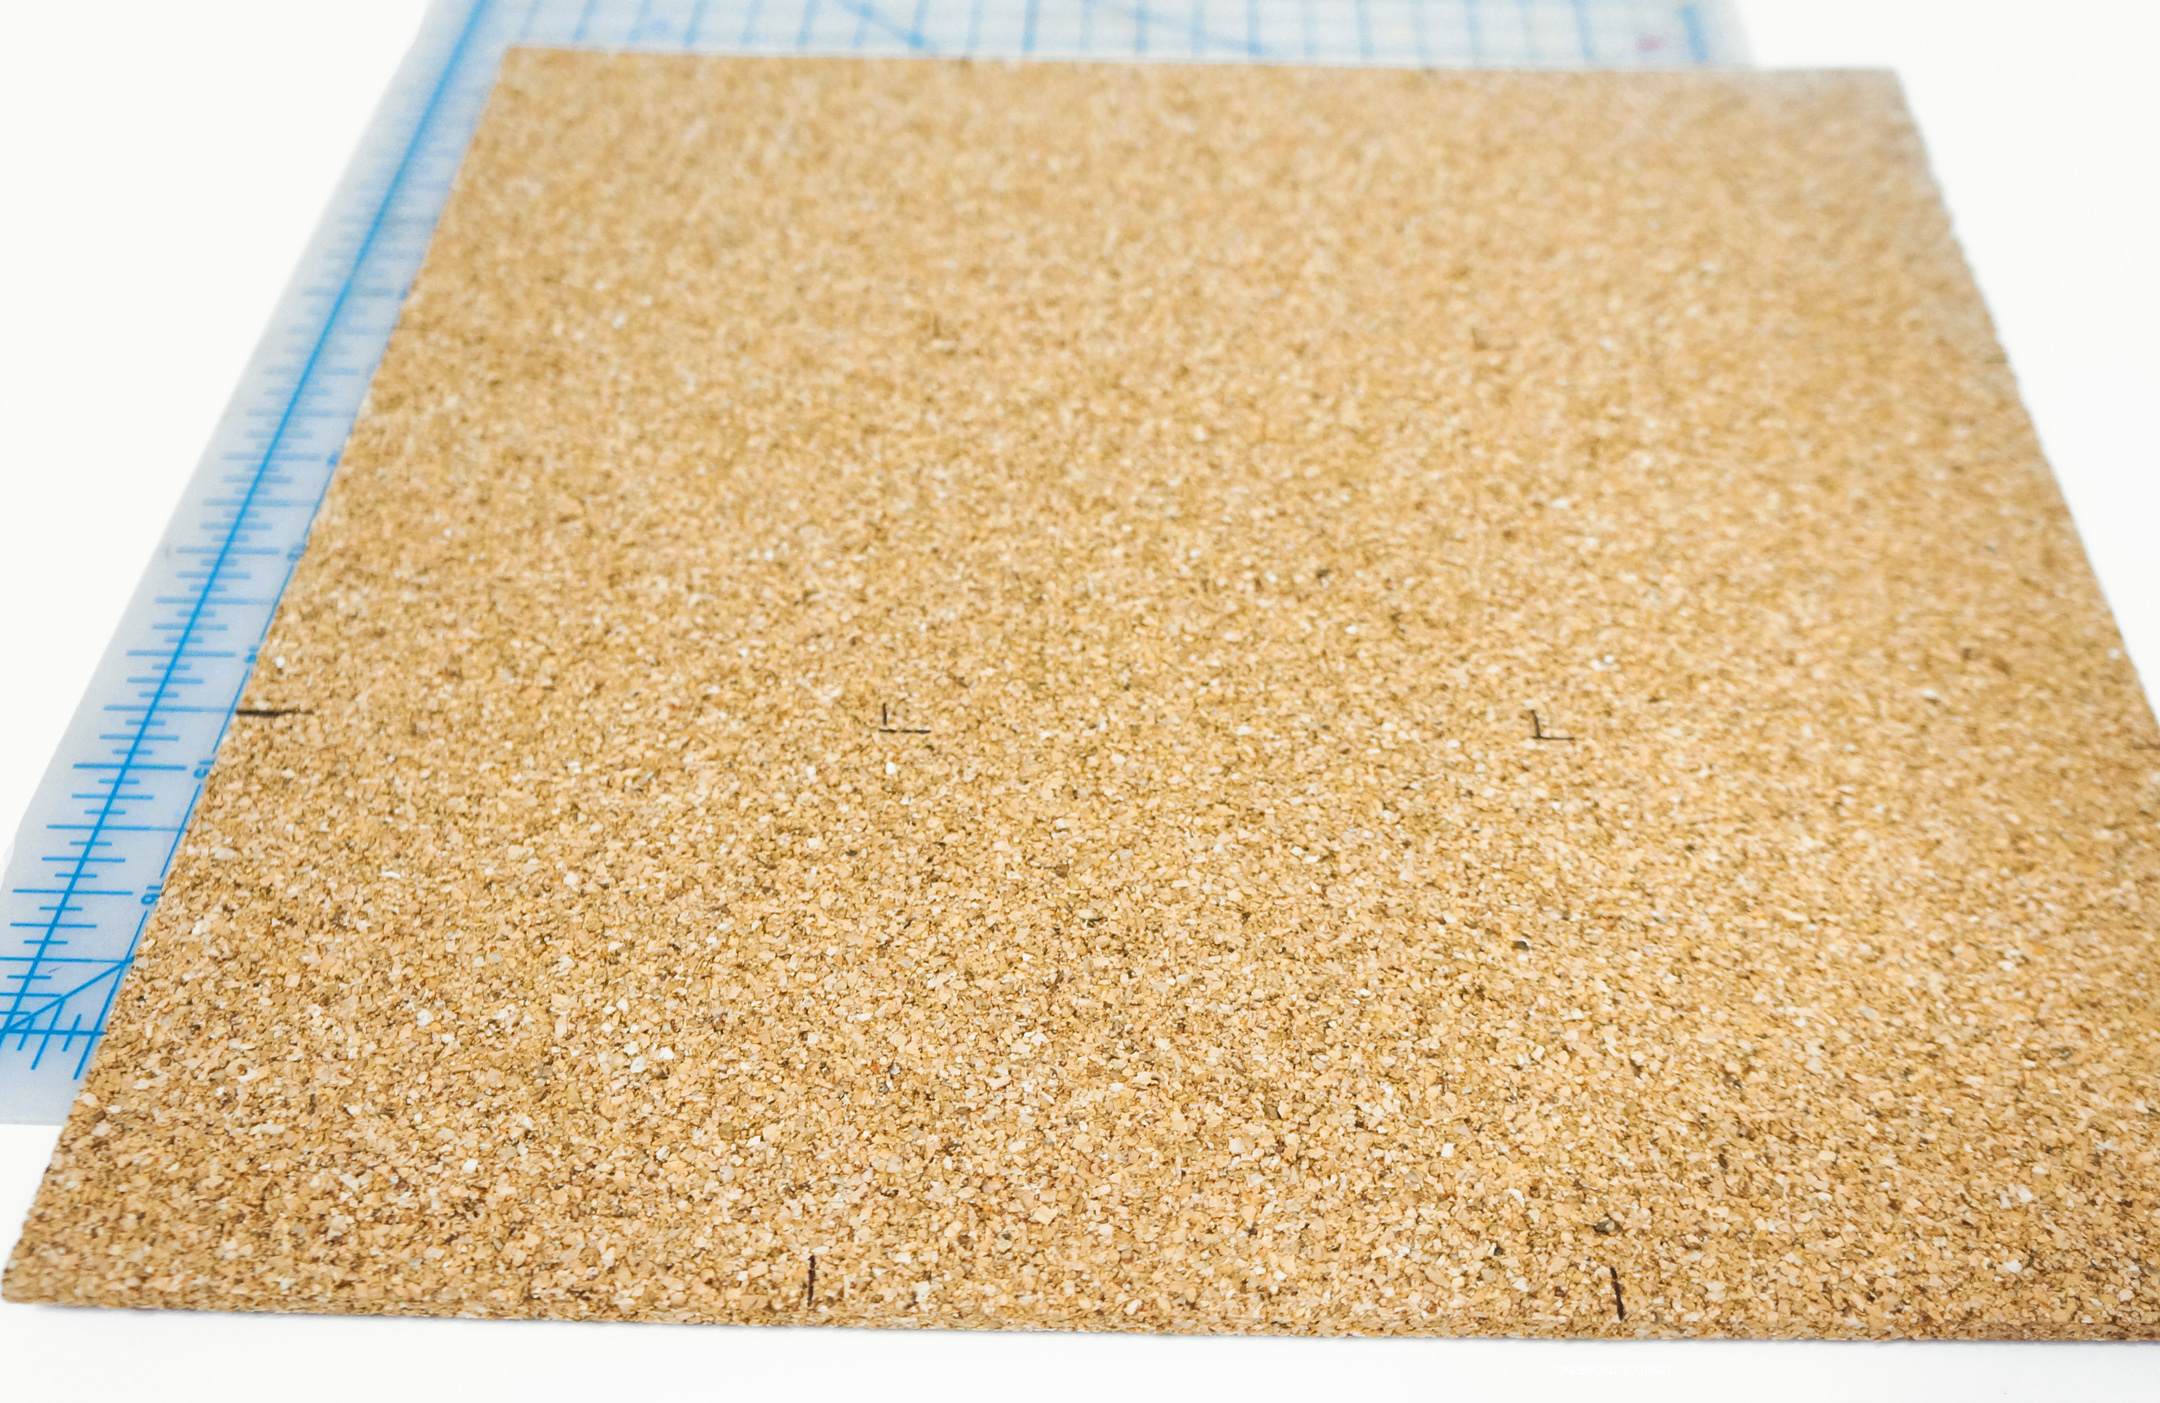
1. Measure your cork tile to the coaster size you’d like. My boards were 12×12 so I cut my boards into 9 (4x4inch) squares.
2. Cut your painters tape into thin strips and use it to section off your coasters into geometric shapes. I like to make each of mine a little different.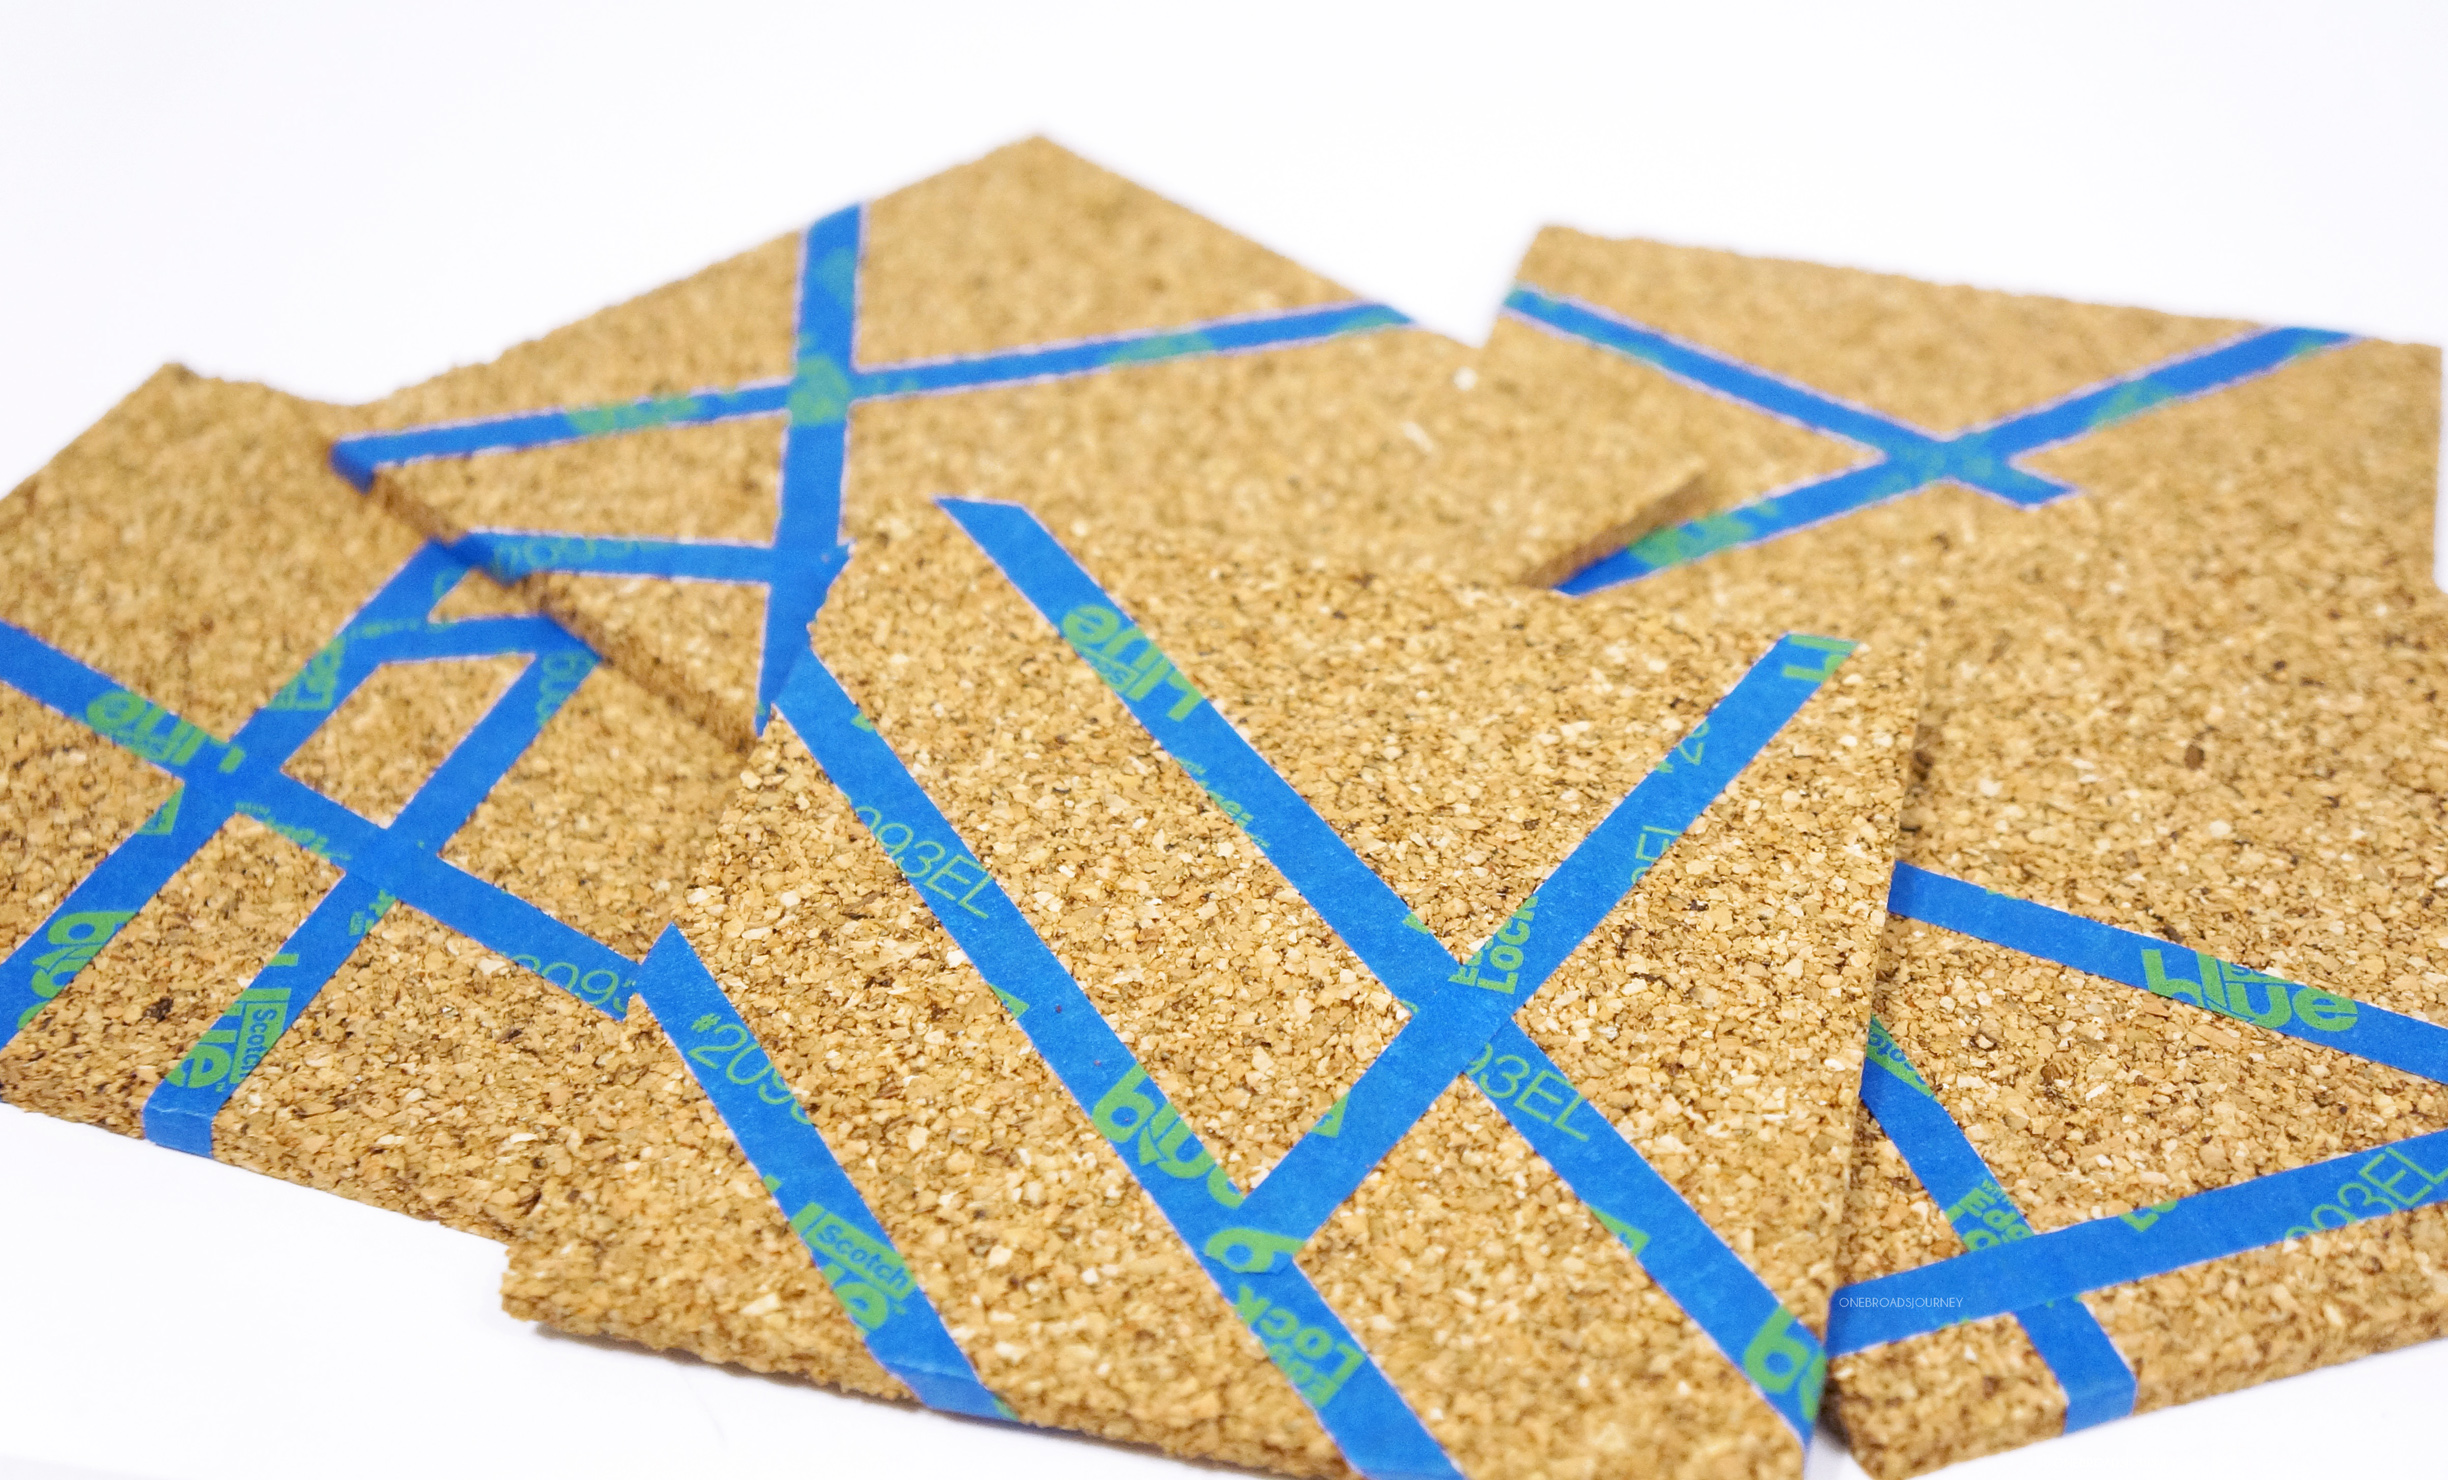
3. Paint within your taped of sections.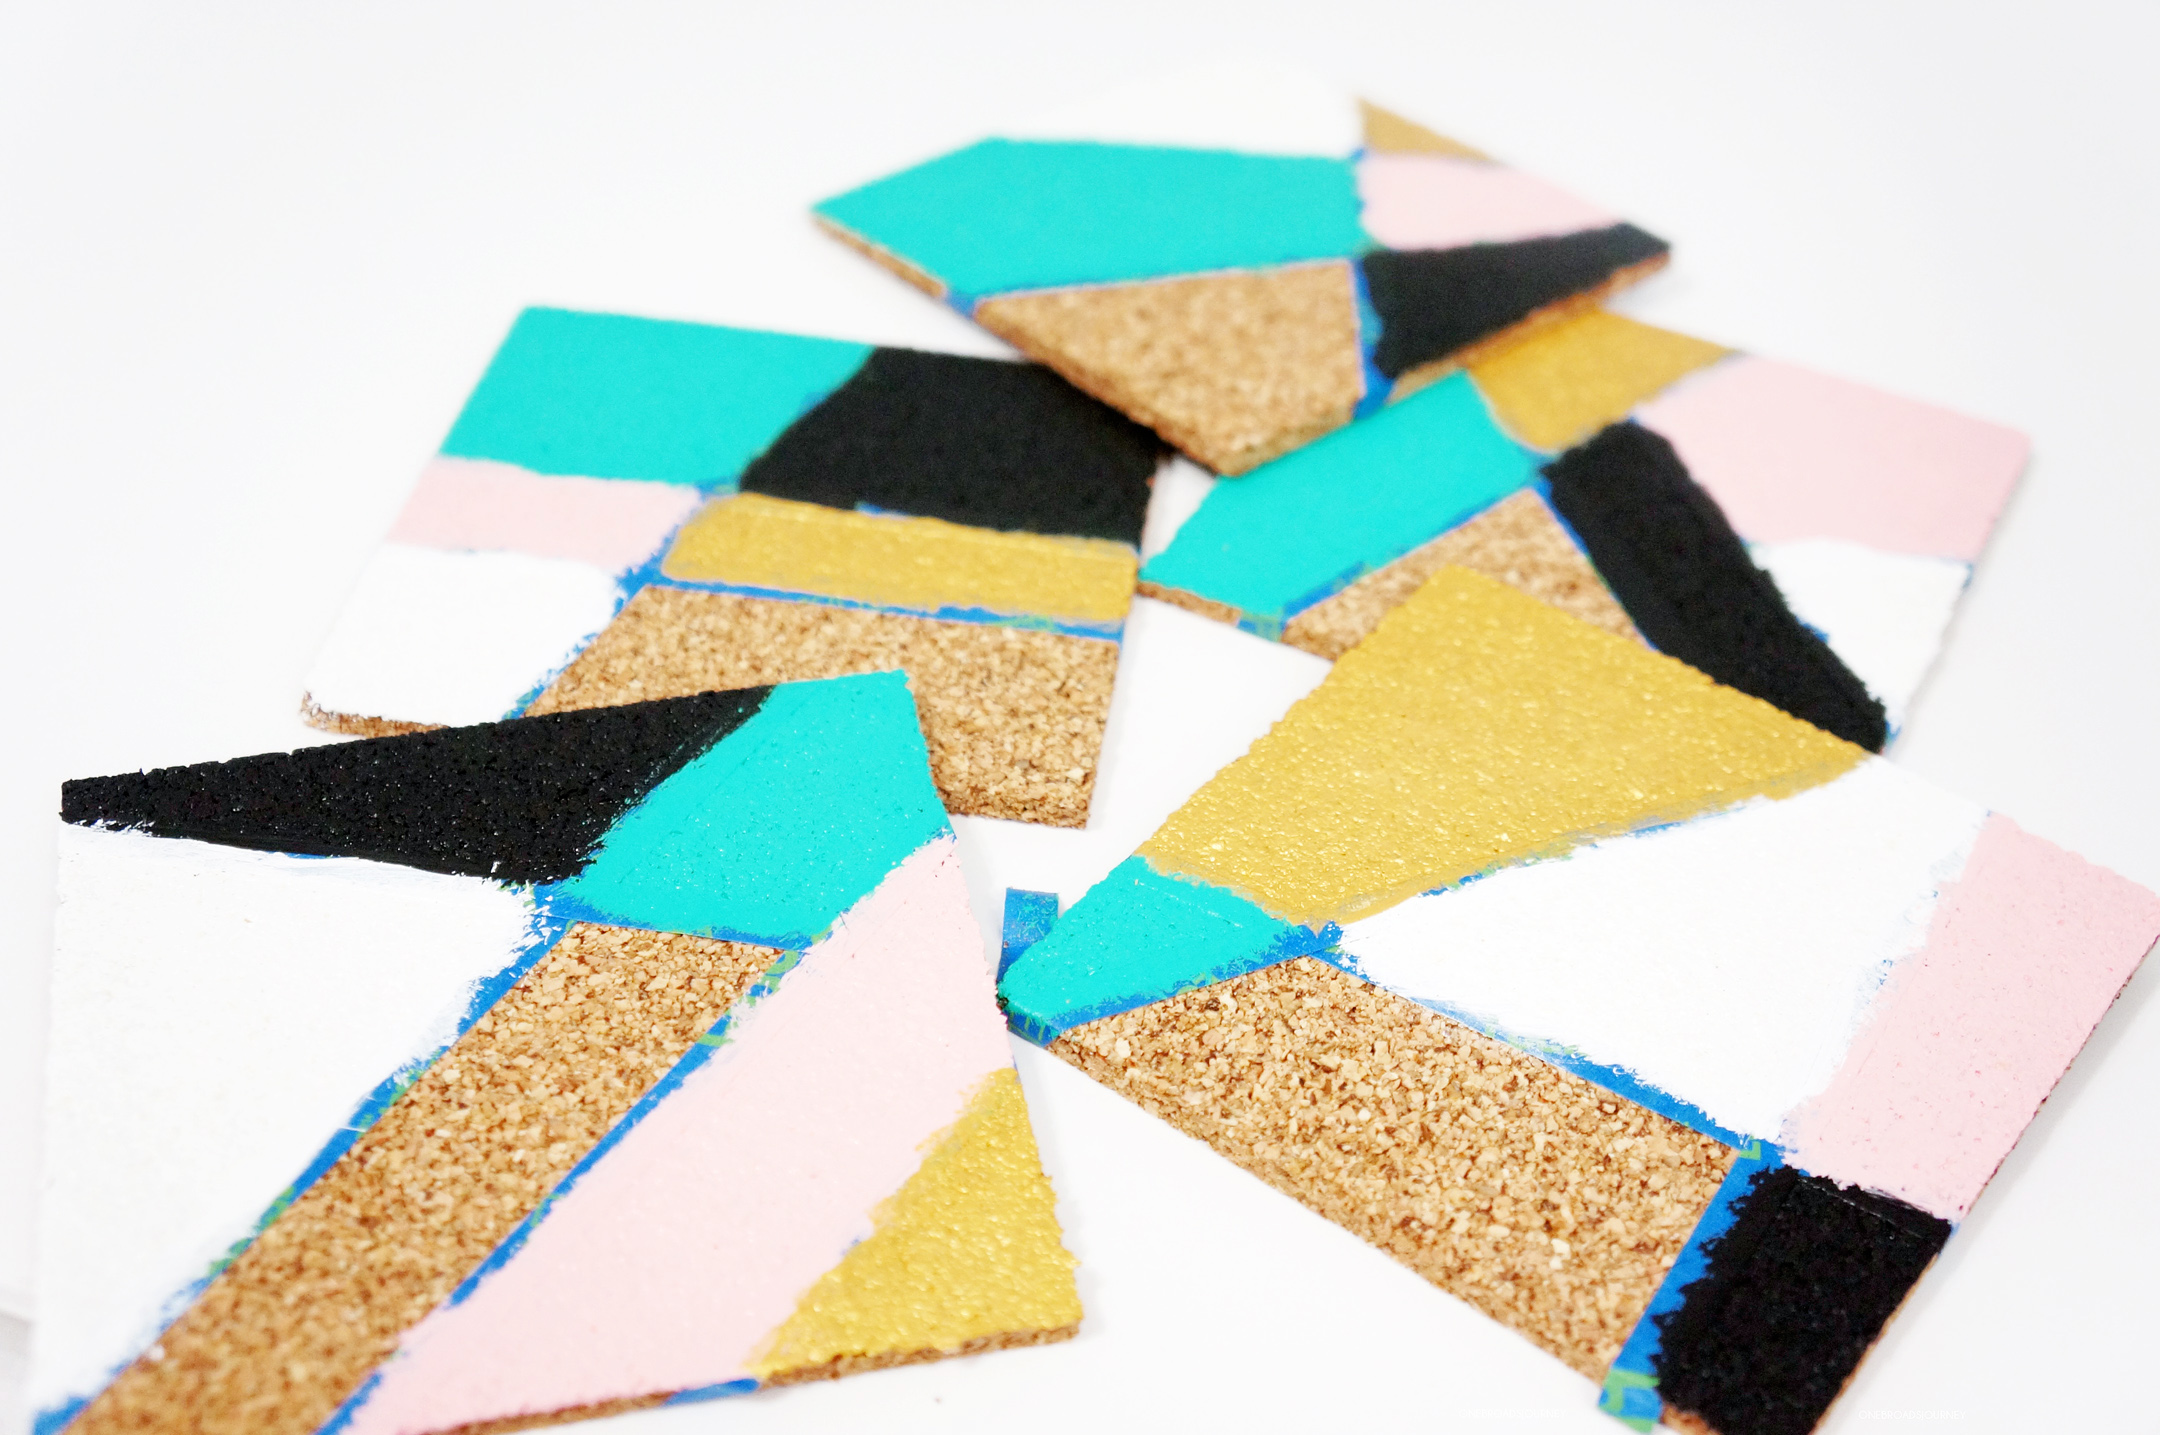
4. Let paint dry and remove tape. There you have it! Your very own DIY Geometric Cork Coasters!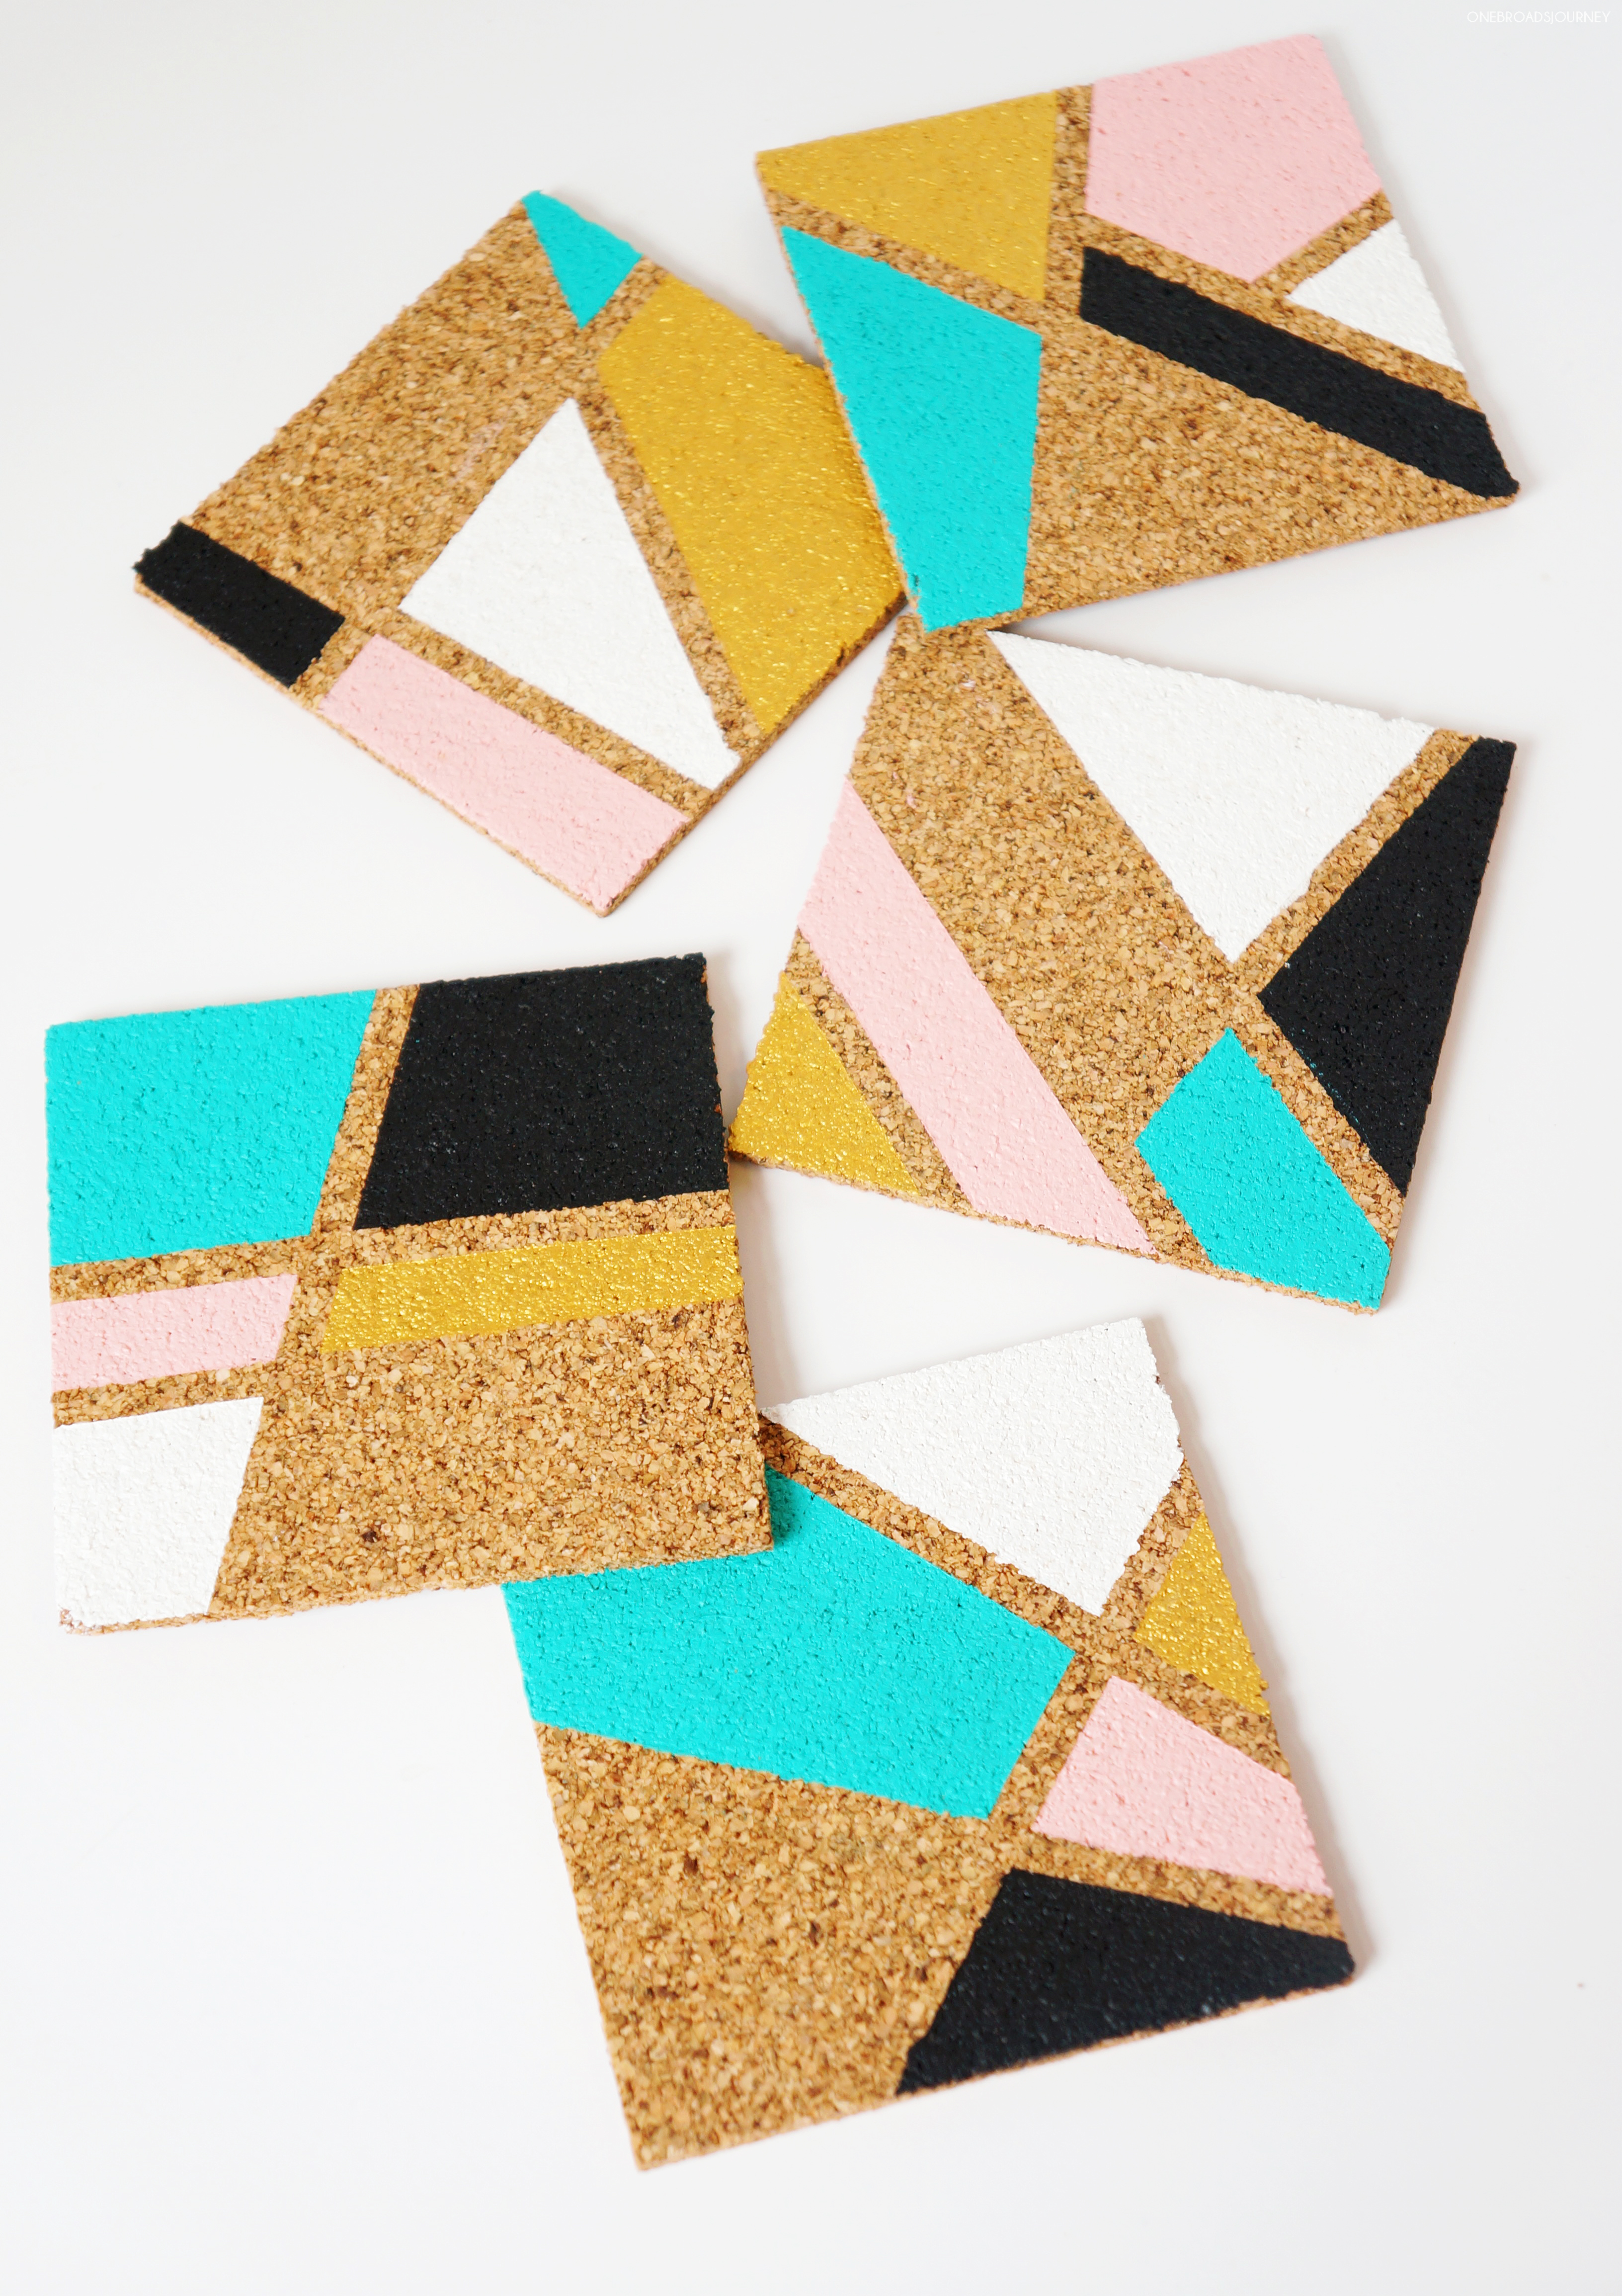
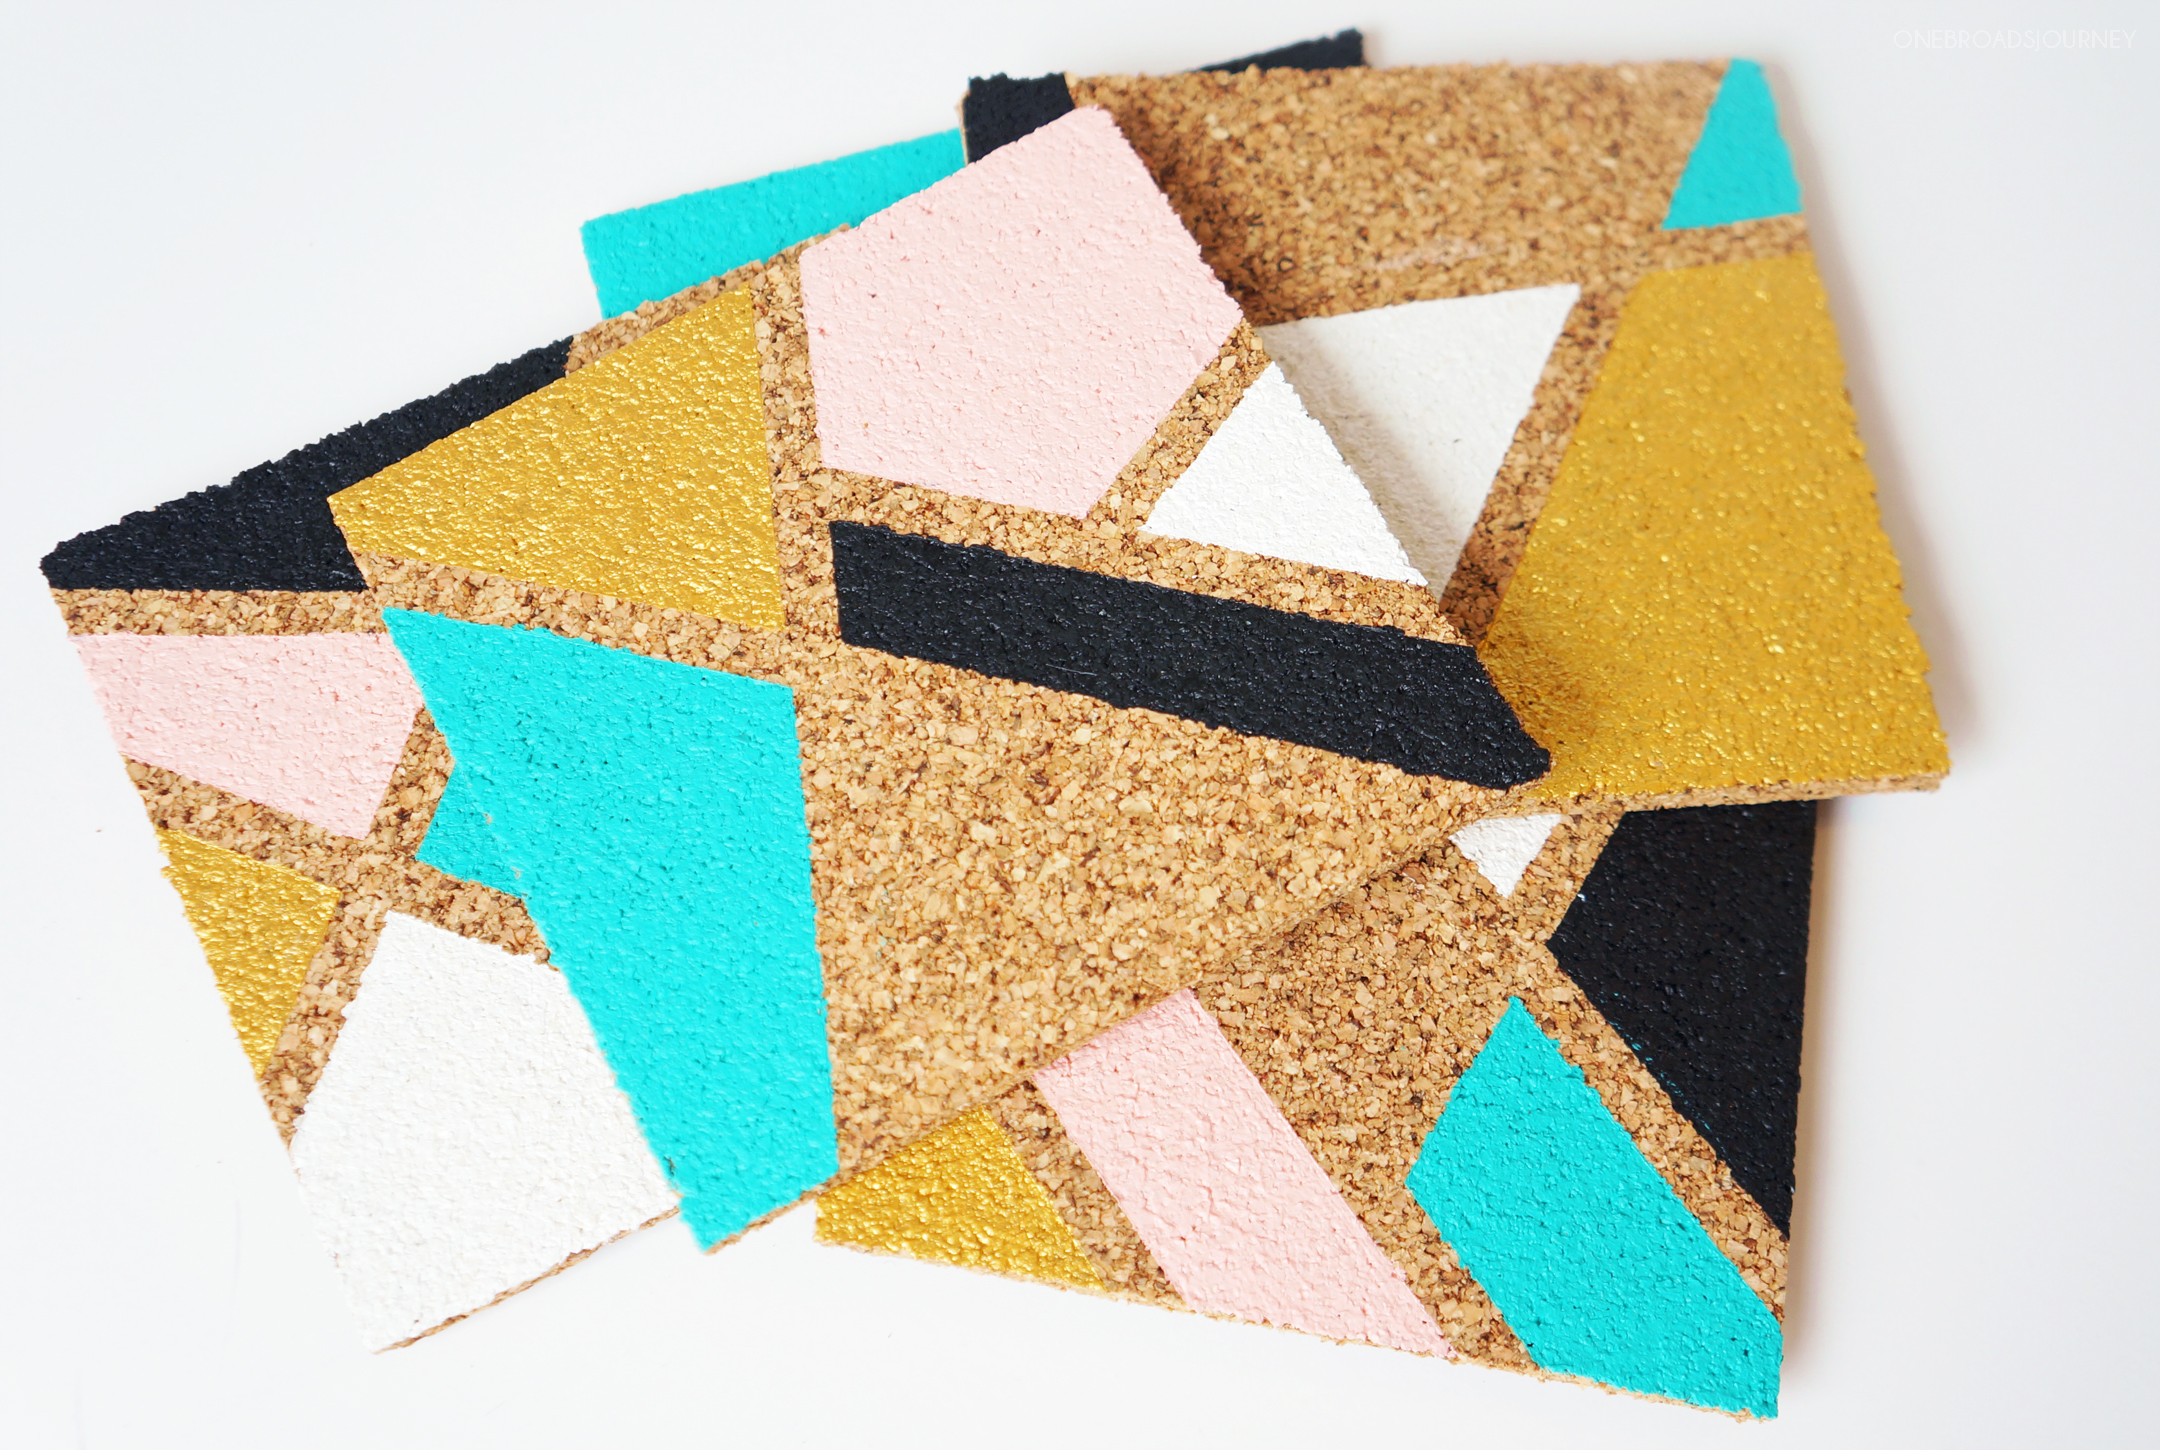
Did I mention these would also make an amazing gift!
xxDiana